Questa versione può contenere modifiche errate. Passa all'ultima istantanea verificata.
Cosa ti serve
-
-
Assicurati che la macchina fotografica sia spenta girando lo switch su OFF.
-
-
-
Questo passaggio è privo di traduzione. Aiuta a tradurlo
-
Locate and unscrew the two 3 mm screws on the bottom of the screen.
-
Pull the screen out from the top to reveal the two screws behind the screen; unscrew the two 3 mm screws.
-
-
Questo passaggio è privo di traduzione. Aiuta a tradurlo
-
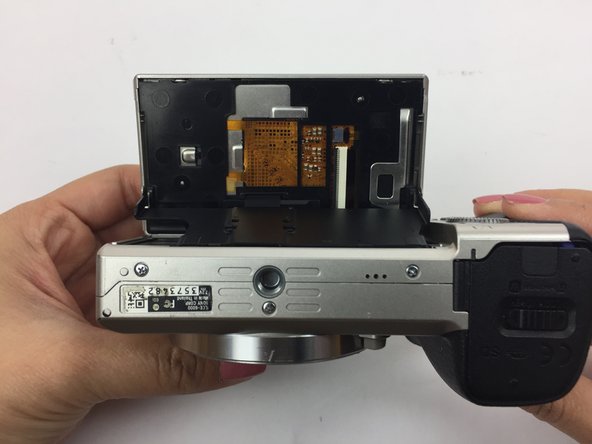
Flip the screen so it is facing up and then have the bottom of the camera facing yourself.
-
Using a spudger, remove the larger back panel.
-
Flip the camera right side up and pull back the screen.
-
Remove the smaller black panel on the back of the screen.
-
-
Questo passaggio è privo di traduzione. Aiuta a tradurlo
-
Locate the small "H" shaped clip on the back of the screen.
-
Remove the clip with tweezers
-
-
Questo passaggio è privo di traduzione. Aiuta a tradurlo
-
Flip the screen back so it is facing up and then have the bottom of the camera facing you. The yellow circuit board should now be exposed.
-
Hold down the yellow circuit board that the ribbon cables are attached to.
-
-
Questo passaggio è privo di traduzione. Aiuta a tradurlo
-
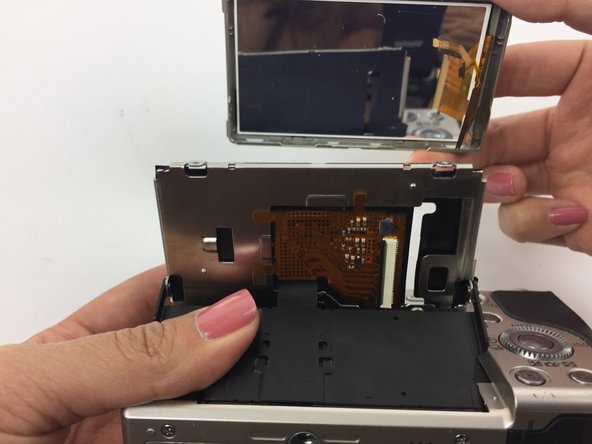
Using a plastic opening tool, separate the silver panel from the actual screen.
-
Carefully slide the ribbon cables through the narrow opening to fully remove the screen.
-


Annulla: non ho completato questa guida.
Un'altra persona ha completato questa guida.

Team

USF Tampa, Team 4-5, Passmore Fall 2016 Membro di USF Tampa, Team 4-5, Passmore Fall 2016
USFT-PASSMORE-F16S4G5
3 Membri
12 Guide realizzate