Salta al contenuto principale

Sonos Play 1 Top Cover Disassembly

Solo Prerequisita
Questa guida è destinata a essere usata solo come prerequisito per altre guide. Da sola è incompleta.

Cosa ti serve

  1. Sonos Play 1 Top Cover Disassembly, Exterior Screen: passo 1, immagine 1 di 2 Sonos Play 1 Top Cover Disassembly, Exterior Screen: passo 1, immagine 2 di 2
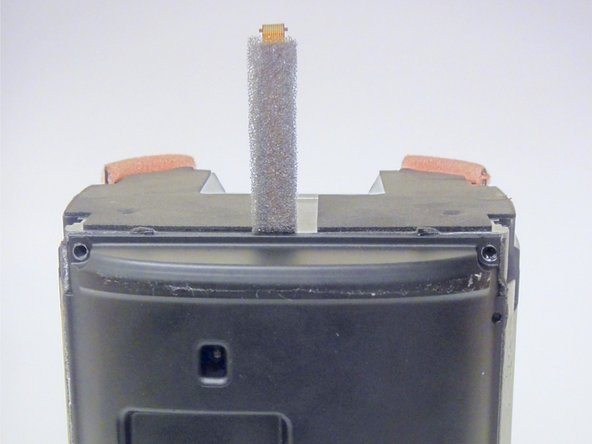
    • Remove the rubber footing from the bottom of the device. Pry it up from one end using one of the plastic opening tools.

    • Once you pry open one end, use precision tweezers to remove rubber footing.

  2. Sonos Play 1 Top Cover Disassembly: passo 2, immagine 1 di 2 Sonos Play 1 Top Cover Disassembly: passo 2, immagine 2 di 2
    • Using a metal spudger, pry open a corner of the adhesive tape.

    • Use precision tweezers to remove the adhesive tape.

  3. Sonos Play 1 Top Cover Disassembly: passo 3, immagine 1 di 2 Sonos Play 1 Top Cover Disassembly: passo 3, immagine 2 di 2
    • Remove the four 10 mm Torx security #10 screws that hold the base together.

    • Remove the base by lifting it vertically away from the bulk of the device.

  4. Sonos Play 1 Top Cover Disassembly: passo 4, immagine 1 di 2 Sonos Play 1 Top Cover Disassembly: passo 4, immagine 2 di 2
    • Remove the 10 mm Torx security #10 screw that holds down the exterior screen.

    • Using precision tweezers, remove the metal bracket.

  5. Sonos Play 1 Top Cover Disassembly: passo 5, immagine 1 di 1
    • Remove the exterior screen by lifting it away from the bulk of the device.

  6. Sonos Play 1 Top Cover Disassembly, Sonos Play 1 Top Cover Disassembly: passo 6, immagine 1 di 1
    • Remove the four 9 mm Torx Security #9 head screws. There are two on each side.

  7. Sonos Play 1 Top Cover Disassembly: passo 7, immagine 1 di 3 Sonos Play 1 Top Cover Disassembly: passo 7, immagine 2 di 3 Sonos Play 1 Top Cover Disassembly: passo 7, immagine 3 di 3
    • Using a plastic opening tool, pry open the top cap containing the power and volume button.

    • Vertically remove the top cap.

    • Be sure to not jerk the top cap when removing , as to not damage the cable linking the switchboard to the motherboard.

  8. Sonos Play 1 Top Cover Disassembly: passo 8, immagine 1 di 2 Sonos Play 1 Top Cover Disassembly: passo 8, immagine 2 di 2
    • Using a plastic opening tool, pry open the circuit flap.

    • Once flap is loosened, use your hand to remove the circuit wire.

Conclusione

To reassemble your device, follow these instructions in reverse order.

Team

USF Tampa, Team 8-4, Eyestone Fall 2015 Membro di USF Tampa, Team 8-4, Eyestone Fall 2015

USFT-EYESTONE-F15S8G4

4 Membri

16 Guide realizzate

0 Commenti

Aggiungi Commento

Visualizza Statistiche:

Ultime 24 Ore: 0

Ultimi 7 Giorni: 0

Ultimi 30 Giorni: 1

Tutti i Tempi: 87