Introduzione
Here is a Sol Republic Punk Bluetooth speaker that no longer holds a charge. Not sure why a 9 year old battery would just quit charging :-) Actually, this speaker according to their owner, has been doing really well and it is actually well cared for. It is in good shape for its year and was even kept in the original box.
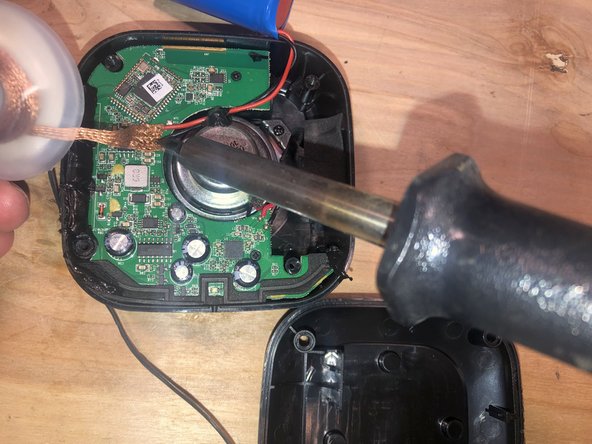
It is easily taken apart and does not require great dexterity or special tools.
Cosa ti serve
-
-
Sol Republic Punk in its original box. Nice to see.
-
It still has the original instructions as well.
-
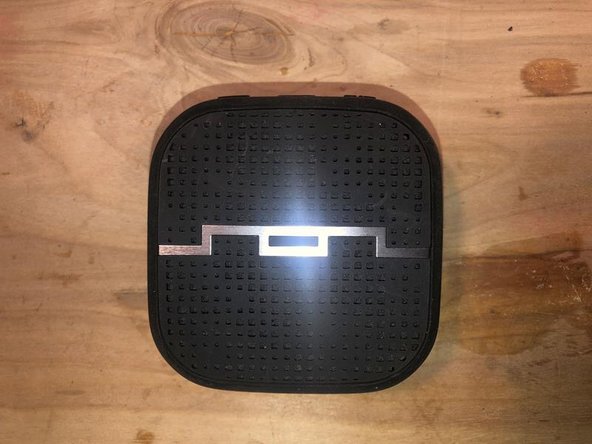
Turn the Punk over
-
-
-
First thing to do is to loosen the rubber gasket which protects the Punk from Dust and moisture (to a certain degree). Use a spudger or similar tool for that
-
and move it all the way along between the Punk housing and the gasket
-
Once the gasket is loose and there is no adhesive holding it to the Punk housing, simply start pulling it over on the Punk housing.
-
-
-
The rubber gasket has now been fully inverted and is only attached by the speaker grill to the front of the Punk housing
-
The speaker grill is attached via four (4) locking tabs in the housing. There are four relief openings. One on each corner of the housing.
-
Use a spudger or similar tool and insert it into the opening. A little inward push with the spudger will release the grill.
-
Once all four tabs have been released, the grill and rubber gasket will simply come off.
-
-
-
-
This shows how the Grill secures the rubber gasket. the locking tab from the grill fits through the opening in the gasket and then the Punk housing.
-
Front grill and gasket removed and now the slots for the locking tabs for the grill are fully visible
-
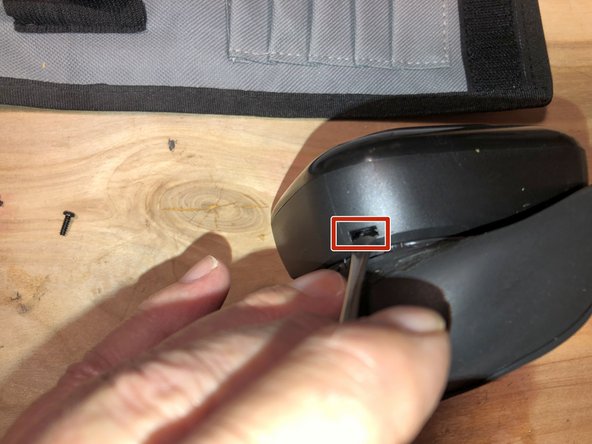
With the gasket and the grill removed, use an opening tool (i.e.guitar pick) and insert it between the halves of the Punk housing. There is some glue between the case halves, so a bit of pressure and wiggling maybe needed.
-
-
-
Ensure that the opening tool is just marginal larger than the split line. The smaller it is the easier it is to use
-
Move the opening tool all along the split line around the Punk housing
-
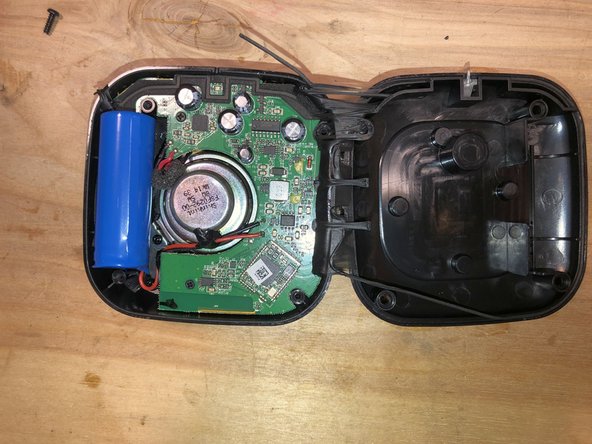
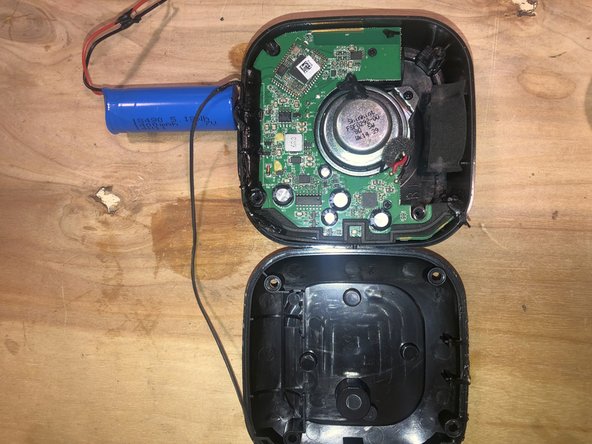
The Top and bottom half will separate once all the adhesive has been loosened by the opening tool
-


To reassemble your device, follow these instructions in reverse order.
To reassemble your device, follow these instructions in reverse order.

Team
