Salta al contenuto principale

Snapfōn ezONE LCD Screen Replacement

Cosa ti serve

  1. Snapfōn ezONE LCD Screen Replacement, Remove the battery cover: passo 1, immagine 1 di 1
    • Turn off the phone to prevent data loss.

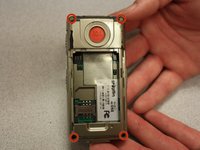
    • Press and slide the battery out to remove it.

    • Picture rights belong to Snapfon®. Picture is used for educational purposes only. No copyright infringement intended.

  2. Snapfōn ezONE LCD Screen Replacement, Remove the battery: passo 2, immagine 1 di 1
    • Pry the battery out with your thumb or the iFixit opening tool.

    • Make sure to properly dispose of the old battery at a recycling center.

    • Picture rights belong to Snapfon®. Picture is used for educational purposes only. No copyright infringement intended.

  3. Snapfōn ezONE LCD Screen Replacement, Removing the plastic inserts: passo 3, immagine 1 di 2 Snapfōn ezONE LCD Screen Replacement, Removing the plastic inserts: passo 3, immagine 2 di 2
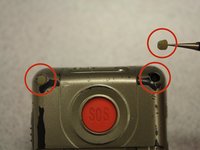
    • Remove the four rubber inserts from the screw holes using a pair of tweezers.

  4. Snapfōn ezONE LCD Screen Replacement, Remove the shield screws: passo 4, immagine 1 di 3 Snapfōn ezONE LCD Screen Replacement, Remove the shield screws: passo 4, immagine 2 di 3 Snapfōn ezONE LCD Screen Replacement, Remove the shield screws: passo 4, immagine 3 di 3
    • Remove the four 3.1mm screws in the corners with a Phillips #00 screwdriver.

  5. Snapfōn ezONE LCD Screen Replacement, Separate the case: passo 5, immagine 1 di 3 Snapfōn ezONE LCD Screen Replacement, Separate the case: passo 5, immagine 2 di 3 Snapfōn ezONE LCD Screen Replacement, Separate the case: passo 5, immagine 3 di 3
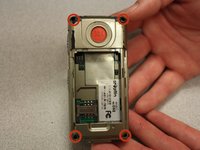
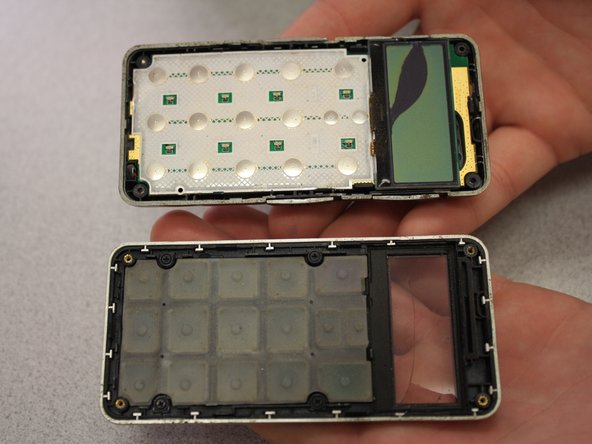
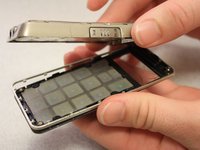
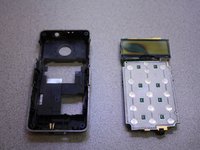
    • Separate the front case from the back case.

    • Remove the metal bumper from the front case’s perimeter.

  6. Snapfōn ezONE LCD Screen Replacement, Remove the volume slider: passo 6, immagine 1 di 1
    • Pry the volume slider button out with tweezers.

    • The volume slider button may fall out during the separation of the front and back cases. This is OK.

  7. Snapfōn ezONE LCD Screen Replacement, Remove the motherboard: passo 7, immagine 1 di 3 Snapfōn ezONE LCD Screen Replacement, Remove the motherboard: passo 7, immagine 2 di 3 Snapfōn ezONE LCD Screen Replacement, Remove the motherboard: passo 7, immagine 3 di 3
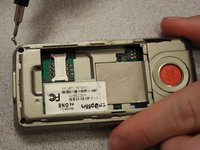
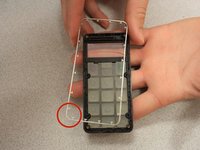
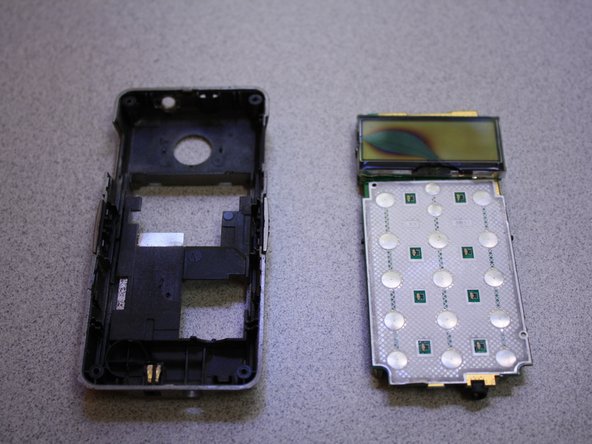
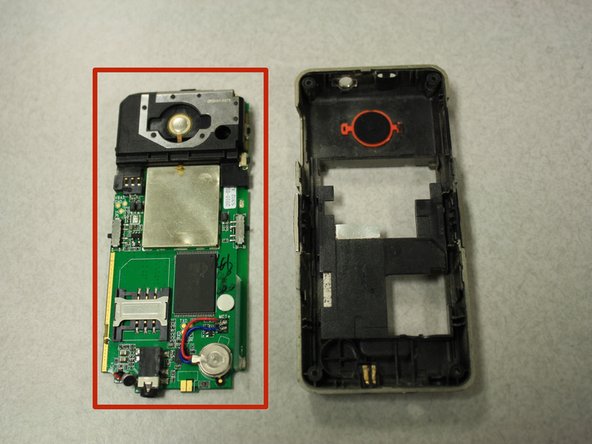
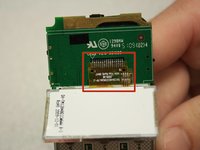
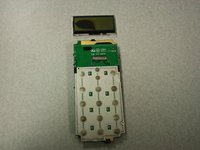
    • Separate the circuit board from the inside of the back case by prying between them with the opening tool.

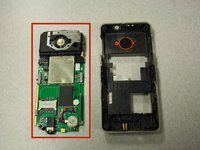
    • The last picture is a view of the back of the circuit board.

  8. Snapfōn ezONE LCD Screen Replacement, Pry the screen back: passo 8, immagine 1 di 3 Snapfōn ezONE LCD Screen Replacement, Pry the screen back: passo 8, immagine 2 di 3 Snapfōn ezONE LCD Screen Replacement, Pry the screen back: passo 8, immagine 3 di 3
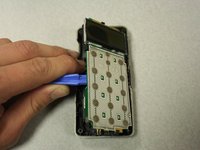
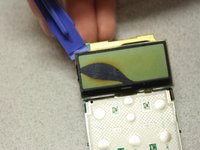
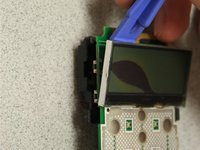
    • Pry the LCD screen off of the circuit board using the opening tool. The screen is connected to the motherboard with light adhesive, which is easy to remove.

    • The LCD screen will still be connected to the circuit board by a ribbon cable.

  9. Snapfōn ezONE LCD Screen Replacement, Disconnect the display: passo 9, immagine 1 di 1
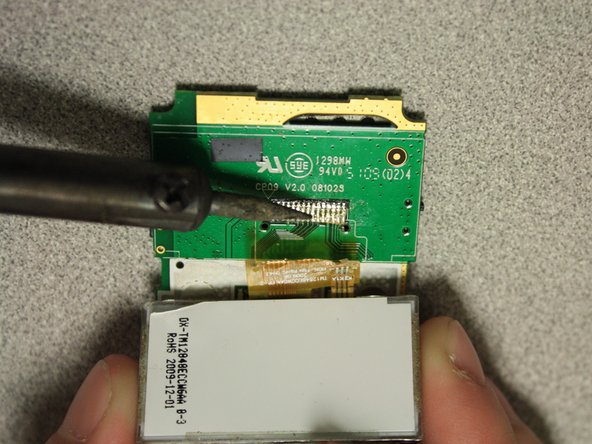
    • Use a soldering iron to melt away the connection between the ribbon cable and circuit board.

    • Be careful! High temperatures from the soldering iron may result in injury.

    • Only make contact with the solder connection so that none of the phone’s components are damaged by the heat.

  10. Snapfōn ezONE LCD Screen Replacement, Remove the display: passo 10, immagine 1 di 2 Snapfōn ezONE LCD Screen Replacement, Remove the display: passo 10, immagine 2 di 2
    • Once you heat the solder connection, lightly tug the ribbon cable free. The LCD screen will be completely removed from the device.

Conclusione

To reassemble your device with a new LCD screen, follow these instructions in reverse order.

Note: you will need to use the soldering iron again to attach the new LCD screen ribbon to the circuit board.

Un'altra persona ha completato questa guida.

John Bender

Membro da: 03/26/14

818 Reputazione

8 Guide realizzate

Team

Clemson, Team 6-5, Benson Spring 2014 Membro di Clemson, Team 6-5, Benson Spring 2014

CLEM-BENSON-S14S6G5

3 Membri

16 Guide realizzate

0 Commenti

Aggiungi Commento

Visualizza Statistiche:

Ultime 24 Ore: 0

Ultimi 7 Giorni: 1

Ultimi 30 Giorni: 5

Tutti i Tempi: 427