Salta al contenuto principale

Questa guida ha delle modifiche più recenti. Passa all'ultima versione non verificata.

Slingbox SOLO DC Power Connector Replacement

Cosa ti serve

  1. Slingbox SOLO DC Power Connector Replacement, Motherboard: passo 1, immagine 1 di 1
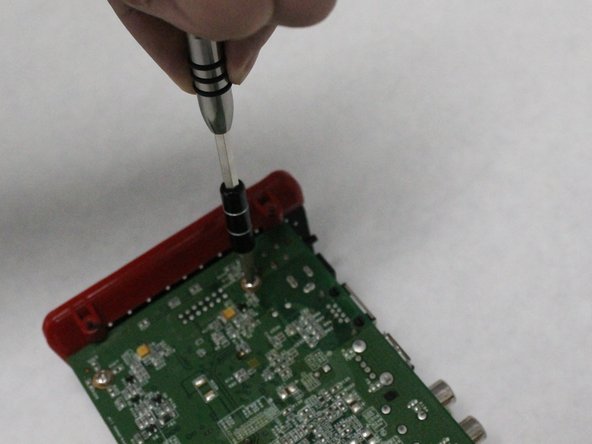
    • Use the plastic opening tool to remove the four rubber pads from the bottom of the device.

  2. Slingbox SOLO DC Power Connector Replacement: passo 2, immagine 1 di 3 Slingbox SOLO DC Power Connector Replacement: passo 2, immagine 2 di 3 Slingbox SOLO DC Power Connector Replacement: passo 2, immagine 3 di 3
    • The Slingbox has four black 5mm screws, one on each corner of the case.

    • Remove the four black 5mm screws using the PH1 screwdriver.

    • Gently pull and separate the two case covers.

  3. Slingbox SOLO DC Power Connector Replacement: passo 3, immagine 1 di 3 Slingbox SOLO DC Power Connector Replacement: passo 3, immagine 2 di 3 Slingbox SOLO DC Power Connector Replacement: passo 3, immagine 3 di 3
    • The motherboard has five silver 5.5mm screws connecting it to the base of the Slingbox.

    • Remove the five silver screws on the motherboard using the PH1 screwdriver.

    • Gently slide and separate the motherboard from the base.

  4. Slingbox SOLO DC Power Connector Replacement, DC Power Connector: passo 4, immagine 1 di 1
    • Do not touch the heated tip of the soldering iron.

    • Check this guide out to learn how to use a soldering iron.

    • Desolder all three lead prongs.

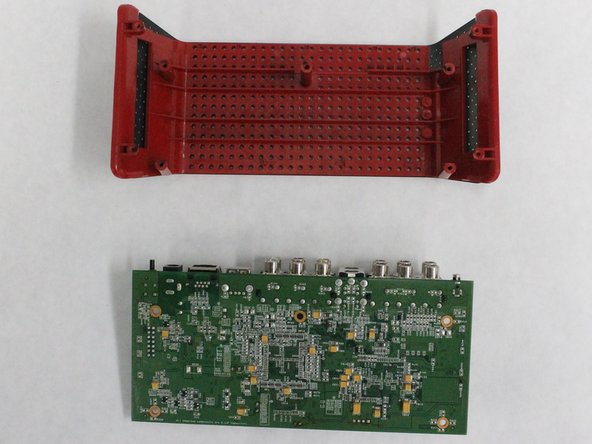
    • Gently pull the DC power connector from the motherboard.

Conclusione

To reassemble your device, follow the instructions in reverse order.

Team

IUPUI, Team 2-2, Harley SU 2016 Membro di IUPUI, Team 2-2, Harley SU 2016

IUPUI-HARLEY-SU16S2G2

5 Membri

2 Guide realizzate

0 Commenti

Aggiungi Commento

Visualizza Statistiche:

Ultime 24 Ore: 0

Ultimi 7 Giorni: 0

Ultimi 30 Giorni: 2

Tutti i Tempi: 278