Salta al contenuto principale

Slingbox 500 Top Cover Replacement

Cosa ti serve

  1. Slingbox 500 Top Cover Replacement, Top Cover: passo 1, immagine 1 di 1
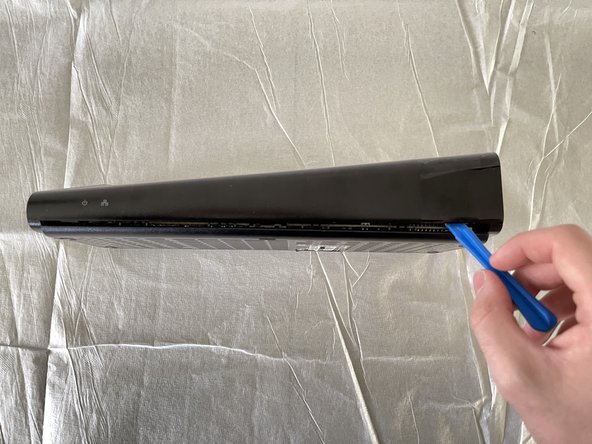
    • Remove the sticker on the back of the Slingbox that covers the rear screws using a spudger.

  2. Slingbox 500 Top Cover Replacement: passo 2, immagine 1 di 2 Slingbox 500 Top Cover Replacement: passo 2, immagine 2 di 2
    • Remove the seven 7.9 mm rear screws from the device using a Phillips #1 screwdriver.

    • Flip your Slingbox so the bottom is facing upwards.

    • Remove the four 7.9 mm screws using a Phillips #1 screwdriver.

    • You may have rubber feet on the bottom of your Slingbox. If you do, just gently remove them with your hands and set them aside to put back on later.

  3. Slingbox 500 Top Cover Replacement: passo 3, immagine 1 di 3 Slingbox 500 Top Cover Replacement: passo 3, immagine 2 di 3 Slingbox 500 Top Cover Replacement: passo 3, immagine 3 di 3
    • Remove the upper section of the case by rotating your Slingbox to view the back and lifting up on the higher corner.

    • Use the opening tool to disconnect the small clips in the front.

    • These may require some minor force to disconnect.

    • Remove the entire top of the Slingbox and set it aside.

Conclusione

To reassemble your device, follow these instructions in reverse order.

Team

UMass Dartmouth, Team 1-3, Simcock Fall 2021 Membro di UMass Dartmouth, Team 1-3, Simcock Fall 2021

UMASSD-SIMCOCK-F21S1G3

4 Membri

3 Guide realizzate

0 Commenti

Aggiungi Commento

Visualizza Statistiche:

Ultime 24 Ore: 1

Ultimi 7 Giorni: 1

Ultimi 30 Giorni: 2

Tutti i Tempi: 64