Introduzione
Often times our headphone wires, or other wires, can be completely severed. This guide is here to show you that this does not mean the device is now useless. I am going to show you how to expose your wires, and reattach them to themselves so that the current can continue to flow and the headphones can work again.
Cosa ti serve
-
-
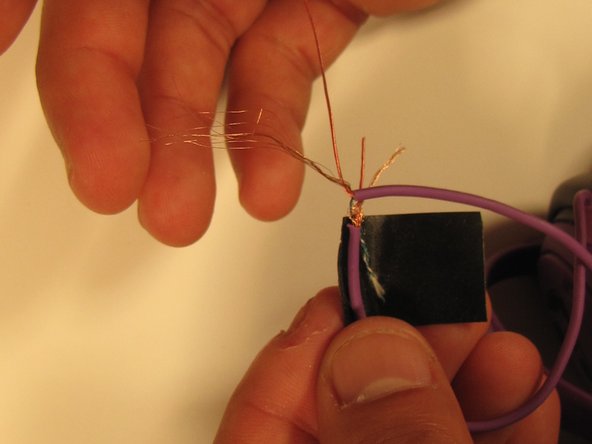
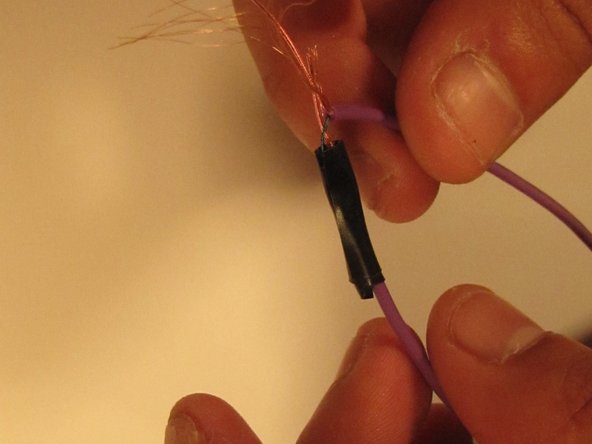
If your wire is severed, the first step is removing the rubber coating to expose both ends of the severed wire.
-
Do this by wedging it in a sharp crevice and pulling at the rubber coating. It should strip just the rubber coating. The small wedge in a spudger should suffice.
-
-


To reassemble your device, follow these instructions in reverse order.
To reassemble your device, follow these instructions in reverse order.
Team

USF Sarasota-Manatee, Team 1-2, Stewart Winter 2015 Membro di USF Sarasota-Manatee, Team 1-2, Stewart Winter 2015
USFSM-STEWART-W15S1G2
4 Membri
11 Guide realizzate