Salta al contenuto principale

SkullCandy Hesh Size Adjuster Replacement

Cosa ti serve

  1. SkullCandy Hesh Size Adjuster Replacement, Determine the damage: passo 1, immagine 1 di 2 SkullCandy Hesh Size Adjuster Replacement, Determine the damage: passo 1, immagine 2 di 2
    • Locate the break in the device.

  2. SkullCandy Hesh Size Adjuster Replacement: passo 2, immagine 1 di 1
    • Use a Phillips #0 screwdriver to remove the two 9 mm screws from the bottom inner casing beneath the break.

  3. SkullCandy Hesh Size Adjuster Replacement: passo 3, immagine 1 di 1
    • Remove the bottom inner casing to reveal the wire compartment and the port where the slider inserts.

  4. SkullCandy Hesh Size Adjuster Replacement: passo 4, immagine 1 di 2 SkullCandy Hesh Size Adjuster Replacement: passo 4, immagine 2 di 2
    • Cover the detached slider port in a generous layer of Plasti Dip, which works like glue. Also coat any exposed wire to seal the circuit.

  5. SkullCandy Hesh Size Adjuster Replacement: passo 5, immagine 1 di 1
    • Realign the broken size adjuster into the port with the Plasti Dip so that it can be secured to the ear piece.

  6. SkullCandy Hesh Size Adjuster Replacement: passo 6, immagine 1 di 1
    • Clamp the pieces in place by hand or with a binder clip until the Plasti Dip dries. Feel free to use a hair dryer on a low setting to speed up the process.

Conclusione

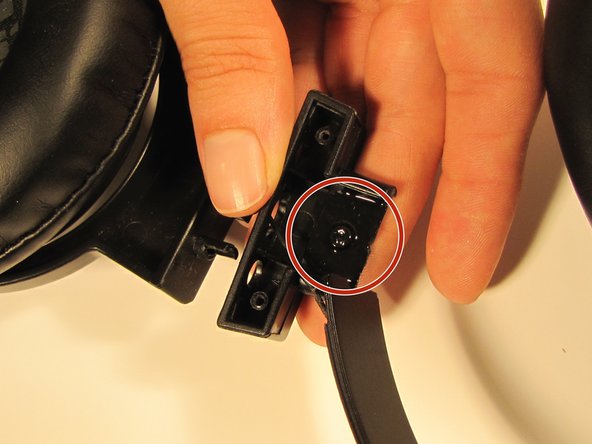
To reassemble your device, reattach the bottom inner casing with the Phillips #0 screwdriver and two removed screws.

0 Commenti

Aggiungi Commento

Visualizza Statistiche:

Ultime 24 Ore: 0

Ultimi 7 Giorni: 6

Ultimi 30 Giorni: 20

Tutti i Tempi: 827