Salta al contenuto principale

SiriusXM Onyx Casing Replacement

Cosa ti serve

  1. SiriusXM Onyx Casing Replacement, Casing: passo 1, immagine 1 di 1
    • Take the iFixit opening tool and place it between the back casing and the device as shown.
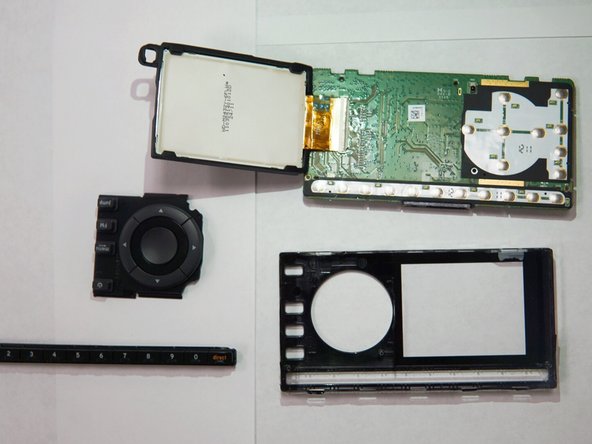
  2. SiriusXM Onyx Casing Replacement: passo 2, immagine 1 di 2 SiriusXM Onyx Casing Replacement: passo 2, immagine 2 di 2
    • Apply pressure to the iFixit opening tool, pushing down until the the plastic casing pops off.

  3. SiriusXM Onyx Casing Replacement: passo 3, immagine 1 di 2 SiriusXM Onyx Casing Replacement: passo 3, immagine 2 di 2
    • Use the Phillips PH00 screwdriver to remove the three marked screws.

  4. SiriusXM Onyx Casing Replacement: passo 4, immagine 1 di 3 SiriusXM Onyx Casing Replacement: passo 4, immagine 2 di 3 SiriusXM Onyx Casing Replacement: passo 4, immagine 3 di 3
    • Remove the buttons from the casing.

  5. SiriusXM Onyx Casing Replacement: passo 5, immagine 1 di 2 SiriusXM Onyx Casing Replacement: passo 5, immagine 2 di 2
    • Remove the motherboard, and the casing should be free.

Conclusione

To reassemble your device, follow these instructions in reverse order.

Un commento

Thank you! I couldn’t figure out how to get it open!

Cameron Miller - Replica

Aggiungi Commento

Visualizza Statistiche:

Ultime 24 Ore: 0

Ultimi 7 Giorni: 4

Ultimi 30 Giorni: 4

Tutti i Tempi: 250