Salta al contenuto principale

Questa guida ha delle modifiche più recenti. Passa all'ultima versione non verificata.

Sidekick II LCD Screen Replacement

Cosa ti serve

  1. Sidekick II LCD Screen Replacement, Outer Casing: passo 1, immagine 1 di 1
    • Use the plastic opening tool to remove the 4 buttons on each corner of the Sidekick.

    • Gently pry open button and remove button.

    • Do this for each of the 3 buttons remaining.

  2. Sidekick II LCD Screen Replacement: passo 2, immagine 1 di 2 Sidekick II LCD Screen Replacement: passo 2, immagine 2 di 2
    • The bumpers on the top and bottom of the phone can be removed by simply "peeling" them off.

  3. Sidekick II LCD Screen Replacement: passo 3, immagine 1 di 1
    • Use the T6 Torx Screwdriver to remove the 4 screws that are underneath the 4 buttons you removed in step one.

  4. Sidekick II LCD Screen Replacement: passo 4, immagine 1 di 1
    • Flip the screen up halfway (90 degrees), to reveal the 2 screws above the right side of the keyboard.

    • Use the Torx 6 screwdriver to remove these 2 screws.

    • Be careful in handling the phone after removing the screws, because the two main bodies of the phone are no longer attached.

  5. Sidekick II LCD Screen Replacement: passo 5, immagine 1 di 1
    • After removing the 6 screws and both bumpers, the phone will be easy to separate into the two main bodies.

    • You can use your hands to simply pull apart the top casing from the bottom casing.

  6. Sidekick II LCD Screen Replacement, LCD Screen: passo 6, immagine 1 di 2 Sidekick II LCD Screen Replacement, LCD Screen: passo 6, immagine 2 di 2
    • Flip the screen to its up position.

    • Remove screen from keyboard.

  7. Sidekick II LCD Screen Replacement: passo 7, immagine 1 di 1
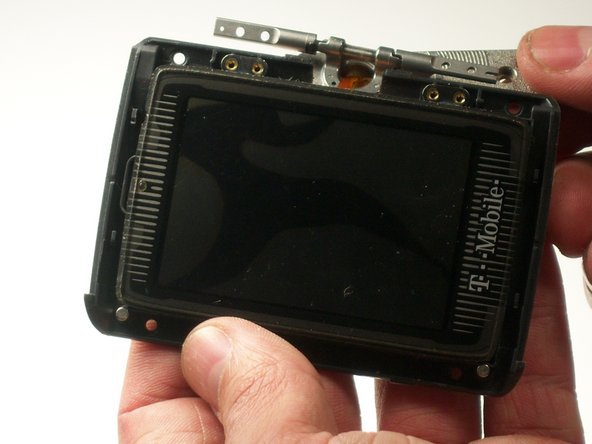
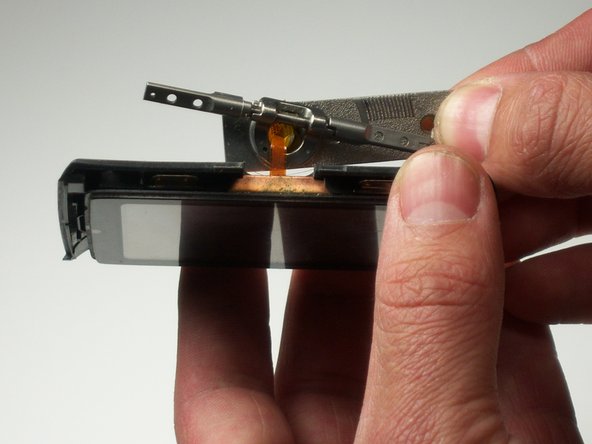
    • Remove 4 screws from back of screen.

  8. Sidekick II LCD Screen Replacement: passo 8, immagine 1 di 1
    • Separate screen from housing with your fingers.

  9. Sidekick II LCD Screen Replacement: passo 9, immagine 1 di 3 Sidekick II LCD Screen Replacement: passo 9, immagine 2 di 3 Sidekick II LCD Screen Replacement: passo 9, immagine 3 di 3
    • Remove 4 screws

    • Pay attention to the orientation of the screen on the backing because it is difficult to reassemble.

  10. Sidekick II LCD Screen Replacement: passo 10, immagine 1 di 1
    • Remove LCD protective cover with your fingers.

Linea Traguardo

Altre 2 persone hanno completato questa guida.

Team

Cal Poly, Team 3-19, Maness Winter 2010 Membro di Cal Poly, Team 3-19, Maness Winter 2010

CPSU-MANESS-W10S3G19

4 Membri

11 Guide realizzate

0 Commenti

Aggiungi Commento

Visualizza Statistiche:

Ultime 24 Ore: 0

Ultimi 7 Giorni: 2

Ultimi 30 Giorni: 5

Tutti i Tempi: 3,651