Salta al contenuto principale

Questa guida ha delle modifiche più recenti. Passa all'ultima versione non verificata.

ShowerDoorDirect Shower Speaker Motherboard Replacement

Cosa ti serve

  1. ShowerDoorDirect Shower Speaker Motherboard Replacement, Battery: passo 1, immagine 1 di 2 ShowerDoorDirect Shower Speaker Motherboard Replacement, Battery: passo 1, immagine 2 di 2
    • Remove the suction pad by pulling the suction out of the slot that it is in.

  2. ShowerDoorDirect Shower Speaker Motherboard Replacement: passo 2, immagine 1 di 1
    • Remove the four 9.09mm Philips #1 screws that hold the 2 pieces of the cover together.

    • Pull apart the two halves.

  3. ShowerDoorDirect Shower Speaker Motherboard Replacement: passo 3, immagine 1 di 1
    • Hold the base and pull up on the battery.

  4. ShowerDoorDirect Shower Speaker Motherboard Replacement: passo 4, immagine 1 di 3 ShowerDoorDirect Shower Speaker Motherboard Replacement: passo 4, immagine 2 di 3 ShowerDoorDirect Shower Speaker Motherboard Replacement: passo 4, immagine 3 di 3
    • Remove the four 5mm Phillips #1 screws from the motherboard.

    • Desolder the two wires connecting the battery tp the motherboard.

  5. ShowerDoorDirect Shower Speaker Motherboard Replacement, Motherboard: passo 5, immagine 1 di 1
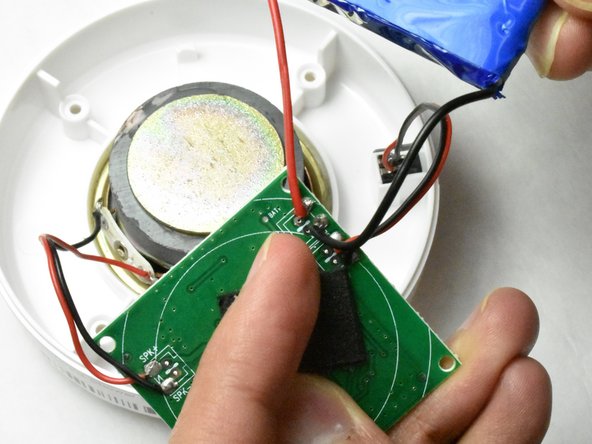
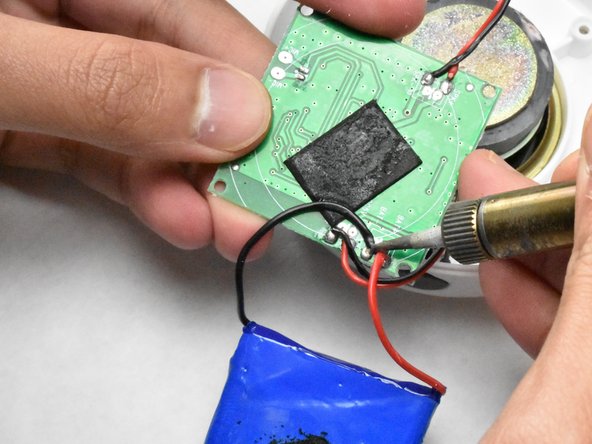
    • Desolder the four remaining wires that are connected to the motherboard.

Conclusione

To reassemble your device, follow these instructions in reverse order.

Matthew Dunkle

Membro da: 05/21/18

203 Reputazione

2 Guide realizzate

Team

IUPUI, Team S1-G1, Harley Spring 2018 Membro di IUPUI, Team S1-G1, Harley Spring 2018

IUPUI-HARLEY-S18S1G1

7 Membri

6 Guide realizzate

0 Commenti

Aggiungi Commento

Visualizza Statistiche:

Ultime 24 Ore: 0

Ultimi 7 Giorni: 5

Ultimi 30 Giorni: 13

Tutti i Tempi: 353