Salta al contenuto principale

Shark Rocket Powerhead AH401 Brushroll Cap Replacement

  1. Shark Rocket Powerhead AH401 Brushroll Cap Replacement, Brushroll: passo 1, immagine 1 di 3 Shark Rocket Powerhead AH401 Brushroll Cap Replacement, Brushroll: passo 1, immagine 2 di 3 Shark Rocket Powerhead AH401 Brushroll Cap Replacement, Brushroll: passo 1, immagine 3 di 3
    • Ensure the device is turned off and unplugged from any power source before beginning work.

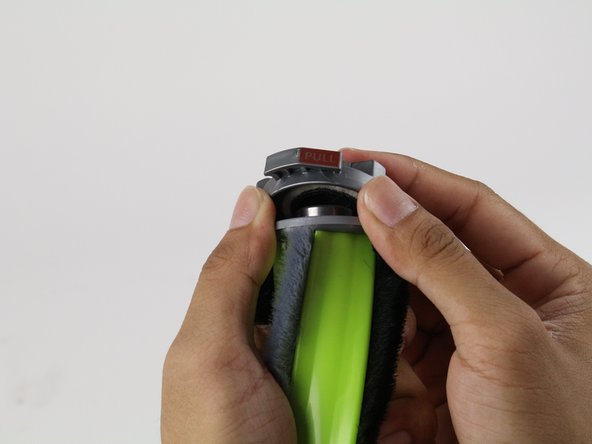
    • Locate the two tabs with white arrows on them. They are located on either side of the brushroll cover.

    • Slide the tabs away from the center of the vacuum to unlock the brushroll cover.

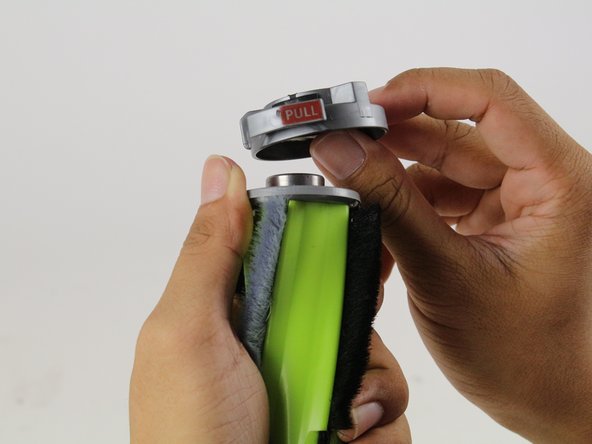
    • Lift the brushroll cover upward.

  2. Shark Rocket Powerhead AH401 Brushroll Cap Replacement: passo 2, immagine 1 di 2 Shark Rocket Powerhead AH401 Brushroll Cap Replacement: passo 2, immagine 2 di 2
    • Lift the brushroll out by pulling the tab labeled "pull".

  3. Shark Rocket Powerhead AH401 Brushroll Cap Replacement, Brushroll Cap: passo 3, immagine 1 di 3 Shark Rocket Powerhead AH401 Brushroll Cap Replacement, Brushroll Cap: passo 3, immagine 2 di 3 Shark Rocket Powerhead AH401 Brushroll Cap Replacement, Brushroll Cap: passo 3, immagine 3 di 3
    • Remove the cap by pushing the "pull" tab.

Conclusione

To reassemble your device, follow these instructions in reverse order.

Team

Cal Poly, Team S19-G3, Livingston Winter 2018 Membro di Cal Poly, Team S19-G3, Livingston Winter 2018

CPSU-LIVINGSTON-W18S19G3

4 Membri

18 Guide realizzate

0 Commenti

Aggiungi Commento

Visualizza Statistiche:

Ultime 24 Ore: 0

Ultimi 7 Giorni: 1

Ultimi 30 Giorni: 1

Tutti i Tempi: 943