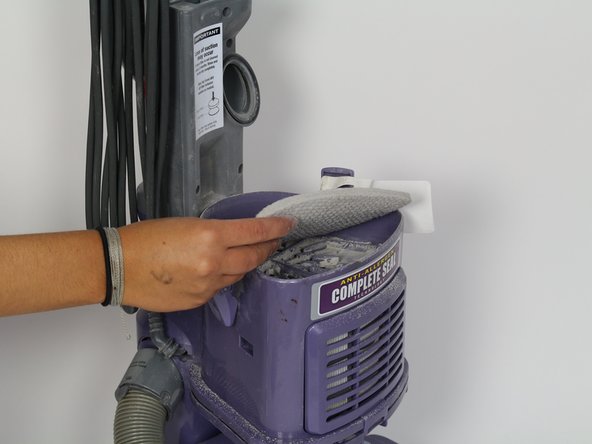
Salta al contenuto principale

Shark NV352 Filter Replacement

  1. Shark NV352 Filter Replacement, Filter: passo 1, immagine 1 di 1
    • Ensure that you are removing the filters from the vacuum in an area that you don't mind getting dirty because the filters will be very dusty.

    • Lift the latches on both sides of the vacuum to release the dust canister.

  2. Shark NV352 Filter Replacement: passo 2, immagine 1 di 2 Shark NV352 Filter Replacement: passo 2, immagine 2 di 2
    • Tilt the dust canister forward to release it from its position.

    • Carefully lift away the dust canister and set it aside.

  3. Shark NV352 Filter Replacement: passo 3, immagine 1 di 3 Shark NV352 Filter Replacement: passo 3, immagine 2 di 3 Shark NV352 Filter Replacement: passo 3, immagine 3 di 3
    • Remove the upper filter by lifting upwards on it.

    • Now that the lower filter is exposed, remove it by pulling it upwards.

Conclusione

To reassemble your device, follow these instructions in reverse order.

Altre 4 persone hanno completato questa guida.

Team

Cal Poly, Team S18-G5, Forte Fall 2017 Membro di Cal Poly, Team S18-G5, Forte Fall 2017

CPSU-FORTE-F17S18G5

4 Membri

10 Guide realizzate

0 Commenti

Aggiungi Commento

Visualizza Statistiche:

Ultime 24 Ore: 0

Ultimi 7 Giorni: 3

Ultimi 30 Giorni: 13

Tutti i Tempi: 949