Introduzione
Are you trying to remove the bumper of your Shark IQ AV993 robot vacuum? Follow along on this simple five-step guide to get your vacuum up and running again. Removing the bumper will allow you to replace it with a new bumper, or clean inside the vacuum. Over time the bumper of your Shark robot may become misaligned or there may be damage to the metal bracket. Usually, this is an effect of the vacuum jamming into objects, furniture, and walls. The process of removing the bumper is very simple and only requires loosening a few screws. To prevent further damage to the vacuum you must be gentle with the device and take your time. There are no hazards during this process.
Cosa ti serve
-
-
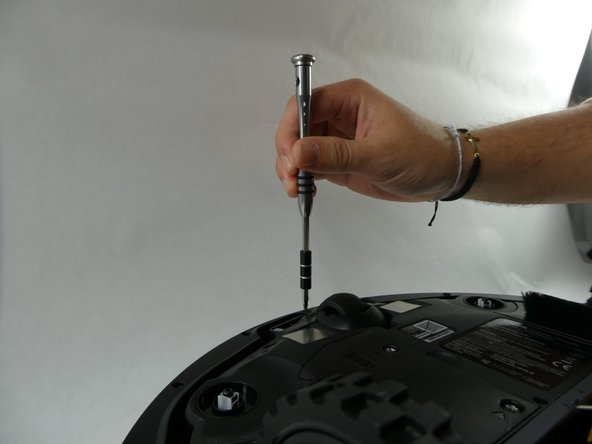
Unscrew the two 14 mm screws on the battery panel using a Phillips #1 screwdriver.
-
-
-
-
Remove the five 10 mm screws from the bottom of the device using a T15 Torx screwdriver.
-


To reassemble your device, follow these instructions in reverse order.
To reassemble your device, follow these instructions in reverse order.

Team

UMass Dartmouth, Team 3-3, Botvin Fall 2022 Membro di UMass Dartmouth, Team 3-3, Botvin Fall 2022
UMASSD-BOTVIN-F22S3G3
3 Membri
6 Guide realizzate