Introduzione
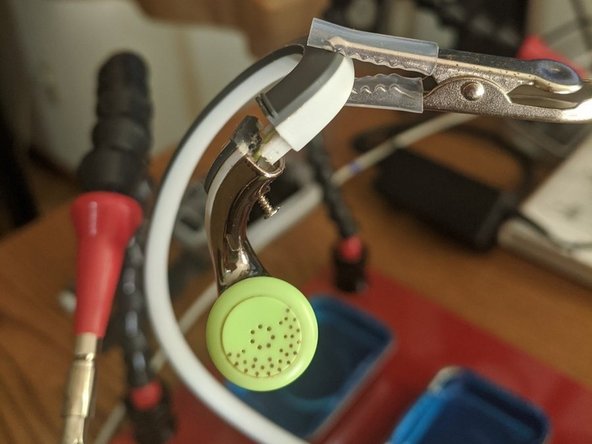
The Sennheiser PMX 686 headphones are constructed from separate neck band and earphone plastic pieces which have a tendency to snap. To create a strong bond with the small surfaces involved, pry open the housing to remove any floating broken plastic pieces, hold the neck band and earphone pieces in place with a strong, flexible clamp, and fill the junction with plastic-specific glue.
Cosa ti serve
-
-
Before adding any glue, one should first remove any broken small plastic pieces floating inside the earphones, otherwise the bond will be brittle. To pry apart the earphones, remove the small Phillips screw from the glossy plastic near the earphone.
-
-
-
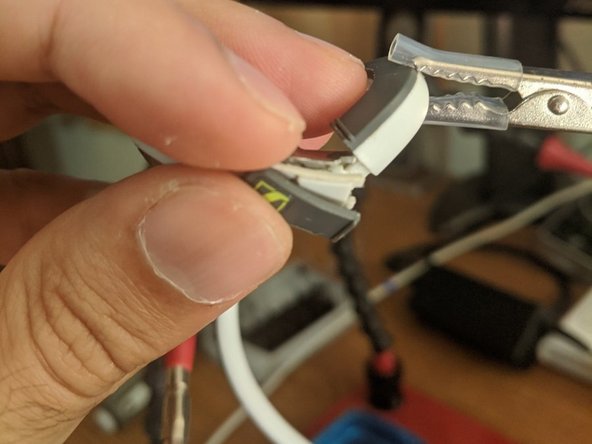
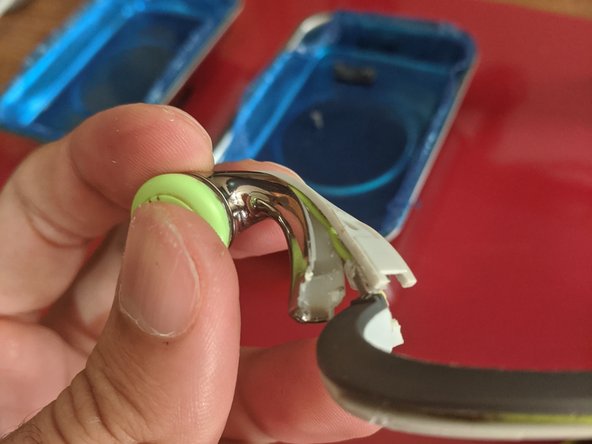
At the top of the earphone, use the Jimmy tool to separate, but not remove, the glossy plastic to be able to access the broken pieces.
-
Repeat for the the bottom of the earphone.
-
-
-
-
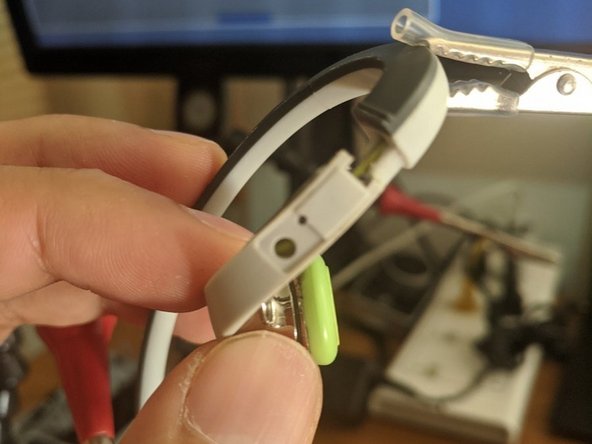
Remove the grey Sennheiser logo plastic cover with the Jimmy tool so that the glue can be added as close as possible to the small contact surface between the earphone and neck band.
-
-
-
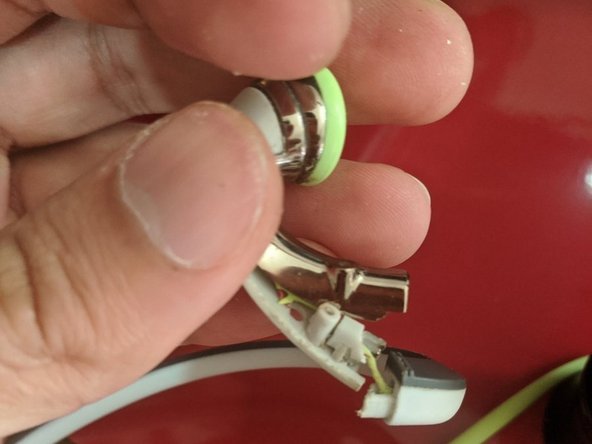
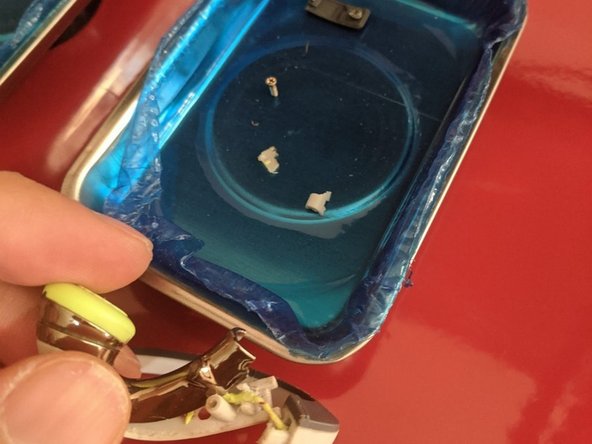
Now you should have enough of an opening to remove the broken plastic pieces. The two white broken plastic pieces that wrap arounded the wire have been removed and are shown in the magnetic tray in the last photo.
-
-
-
Tighten the Phillips screw to restore the original shape of the earphone piece, but don't put on the Sennheiser logo plastic piece.
-
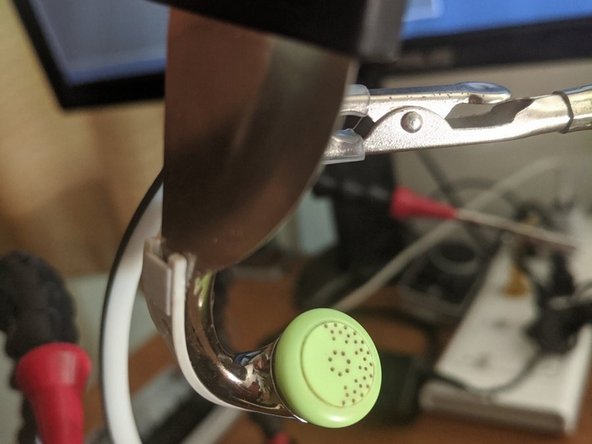
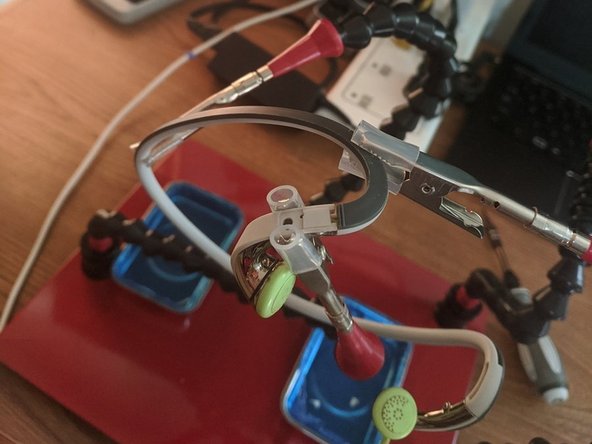
Carefully position the earphone and neck band using your clamps, making sure that there is no gap in between them. In addition to the clamp holding the neck band at a place close to the earphone, an additional clamp further down the neck band was necessary to prevent the neck band from moving around.
-
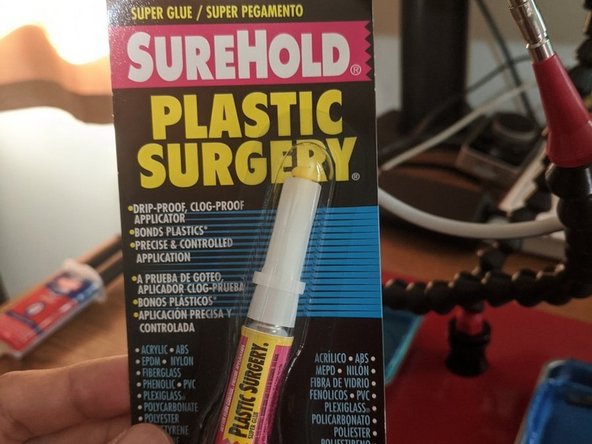
Fill the plastic-specific glue into the slim rectangle hole revealed by removing the logo cover. Use a lot of glue because the surfaces are small. Although the glue instructions mention the bond only requires seconds, I left the clamp alone for about an hour because we're using more glue than recommended which may take longer to dry.
-