Salta al contenuto principale

Sanyo-PM 8200 Back Casing Replacement

Solo Prerequisita
Questa guida è destinata a essere usata solo come prerequisito per altre guide. Da sola è incompleta.

Cosa ti serve

  1. Sanyo-PM 8200 Back Casing Replacement, Back Casing: passo 1, immagine 1 di 1
    • Use a push pin or tweezers to remove the neoprene screw-cover located on the upper, left corner of the back casing.

  2. Sanyo-PM 8200 Back Casing Replacement: passo 2, immagine 1 di 1
    • Unscrew all four, 5mm Tri-Wing screws.

  3. Sanyo-PM 8200 Back Casing Replacement: passo 3, immagine 1 di 2 Sanyo-PM 8200 Back Casing Replacement: passo 3, immagine 2 di 2
    • Pry the back casing off the device using a spudger. Work your way along the edges to completely separate the back casing from the device.

    • This step may require extra force. But too much force could break the back casing.

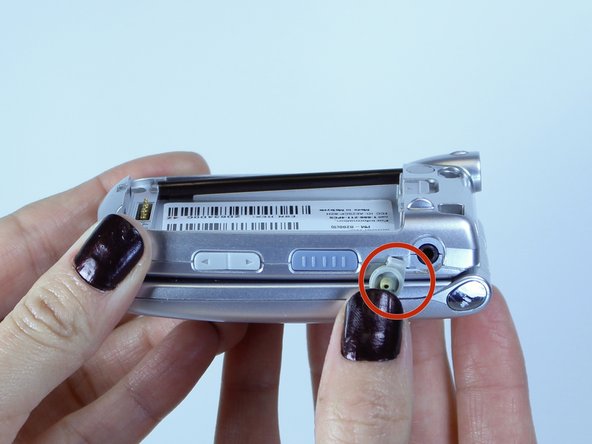
    • Remove the headphone jack cover when separating the back casing. The headphone jack is located on the opposite side of the antenna.

Conclusione

To reassemble your device, follow these instructions in reverse order.

Team

USF Tampa, Team 1-6, Leahy Fall 2014 Membro di USF Tampa, Team 1-6, Leahy Fall 2014

USFT-LEAHY-F14S1G6

6 Membri

10 Guide realizzate

0 Commenti

Aggiungi Commento

Visualizza Statistiche:

Ultime 24 Ore: 0

Ultimi 7 Giorni: 0

Ultimi 30 Giorni: 0

Tutti i Tempi: 43