Salta al contenuto principale

Sanyo SCP-8100 Speaker Replacement

Cosa ti serve

  1. Sanyo SCP-8100 Speaker Replacement, Battery: passo 1, immagine 1 di 3 Sanyo SCP-8100 Speaker Replacement, Battery: passo 1, immagine 2 di 3 Sanyo SCP-8100 Speaker Replacement, Battery: passo 1, immagine 3 di 3
    • Push and hold the button on the back toward the direction of the arrow to unlock the battery.

    • Lift and remove the battery from the back of the phone.

  2. Sanyo SCP-8100 Speaker Replacement, Back Panel: passo 2, immagine 1 di 2 Sanyo SCP-8100 Speaker Replacement, Back Panel: passo 2, immagine 2 di 2
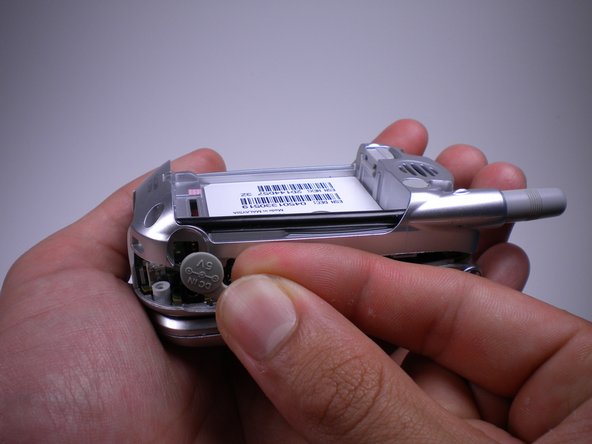
    • Using a push pin, pull out the plug on the back, located under the antenna.

    • You may try to use a spudger or opening tool, however, you may damage the plug because those tools are too thick.

  3. Sanyo SCP-8100 Speaker Replacement: passo 3, immagine 1 di 1
    • Unscrew the four 6mm long screws with a Tri-Wing Y1 screwdriver.

  4. Sanyo SCP-8100 Speaker Replacement: passo 4, immagine 1 di 2 Sanyo SCP-8100 Speaker Replacement: passo 4, immagine 2 di 2
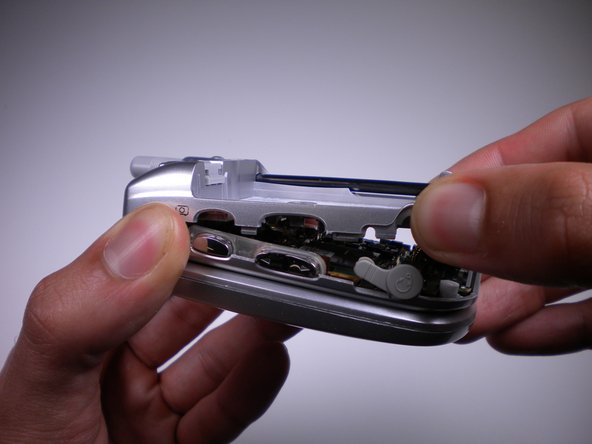
    • Use a plastic opening tool to pry the back panel along the edges.

    • You may need to apply some force when prying.

  5. Sanyo SCP-8100 Speaker Replacement: passo 5, immagine 1 di 3 Sanyo SCP-8100 Speaker Replacement: passo 5, immagine 2 di 3 Sanyo SCP-8100 Speaker Replacement: passo 5, immagine 3 di 3
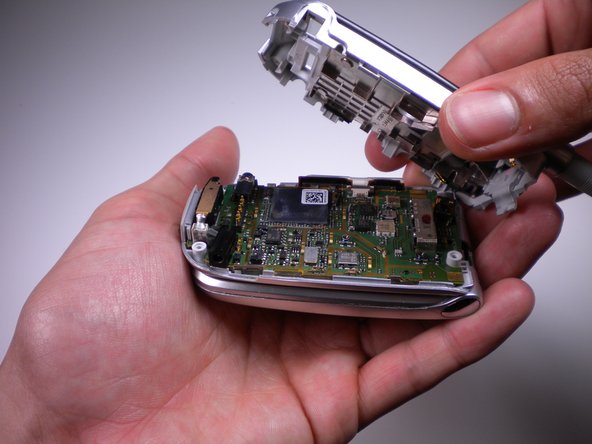
    • While removing the back panel, take out the rubber cover on each side.

  6. Sanyo SCP-8100 Speaker Replacement, Speaker: passo 6, immagine 1 di 2 Sanyo SCP-8100 Speaker Replacement, Speaker: passo 6, immagine 2 di 2
    • Pull the connector at the top of the back panel out.

    • You may need to use some force when pulling.

    • It may still be connected to the phone instead of the back panel.

  7. Sanyo SCP-8100 Speaker Replacement: passo 7, immagine 1 di 2 Sanyo SCP-8100 Speaker Replacement: passo 7, immagine 2 di 2
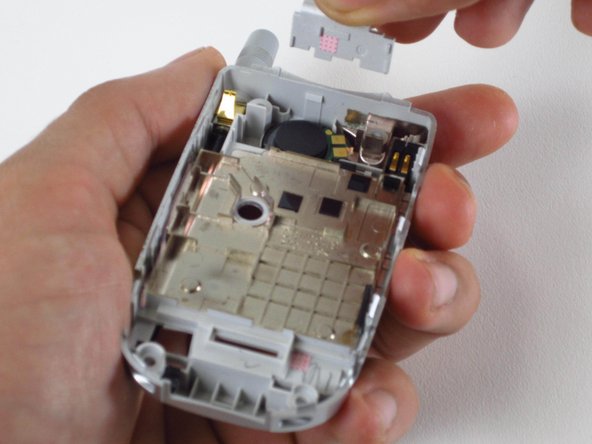
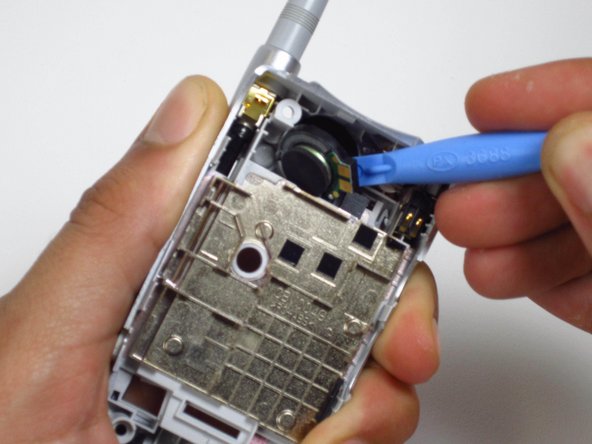
    • Use the opening tool to lift the speaker out from the right side.

Conclusione

To reassemble your device, follow these instructions in reverse order.

Un'altra persona ha completato questa guida.

Paul Truong

Membro da: 04/15/13

1 Reputazione

2 Guide realizzate

Team

Cal Poly, Team 10-41, Amido Spring 2013 Membro di Cal Poly, Team 10-41, Amido Spring 2013

CPSU-AMIDO-S13S10G41

4 Membri

12 Guide realizzate

0 Commenti

Aggiungi Commento

Visualizza Statistiche:

Ultime 24 Ore: 0

Ultimi 7 Giorni: 0

Ultimi 30 Giorni: 1

Tutti i Tempi: 381