Salta al contenuto principale

Sanyo SCP-8100 Keypad Replacement

Cosa ti serve

  1. Sanyo SCP-8100 Keypad Replacement, Battery: passo 1, immagine 1 di 3 Sanyo SCP-8100 Keypad Replacement, Battery: passo 1, immagine 2 di 3 Sanyo SCP-8100 Keypad Replacement, Battery: passo 1, immagine 3 di 3
    • Push and hold the button on the back toward the direction of the arrow to unlock the battery.

    • Lift and remove the battery from the back of the phone.

  2. Sanyo SCP-8100 Keypad Replacement, Back Panel: passo 2, immagine 1 di 2 Sanyo SCP-8100 Keypad Replacement, Back Panel: passo 2, immagine 2 di 2
    • Using a push pin, pull out the plug on the back, located under the antenna.

    • You may try to use a spudger or opening tool, however, you may damage the plug because those tools are too thick.

  3. Sanyo SCP-8100 Keypad Replacement: passo 3, immagine 1 di 1
    • Unscrew the four 6mm long screws with a Tri-Wing Y1 screwdriver.

  4. Sanyo SCP-8100 Keypad Replacement: passo 4, immagine 1 di 2 Sanyo SCP-8100 Keypad Replacement: passo 4, immagine 2 di 2
    • Use a plastic opening tool to pry the back panel along the edges.

    • You may need to apply some force when prying.

  5. Sanyo SCP-8100 Keypad Replacement: passo 5, immagine 1 di 3 Sanyo SCP-8100 Keypad Replacement: passo 5, immagine 2 di 3 Sanyo SCP-8100 Keypad Replacement: passo 5, immagine 3 di 3
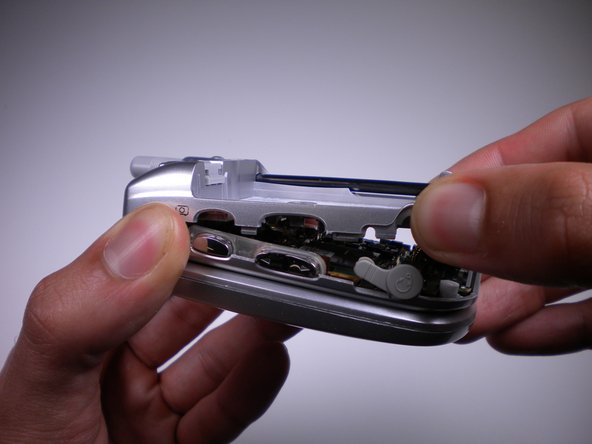
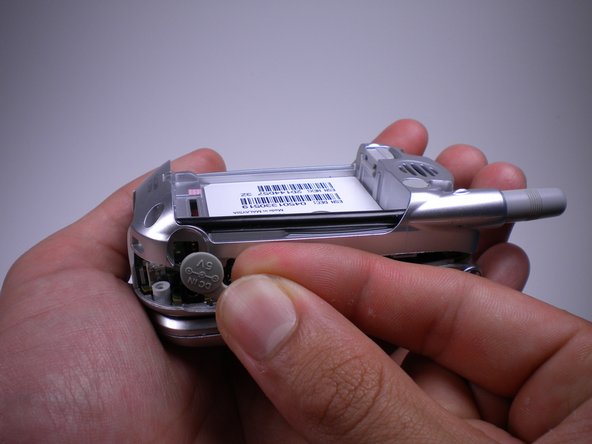
    • While removing the back panel, take out the rubber cover on each side.

  6. Sanyo SCP-8100 Keypad Replacement, Keypad: passo 6, immagine 1 di 2 Sanyo SCP-8100 Keypad Replacement, Keypad: passo 6, immagine 2 di 2
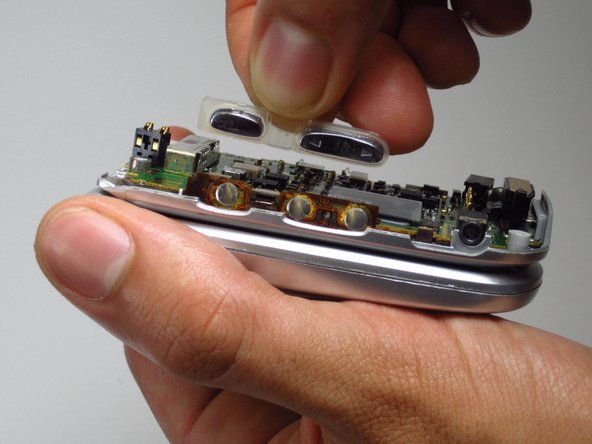
    • Pull the volume and camera buttons off from the side of the phone.

  7. Sanyo SCP-8100 Keypad Replacement: passo 7, immagine 1 di 2 Sanyo SCP-8100 Keypad Replacement: passo 7, immagine 2 di 2
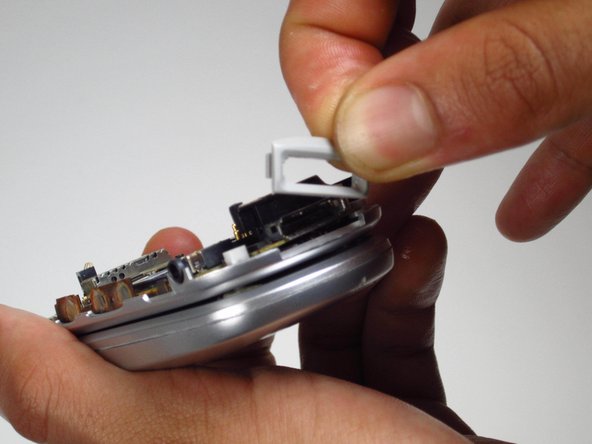
    • Pull the gray frame covering the charging port from the bottom of the phone.

  8. Sanyo SCP-8100 Keypad Replacement: passo 8, immagine 1 di 2 Sanyo SCP-8100 Keypad Replacement: passo 8, immagine 2 di 2
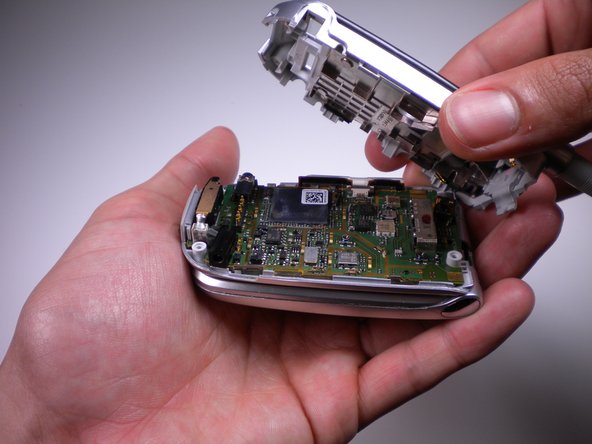
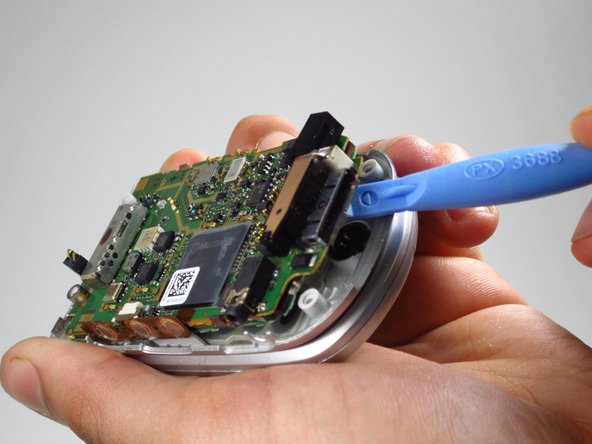
    • Use the opening tool to lift the motherboard up from the phone.

    • Be careful and pry the motherboard off slowly. The motherboard will be attached to the phone at the top by a metal ribbon.

  9. Sanyo SCP-8100 Keypad Replacement: passo 9, immagine 1 di 3 Sanyo SCP-8100 Keypad Replacement: passo 9, immagine 2 di 3 Sanyo SCP-8100 Keypad Replacement: passo 9, immagine 3 di 3
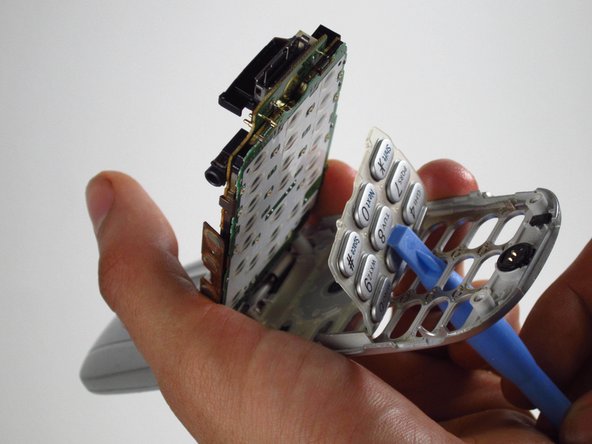
    • Flip open the phone, exposing the keypad.

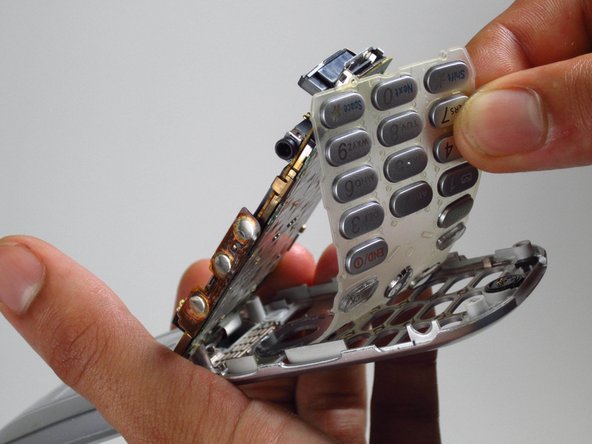
    • Use the opening tool to push the buttons from the bottom to lift the rubber keypad up.

    • Pull the keypad out of the phone.

Conclusione

To reassemble your device, follow these instructions in reverse order.

Un'altra persona ha completato questa guida.

Team

Cal Poly, Team 10-41, Amido Spring 2013 Membro di Cal Poly, Team 10-41, Amido Spring 2013

CPSU-AMIDO-S13S10G41

4 Membri

12 Guide realizzate

0 Commenti

Aggiungi Commento

Visualizza Statistiche:

Ultime 24 Ore: 0

Ultimi 7 Giorni: 1

Ultimi 30 Giorni: 1

Tutti i Tempi: 367