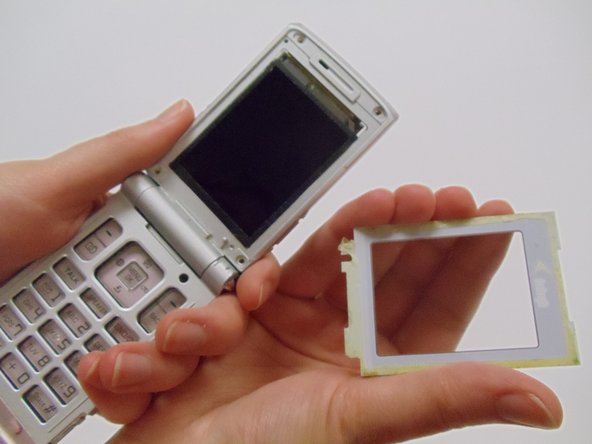
Salta al contenuto principale

Sanyo Katana Front Case Replacement

Cosa ti serve

  1. Sanyo Katana Front Case Replacement, Screen Protector: passo 1, immagine 1 di 2 Sanyo Katana Front Case Replacement, Screen Protector: passo 1, immagine 2 di 2
    • With the flat end of a spudger, remove the plastic covers located on the corners of the display near the hinge and above the screen, revealing four screws underneath.

  2. Sanyo Katana Front Case Replacement: passo 2, immagine 1 di 2 Sanyo Katana Front Case Replacement: passo 2, immagine 2 di 2
    • Remove the 4.4mm screw in each corner using the Tri-wing Y0 screwdriver.

  3. Sanyo Katana Front Case Replacement: passo 3, immagine 1 di 2 Sanyo Katana Front Case Replacement: passo 3, immagine 2 di 2
    • Carefully pry the screen protector off the phone using the flat end of the spudger.

    • This will require a bit of force as the back of the screen protector is lined with an adhesive material.

    • Once free from the adhesive, pull the screen protector away from the phone.

  4. Sanyo Katana Front Case Replacement, Front Case: passo 4, immagine 1 di 3 Sanyo Katana Front Case Replacement, Front Case: passo 4, immagine 2 di 3 Sanyo Katana Front Case Replacement, Front Case: passo 4, immagine 3 di 3
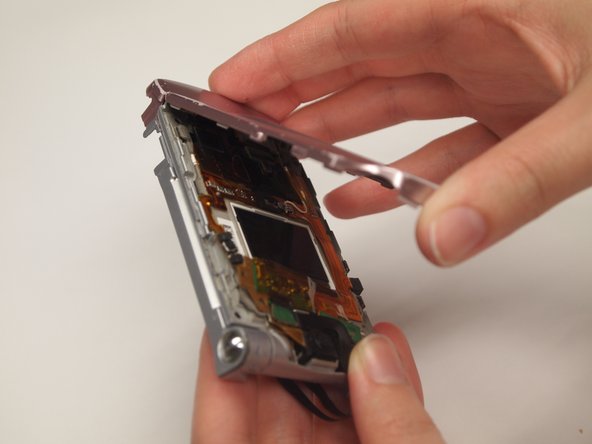
    • Use the spudger to pry off the front case from the left and right sides of the device.

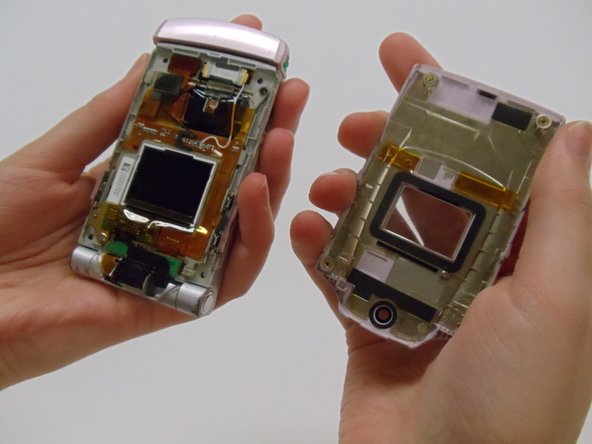
    • Once it has popped off, pull the casing apart with fingers.

Conclusione

To reassemble your device, follow these instructions in reverse order.

StephenYH

Membro da: 03/11/13

20 Reputazione

3 Guide realizzate

Team

Clemson, Team 12-1, Benson Spring 2013 Membro di Clemson, Team 12-1, Benson Spring 2013

CLEM-BENSON-S13S12G1

4 Membri

20 Guide realizzate

0 Commenti

Aggiungi Commento

Visualizza Statistiche:

Ultime 24 Ore: 0

Ultimi 7 Giorni: 2

Ultimi 30 Giorni: 2

Tutti i Tempi: 248