Questa versione può contenere modifiche errate. Passa all'ultima istantanea verificata.
Cosa ti serve
-
Questo passaggio è privo di traduzione. Aiuta a tradurlo
-
Remove the battery compartment cover.
-
Remove the battery.
-
-
Questo passaggio è privo di traduzione. Aiuta a tradurlo
-
Locate and remove the screw next to the battery compartment lid.
-
-
Questo passaggio è privo di traduzione. Aiuta a tradurlo
-
Locate the interlocking pegs along the seam of the device's casings.
-
Gently pry the pegs apart one at a time, working your way around the case.
-
-
Questo passaggio è privo di traduzione. Aiuta a tradurlo
-
The battery contact springs may prevent the case from separating.
-
Push the battery contact springs down through the hole in the case.
-
-
Questo passaggio è privo di traduzione. Aiuta a tradurlo
-
The casing protecting the USB and headphone jacks must be removed.
-
Locate and gently pry apart the two interlocking clips holding it in place.
-
The outer casings may now be removed and the MP3 player should separate.
-
-
-
Questo passaggio è privo di traduzione. Aiuta a tradurlo
-
You now have access to all components found on the inside of the device!
-
-
Questo passaggio è privo di traduzione. Aiuta a tradurlo
-
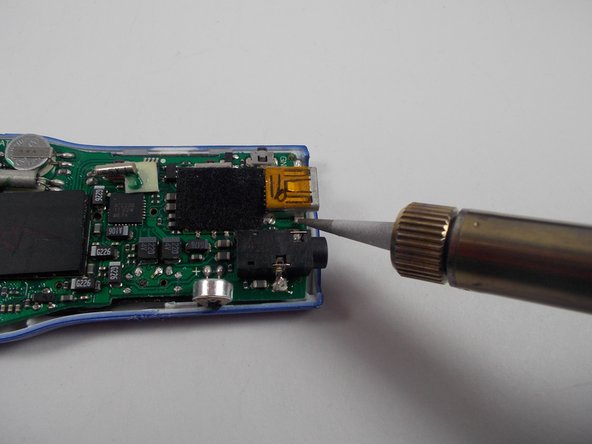
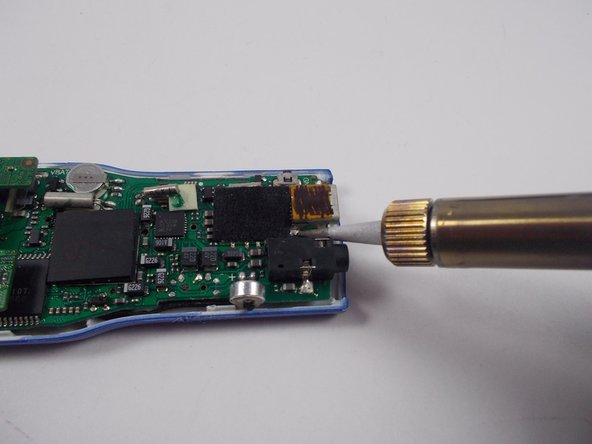
Find the soldered connections shared between the USB jack and the motherboard.
-
-
Questo passaggio è privo di traduzione. Aiuta a tradurlo
-
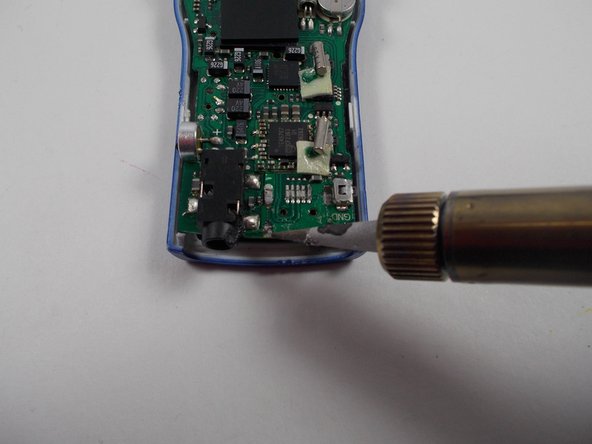
Use the soldering iron to liquefy the solder connecting the USB Jack to the motherboard.
-
-
Questo passaggio è privo di traduzione. Aiuta a tradurlo
-
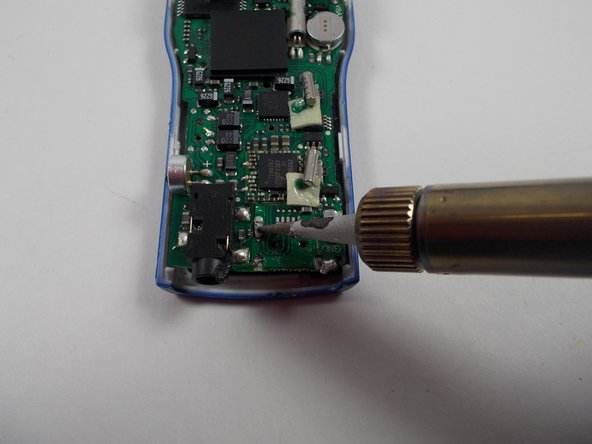
Be sure to always elevate the hot end of the soldering iron on a metal stand to prevent incidental burns.
-
-
Questo passaggio è privo di traduzione. Aiuta a tradurlo
-
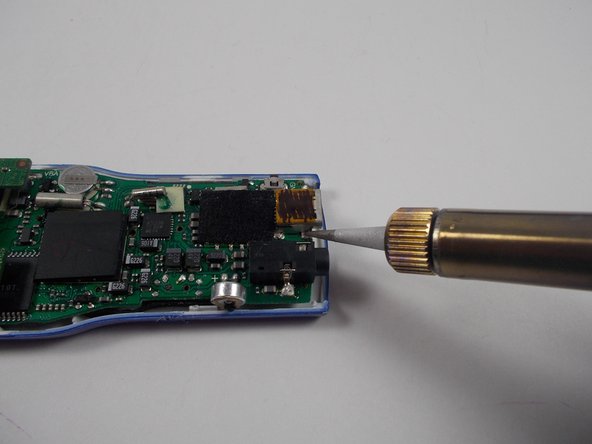
With the new USB jack in place, use the soldering iron and solder to create a stable connection between the motherboard and USB jack.
-
Be sure to allow the new solder to cool and harden.
-


Team

UMass Dartmouth, Team 1-8, Shastany Fall 2013 Membro di UMass Dartmouth, Team 1-8, Shastany Fall 2013
UMASSD-SHASTANY-F13S1G8
3 Membri
6 Guide realizzate
2 Commenti
Wearing gloves with a soldering iron? If you need gloves you're grabbing the wrong end... Any one who cant figure out which end is the hot one, and need to be reminded to keep the hot end off of ...anything... including skin, probably shouldnt be attempting this level of repair...
Also, no cleaning the cut off bits of the old connector? They're plainly visible in one of the photos, yet the data pins dont seem to be mentioned at all in the write-up. In fact, the only points you illustrate to touch with the iron are the stabilization tabs, not the actual data/power pins.
The better way to prepare the PCB for a new connector would be to use solder wick to clean the pads, then tin the pads on the PCB with a little glop of solder on each, the same on the connector going in so that all one has to do is hit one of the support tabs to afix it in place, make sure the data pins are aligned, tap each pin with the iron to quickly liquefy the solder fixing them in place, then finish up with the other two support tabs.
Where can you buy the replacements for the USB ?
And where can I buy replacements for the battery coils? I've been looking and I this is the exact thing I need to fix mine but I don't know what to buy the stuff. Can you give any recommendations? Any websites something affordable please.