Salta al contenuto principale

Questa guida ha delle modifiche più recenti. Passa all'ultima versione non verificata.

Samsung Radiant360 R3 Motherboard Replacement

Cosa ti serve

  1. Samsung Radiant360 R3 Motherboard Replacement, Wireless Setup Button and USB Module: passo 1, immagine 1 di 3 Samsung Radiant360 R3 Motherboard Replacement, Wireless Setup Button and USB Module: passo 1, immagine 2 di 3 Samsung Radiant360 R3 Motherboard Replacement, Wireless Setup Button and USB Module: passo 1, immagine 3 di 3
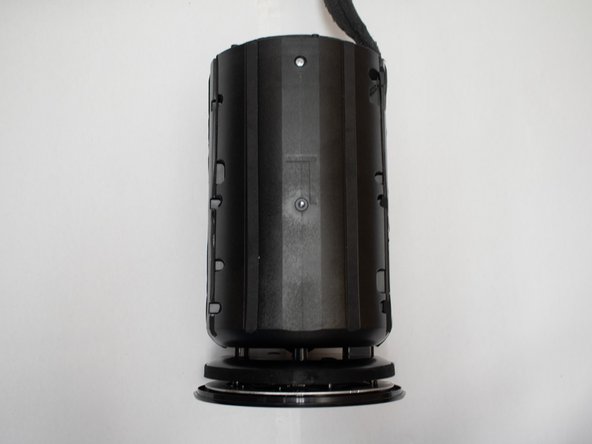
    • Flip the device so that the bottom of the device is facing you. Remove these feet with a pair of tweezers.

    • Remove the four 10mm long screws with the Phillips #1 screwdriver.

  2. Samsung Radiant360 R3 Motherboard Replacement: passo 2, immagine 1 di 1
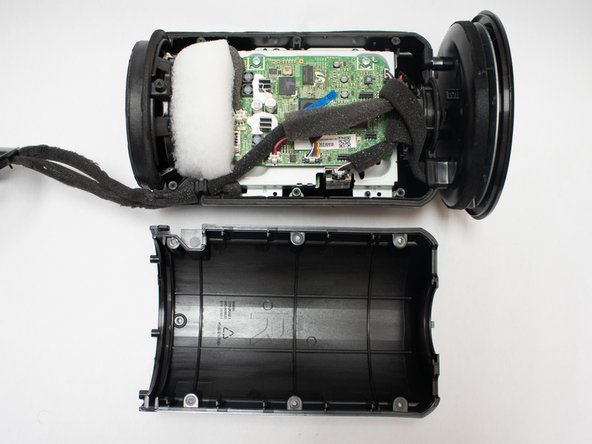
    • Remove the bottom shell from the speaker.

  3. Samsung Radiant360 R3 Motherboard Replacement: passo 3, immagine 1 di 2 Samsung Radiant360 R3 Motherboard Replacement: passo 3, immagine 2 di 2
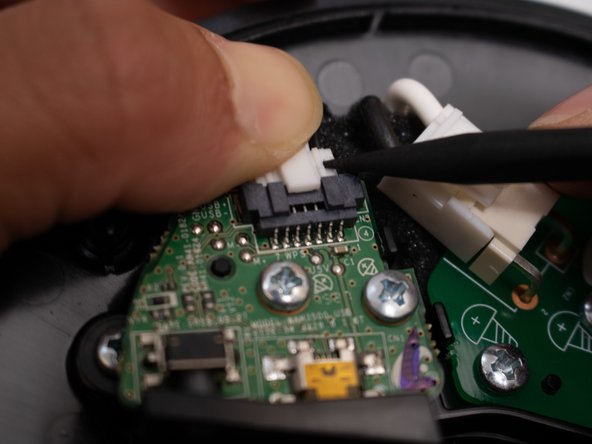
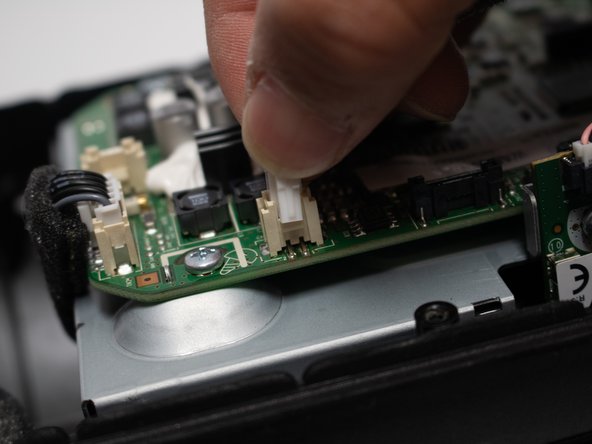
    • Remove the connector from the board by pressing down on the center tab while nudging the connector away with a spudger.

    • Be careful not to pull directly on the wires or apply too much pressure, or you risk breaking the connector.

  4. Samsung Radiant360 R3 Motherboard Replacement: passo 4, immagine 1 di 1
    • Remove the two 10mm long screws from the board utilizing the Phillips #1 screwdriver.

  5. Samsung Radiant360 R3 Motherboard Replacement: passo 5, immagine 1 di 1
    • Use a spudger to press the plastic tab away from the board until the board pops up.

    • Remove the board with the USB module from the device.

  6. Samsung Radiant360 R3 Motherboard Replacement, Wireless Module: passo 6, immagine 1 di 2 Samsung Radiant360 R3 Motherboard Replacement, Wireless Module: passo 6, immagine 2 di 2
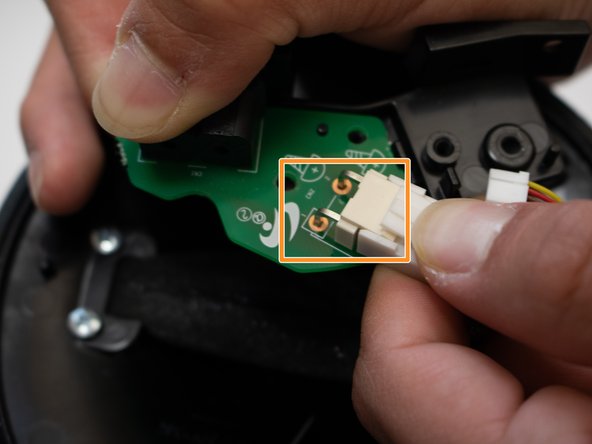
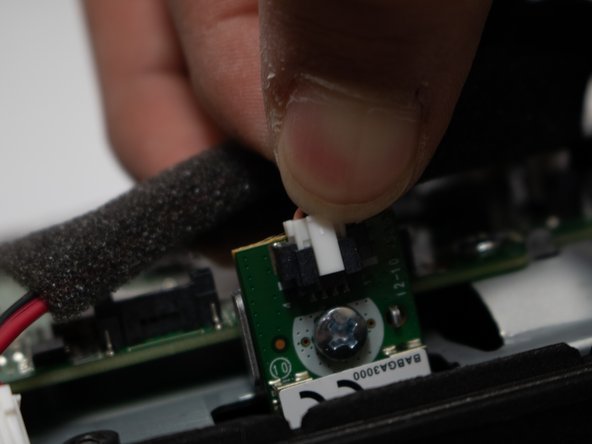
    • Remove the two 12mm long screws with the Phillips #1 screwdriver.

    • Unplug white plug connected to the green circuit board.

  7. Samsung Radiant360 R3 Motherboard Replacement: passo 7, immagine 1 di 2 Samsung Radiant360 R3 Motherboard Replacement: passo 7, immagine 2 di 2
    • Remove the four 12mm long screws with the Phillips #1 screwdriver.

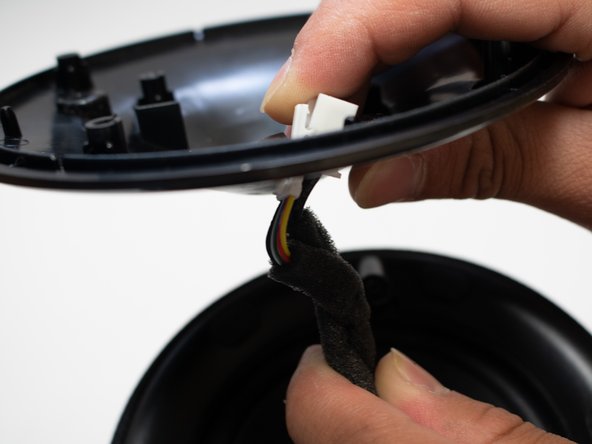
    • Remove the cover, and slide the cord through the hole.

  8. Samsung Radiant360 R3 Motherboard Replacement: passo 8, immagine 1 di 3 Samsung Radiant360 R3 Motherboard Replacement: passo 8, immagine 2 di 3 Samsung Radiant360 R3 Motherboard Replacement: passo 8, immagine 3 di 3
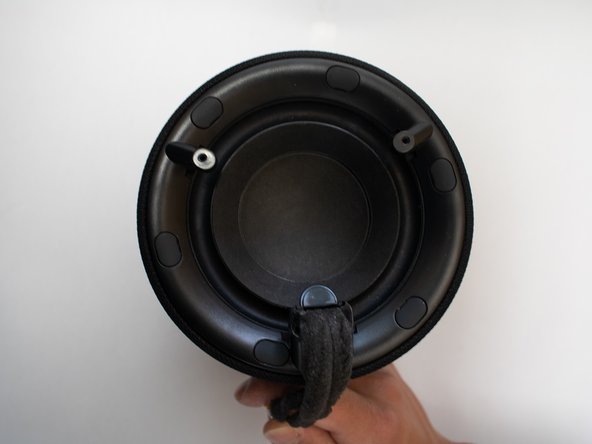
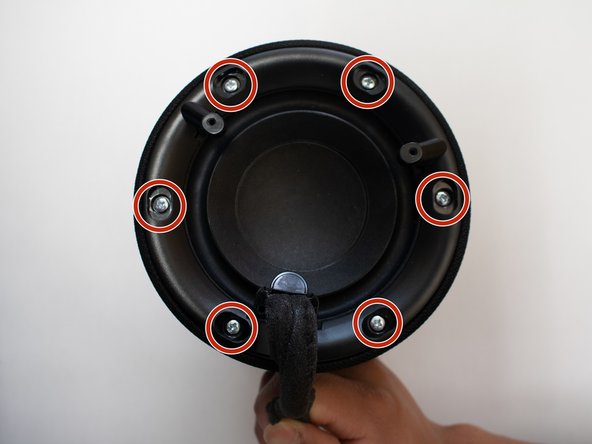
    • Remove rubber covers covering the screws with pair of tweezers.

    • Remove the six 12mm screws that are under the rubber covers with the Phillips #1 screwdriver.

  9. Samsung Radiant360 R3 Motherboard Replacement: passo 9, immagine 1 di 1
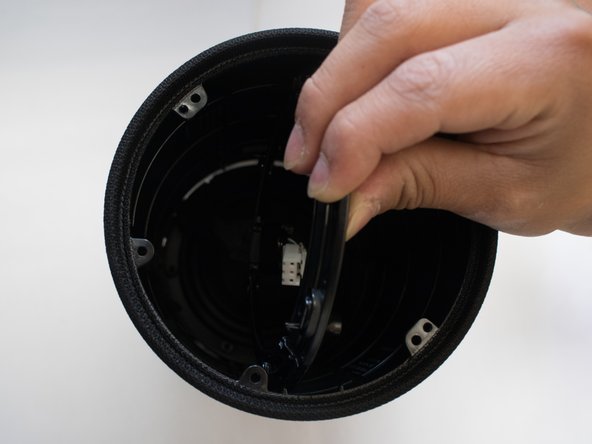
    • Remove the unscrewed cover as much as possible.

    • It is very difficult to get plugs at the end of the cord through the cover without breaking, so just slide to the edge.

  10. Samsung Radiant360 R3 Motherboard Replacement: passo 10, immagine 1 di 3 Samsung Radiant360 R3 Motherboard Replacement: passo 10, immagine 2 di 3 Samsung Radiant360 R3 Motherboard Replacement: passo 10, immagine 3 di 3
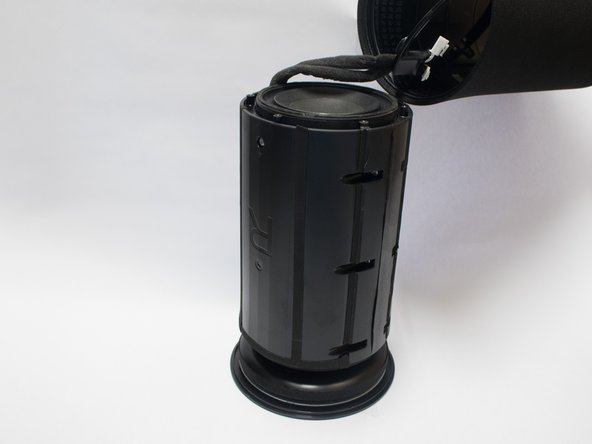
    • Push the body out through the outer shell of device.

    • Carefully push the ring attached to the cable through the shell.

  11. Samsung Radiant360 R3 Motherboard Replacement: passo 11, immagine 1 di 3 Samsung Radiant360 R3 Motherboard Replacement: passo 11, immagine 2 di 3 Samsung Radiant360 R3 Motherboard Replacement: passo 11, immagine 3 di 3
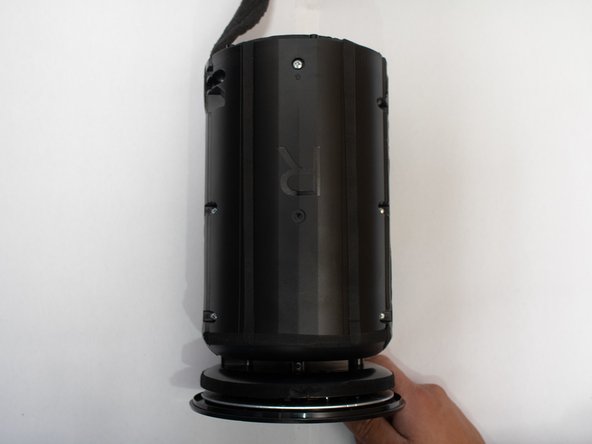
    • Remove the eight 12mm long screws around the body with the Phillips #1 screwdriver.

  12. Samsung Radiant360 R3 Motherboard Replacement: passo 12, immagine 1 di 2 Samsung Radiant360 R3 Motherboard Replacement: passo 12, immagine 2 di 2
    • Pry the two halves of the body open using a metal spudger.

  13. Samsung Radiant360 R3 Motherboard Replacement: passo 13, immagine 1 di 3 Samsung Radiant360 R3 Motherboard Replacement: passo 13, immagine 2 di 3 Samsung Radiant360 R3 Motherboard Replacement: passo 13, immagine 3 di 3
    • Remove the plugs located topmost right and closest to the bottom in picture.

  14. Samsung Radiant360 R3 Motherboard Replacement: passo 14, immagine 1 di 1
    • Remove the four 12mm long screws with the Phillips #1 screwdriver .

  15. Samsung Radiant360 R3 Motherboard Replacement: passo 15, immagine 1 di 1
    • Unscrew the four 8mm screws on the side of the motherboard with the Phillips #1 screwdriver .

    • Remove the Wireless Module from the device.

  16. Samsung Radiant360 R3 Motherboard Replacement, Subwoofer: passo 16, immagine 1 di 2 Samsung Radiant360 R3 Motherboard Replacement, Subwoofer: passo 16, immagine 2 di 2
    • Disconnect the plug in the device.

  17. Samsung Radiant360 R3 Motherboard Replacement: passo 17, immagine 1 di 1
    • Slide the subwoofer out of the speaker.

  18. Samsung Radiant360 R3 Motherboard Replacement, Motherboard: passo 18, immagine 1 di 2 Samsung Radiant360 R3 Motherboard Replacement, Motherboard: passo 18, immagine 2 di 2
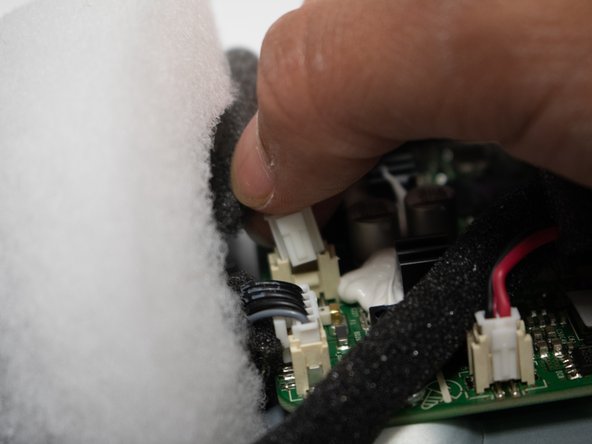
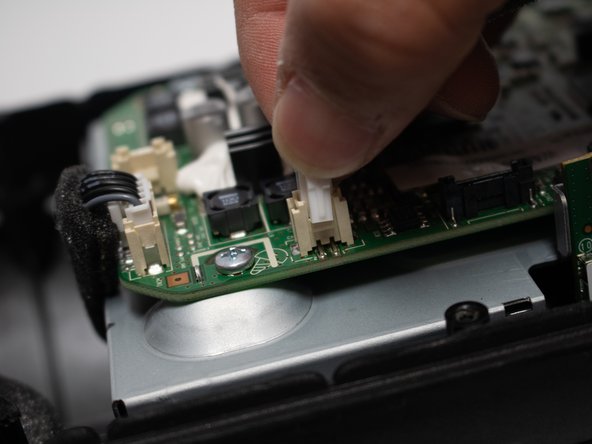
    • Disconnect the six plugs on the motherboard.

  19. Samsung Radiant360 R3 Motherboard Replacement: passo 19, immagine 1 di 1
    • Remove the ZIF cable.

    • Pull up the tab with a spudger, and life the cable.

  20. Samsung Radiant360 R3 Motherboard Replacement: passo 20, immagine 1 di 2 Samsung Radiant360 R3 Motherboard Replacement: passo 20, immagine 2 di 2
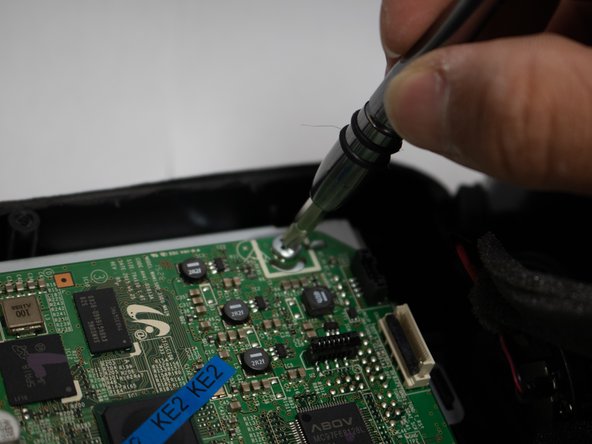
    • Remove the four 12mm screws with the Phillips #1 screwdriver .

    • Remove the motherboard from the device.

Conclusione

To reassemble your device, follow these instructions in reverse order.

Un'altra persona ha completato questa guida.

Fadi Alzammar

Membro da: 04/22/18

782 Reputazione

5 Guide realizzate

Team

Cal Poly, Team S25-G18, Maness Spring 2018 Membro di Cal Poly, Team S25-G18, Maness Spring 2018

CPSU-MANESS-S18S25G18

4 Membri

5 Guide realizzate

Un commento

What kind of DAC is in the motherboard?

Gera Mare - Replica

Aggiungi Commento

Visualizza Statistiche:

Ultime 24 Ore: 1

Ultimi 7 Giorni: 2

Ultimi 30 Giorni: 4

Tutti i Tempi: 407