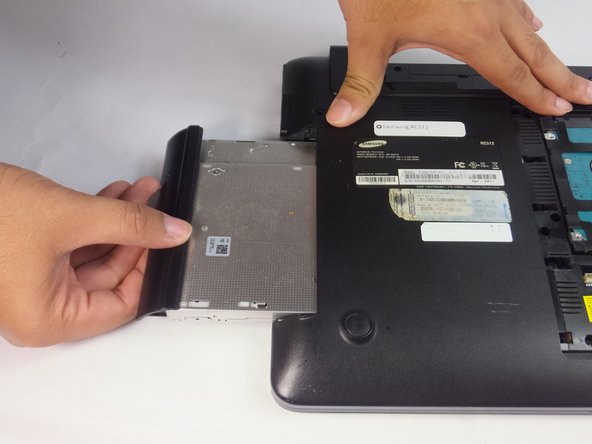
Salta al contenuto principale

Samsung RC512 Optic Drive Replacement

Cosa ti serve

  1. Samsung RC512 Optic Drive Replacement, Battery: passo 1, immagine 1 di 1
    • Place the laptop upside down.

  2. Samsung RC512 Optic Drive Replacement: passo 2, immagine 1 di 2 Samsung RC512 Optic Drive Replacement: passo 2, immagine 2 di 2
    • Locate two notches above the battery.

    • Slide both battery locking notches to either side to remove the battery.

    • Pull the battery out.

  3. Samsung RC512 Optic Drive Replacement, Back Panel: passo 3, immagine 1 di 3 Samsung RC512 Optic Drive Replacement, Back Panel: passo 3, immagine 2 di 3 Samsung RC512 Optic Drive Replacement, Back Panel: passo 3, immagine 3 di 3
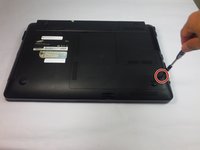
    • Using the Phillips #0 screwdriver, unscrew the one 5mm screw.

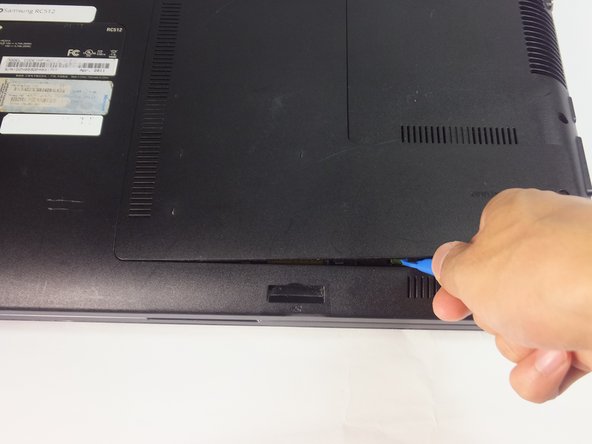
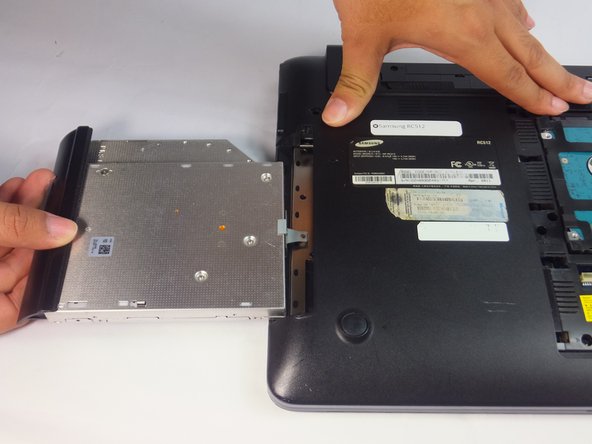
    • Using the blue plastic opening tools, wedge one in between the back panel and the laptop.

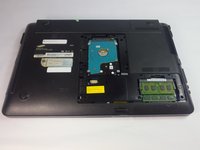
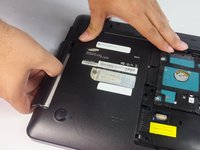
    • Carefully remove the back panel..

  4. Samsung RC512 Optic Drive Replacement, Optic Drive: passo 4, immagine 1 di 1
    • Remove the 4mm Phillips #0 screw using a Phillips #0 screwdriver.

  5. Samsung RC512 Optic Drive Replacement: passo 5, immagine 1 di 3 Samsung RC512 Optic Drive Replacement: passo 5, immagine 2 di 3 Samsung RC512 Optic Drive Replacement: passo 5, immagine 3 di 3
    • Use the spudger or fingers to gently pull the optical drive out.

    • Slide the optic drive away from the laptop.

Conclusione

To reassemble your device, follow these instructions in reverse order.

jando

Membro da: 09/15/16

896 Reputazione

8 Guide realizzate

Team

USF Tampa, Team 18-2, Blackwell Fall 2016 Membro di USF Tampa, Team 18-2, Blackwell Fall 2016

USFT-BLACKWELL-F16S18G2

4 Membri

8 Guide realizzate

0 Commenti

Aggiungi Commento

Visualizza Statistiche:

Ultime 24 Ore: 0

Ultimi 7 Giorni: 1

Ultimi 30 Giorni: 1

Tutti i Tempi: 330