Salta al contenuto principale

Samsung PL200 LCD Screen Replacement

Cosa ti serve

  1. Samsung PL200 LCD Screen Replacement, LCD Screen: passo 1, immagine 1 di 1
    • Remove the six 3 mm external screws from the camera base using the Phillips #000 screwdriver.

  2. Samsung PL200 LCD Screen Replacement: passo 2, immagine 1 di 3 Samsung PL200 LCD Screen Replacement: passo 2, immagine 2 di 3 Samsung PL200 LCD Screen Replacement: passo 2, immagine 3 di 3
    • Use the plastic opening tools and your fingers to pull the external cover off.

  3. Samsung PL200 LCD Screen Replacement: passo 3, immagine 1 di 2 Samsung PL200 LCD Screen Replacement: passo 3, immagine 2 di 2
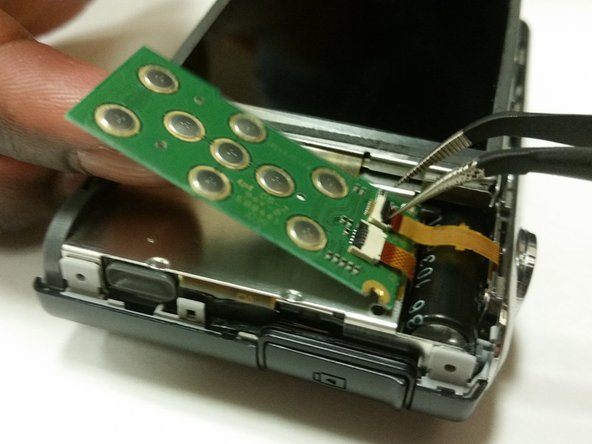
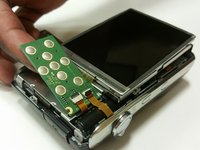
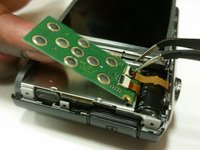
    • Remove the 3 mm screw holding the circuit board.

    • Use a pair of tweezers to detach the two ribbon cables connecting the circuit board to the camera.

    • Remove the circuit board.

  4. Samsung PL200 LCD Screen Replacement: passo 4, immagine 1 di 2 Samsung PL200 LCD Screen Replacement: passo 4, immagine 2 di 2
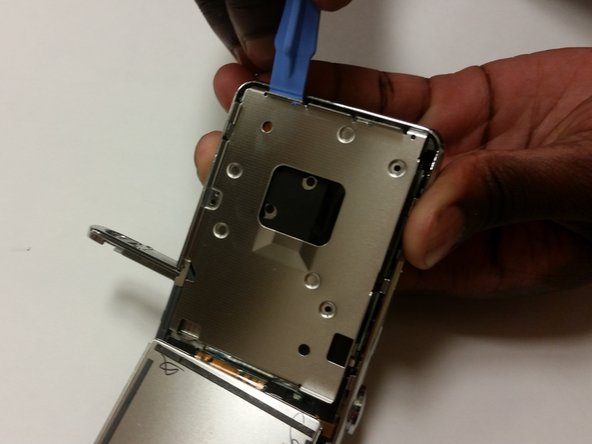
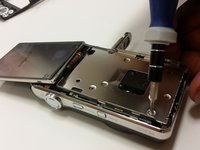
    • Flip the LCD screen forward and remove the two 3 mm screws holding the metal midframe using a Phillips #000 screwdriver.

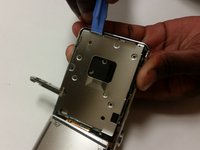
    • Remove the midframe using an opening tool.

  5. Samsung PL200 LCD Screen Replacement: passo 5, immagine 1 di 1
    • Remove the front cover. It will come off fairly easily.

  6. Samsung PL200 LCD Screen Replacement: passo 6, immagine 1 di 2 Samsung PL200 LCD Screen Replacement: passo 6, immagine 2 di 2
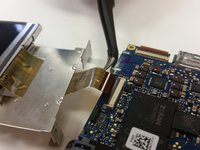
    • Lift the black strip and the ribbon will easily come out.

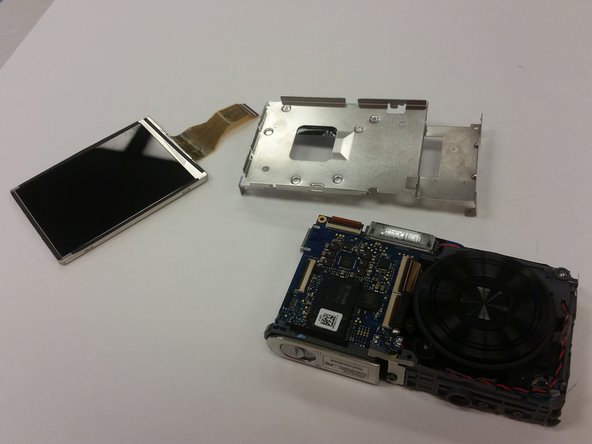
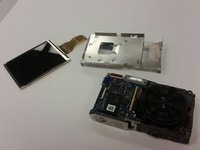
    • After doing this, the LCD screen will be separated from the camera.

Conclusione

To reassemble your device, follow these instructions in reverse order.

Un'altra persona ha completato questa guida.

Team

Clemson, Team 15-7, Shirley Winter 2015 Membro di Clemson, Team 15-7, Shirley Winter 2015

CLEM-SHIRLEY-W15S15G7

5 Membri

9 Guide realizzate

0 Commenti

Aggiungi Commento

Visualizza Statistiche:

Ultime 24 Ore: 0

Ultimi 7 Giorni: 0

Ultimi 30 Giorni: 3

Tutti i Tempi: 569