Questa versione può contenere modifiche errate. Passa all'ultima istantanea verificata.
Cosa ti serve
-
Questo passaggio è privo di traduzione. Aiuta a tradurlo
-
Remove the battery and the memory card from the device.
-
Remove the two screws on the side of the device, to the left of the camera lens.
-
-
Questo passaggio è privo di traduzione. Aiuta a tradurlo
-
Remove the single screw from the bottom of the device.
-
Remove the two screws on the side of the the device, to the right of the camera lens.
-
Using a plastic opening tool, pry the outside casing apart. Start from the battery compartment and work around the seem of the casing.
-
-
-
Questo passaggio è privo di traduzione. Aiuta a tradurlo
-
Remove the back panel, revealing the LCD screen.
-
Pull the LCD screen out of its holder. Once you have access to the connecting strip, flip the clip upwards releasing the screen completely and remove.
-
-
Questo passaggio è privo di traduzione. Aiuta a tradurlo
-
Gently pull the front panel from the device.
-
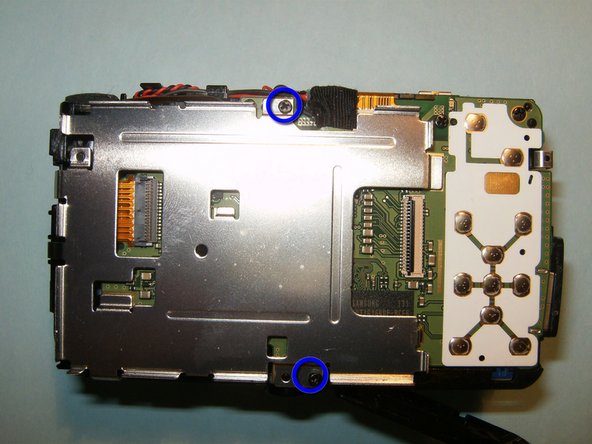
Remove the two screws attaching the LCD screen holder to the device.
-
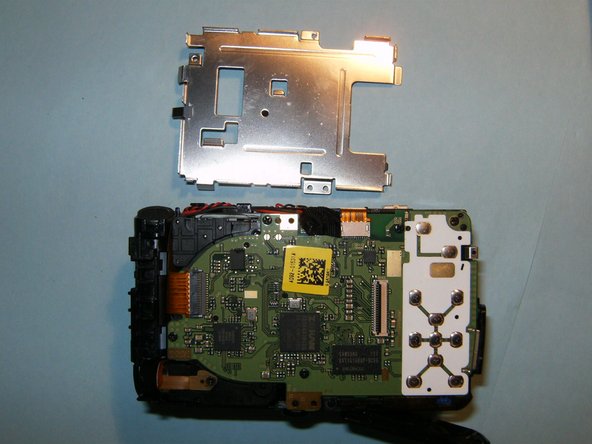
Remove the screen holder from the rest of the device.
-
-
Questo passaggio è privo di traduzione. Aiuta a tradurlo
-
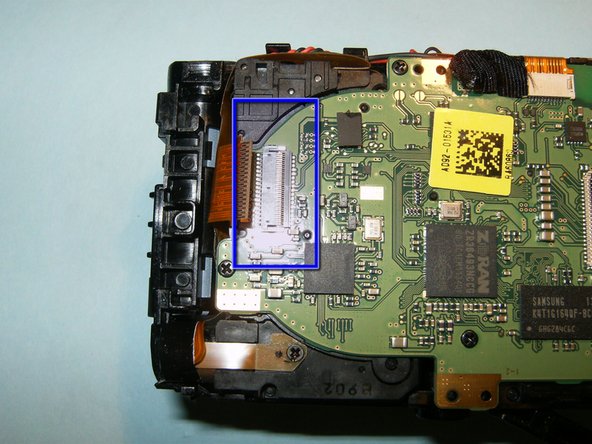
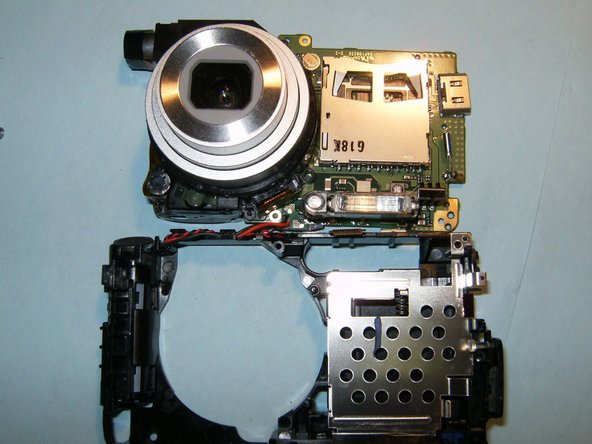
Flip the grey clip upwards, releasing the connector from the device.
-
Disconnect the ribbon cable extending from the left side.
-
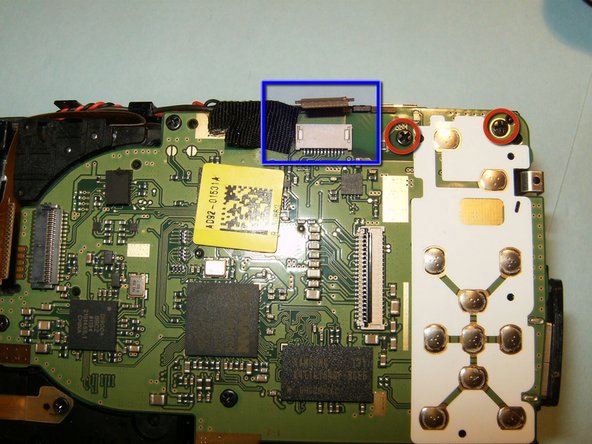
Disconnect the ribbon cable extending from the button bar.
-
Remove the 2 screws.
-
-
Questo passaggio è privo di traduzione. Aiuta a tradurlo
-
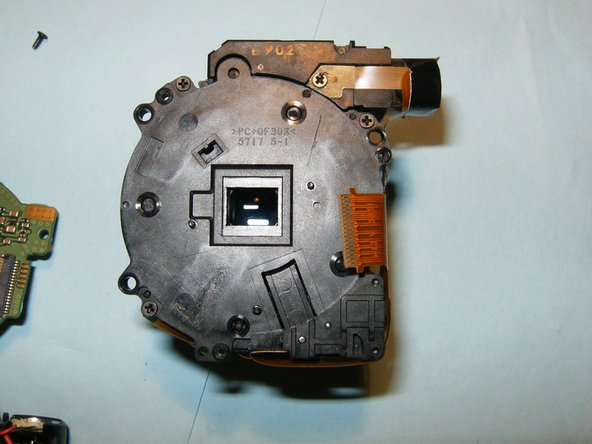
Remove these 3 screws. releasing the lens from the logic board.
-
Remove the lens from the logic board.
-


Annulla: non ho completato questa guida.
Un'altra persona ha completato questa guida.

Team

Un commento
Beware there is a capacitor that stores a charge even when the battery is removed. On my camera i touched it, it created a short circuit, i got a shock, and it killed my camera.