Introduzione
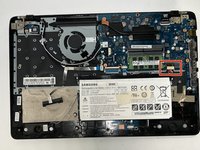
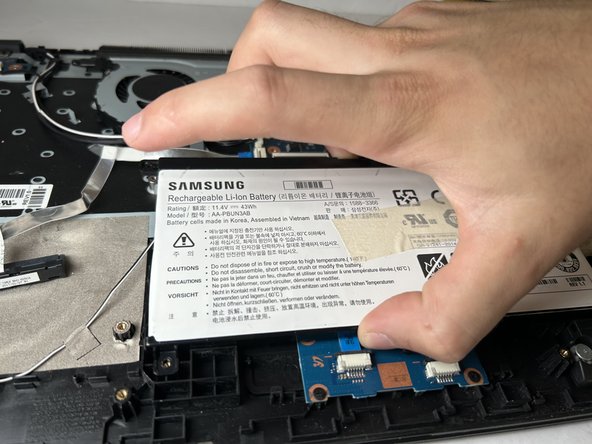
If you are having issues with your touchpad, the error may be in the touchpad button board. This component can be found below the battery, hence that guide is a prerequisite to this workflow. Once you have removed the battery from your laptop, you may follow this guide to remove and replace the touchpad button board.
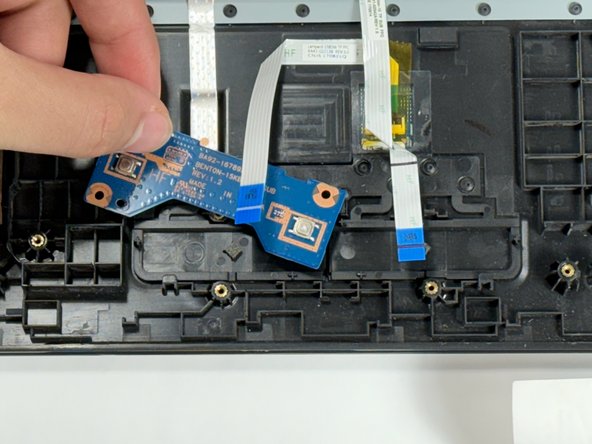
The button board is the "brains" of the touchpad on your laptop. The touchpad itself is just a special, thinner piece of plastic, held in place by permanent plastic rivets, meaning it will take other specialized tools to remove. If this part is damaged on your laptop, it will take much more work to replace.
Cosa ti serve
-
-
Flip the laptop over to access the bottom case.
-
Using a Phillips #000 screwdriver, remove the ten 6mm screws that secure the bottom case.
-
-
-
-
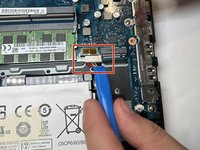
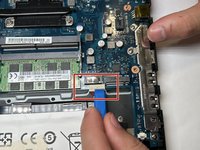
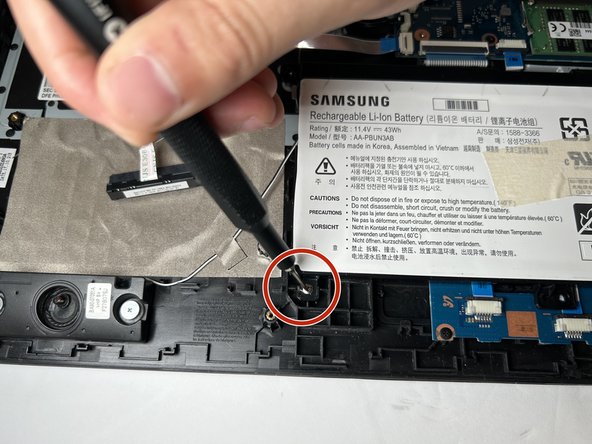
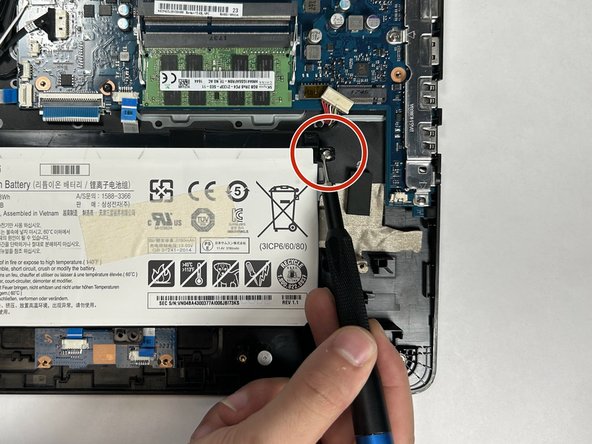
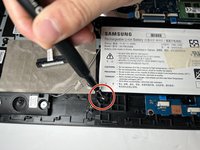
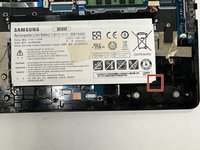
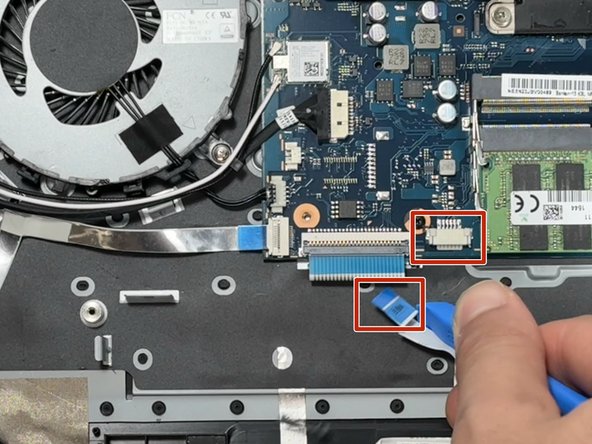
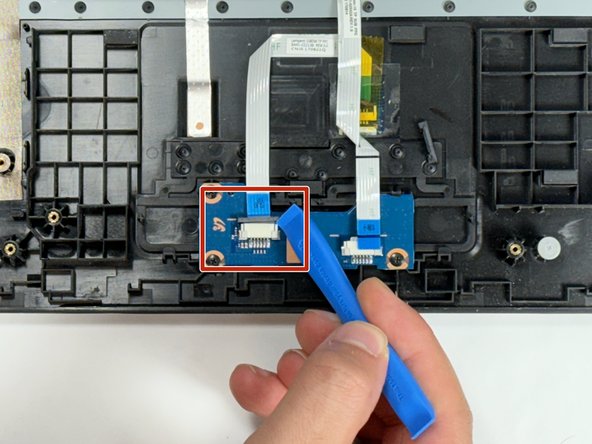
Using a spudger or iFixit opening tool, remove the clip holding the ribbon cable in place on the motherboard.
-


To reassemble your device, follow these instructions in reverse order.

Team

Gateway, Team 1-1, Gonzalez Fall 2023 Membro di Gateway, Team 1-1, Gonzalez Fall 2023
GCC-GONZALEZ-F23S1G1
4 Membri
6 Guide realizzate