Introduzione
If your camera has been exposed to high heat or prolonged periods of time in high temperature conditions, your camera's image sensor could be shot. A bad image sensor can cause a very distorted image or in some cases even a completely black screen when turned on.
Cosa ti serve
-
-
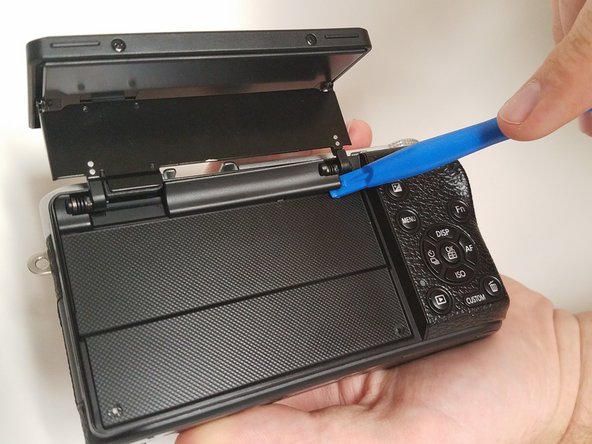
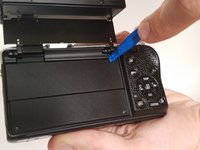
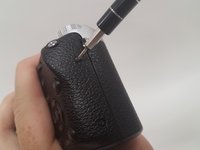
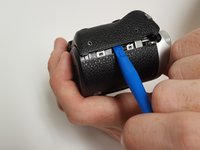
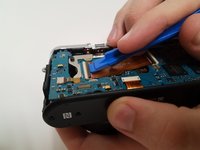
Open the screen exposing the hinge cover and place the plastic opening tool inside.
-
Pry the hinge cover up by moving the plastic opening tool in a downward motion.
-
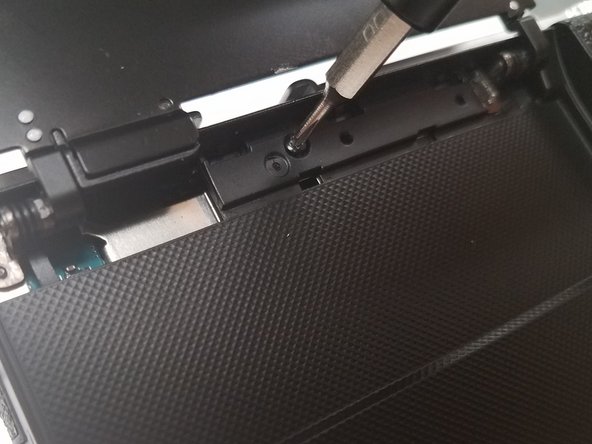
Remove the black 4mm Phillips #000 screw that is revealed once the hinge cover is removed.
-
-
-
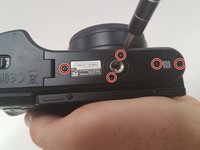
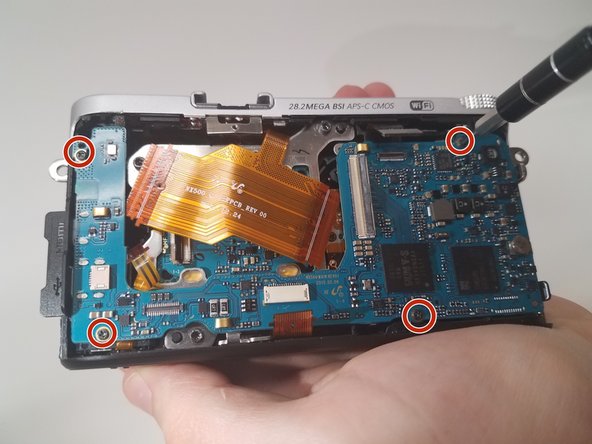
Unscrew the two 4 mm Phillips #000 screws on the right hand side of the camera using the screwdriver.
-
Unscrew five more 4 mm Phillips #000 screws that are located at the bottom of the camera with the screwdriver.
-
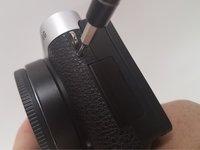
Remove the last exterior 4 mm Phillips #000 screws on the left hand side of the camera with the scredriver.
-
-
-
-
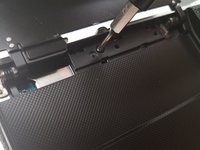
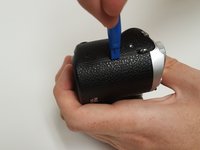
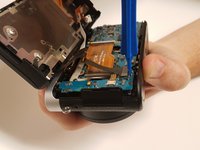
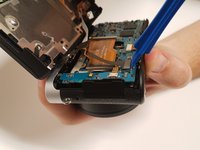
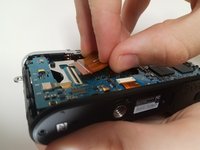
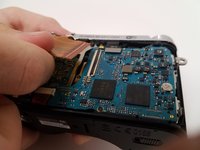
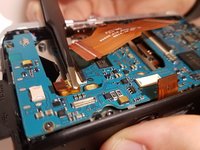
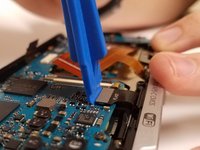
Lift the black latch of the left main ribbon connector using a wide-set plastic opening tool in a downward motion.
-
Use your fingers to disconnect the cable.
-
-
-
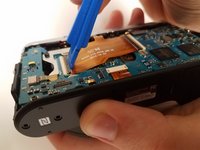
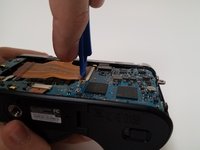
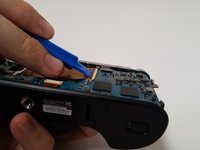
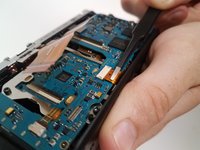
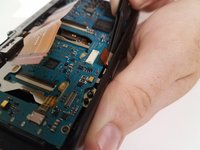
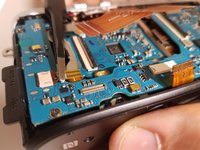
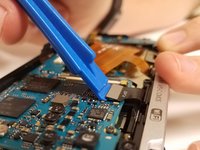
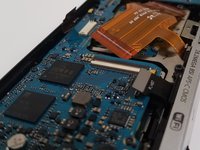
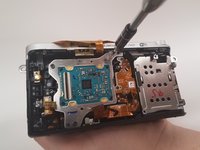
Remove the three black 5-mm T6 type screws using a Torx screwdriver located along the metal casing of the image sensor.
-
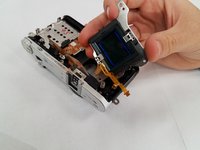
Pull the image sensor out and it can now be replaced.
-


To reassemble your device, follow these instructions in reverse order.
Annulla: non ho completato questa guida.
Un'altra persona ha completato questa guida.
Team

USF Tampa, Team 18-5, Blackwell Fall 2016 Membro di USF Tampa, Team 18-5, Blackwell Fall 2016
USFT-BLACKWELL-F16S18G5
3 Membri
12 Guide realizzate
3Commenti sulla guida
Thanks for this, very helpfull.
I needed to replace the shutter assembly.
For this, next step is to remove the metal top of the camera (a screw on each side and 2 screws in the flash shoe below the spring).
After this the 2 screws on top of the shutter assembly can be removed.
The shutter assy can now be removed although it is somewhat easier if the tripod mount is removed first.
thanks so much for sharing Well appreciated