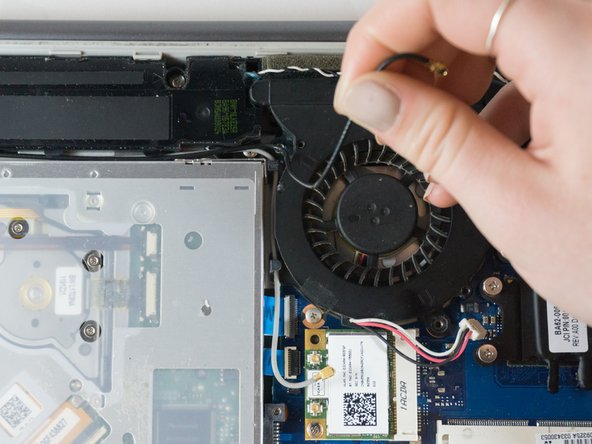
Salta al contenuto principale

Samsung NP700Z5AH Fan Replacement

Cosa ti serve

  1. Samsung NP700Z5AH Fan Replacement, Battery: passo 1, immagine 1 di 1
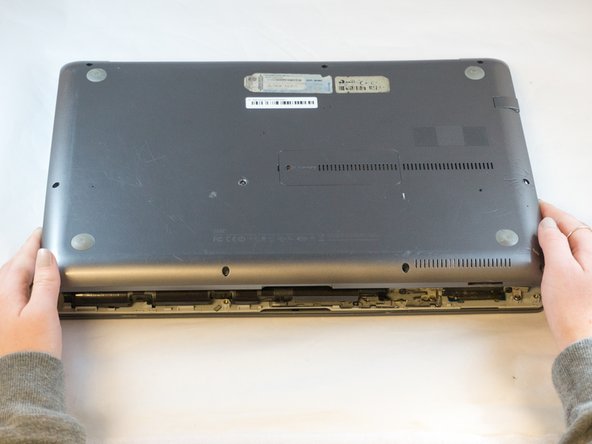
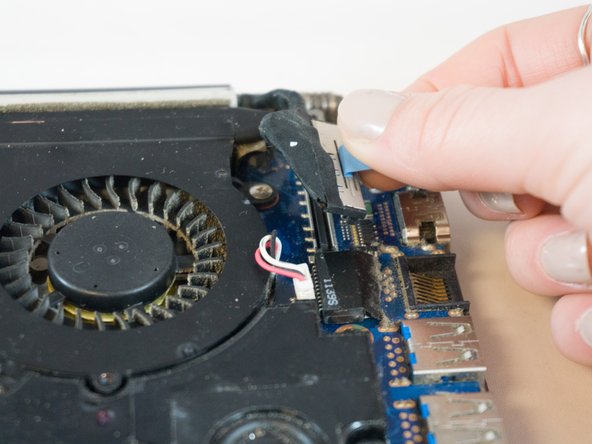
    • Remove the ten 6.6mm Philips#00 screws securing the lower case to the upper case.

  2. Samsung NP700Z5AH Fan Replacement: passo 2, immagine 1 di 3 Samsung NP700Z5AH Fan Replacement: passo 2, immagine 2 di 3 Samsung NP700Z5AH Fan Replacement: passo 2, immagine 3 di 3
    • Using your fingers, pinch the edge of the SD card and pull to remove it.

  3. Samsung NP700Z5AH Fan Replacement: passo 3, immagine 1 di 2 Samsung NP700Z5AH Fan Replacement: passo 3, immagine 2 di 2
    • Wedge your fingers in between the upper case and the lower case

    • Gently pull the lower case away from the upper case to remove it

  4. Samsung NP700Z5AH Fan Replacement: passo 4, immagine 1 di 2 Samsung NP700Z5AH Fan Replacement: passo 4, immagine 2 di 2
    • Using tweezers or your fingertips, carefully pull on the battery connector to disconnect it from the motherboard.

    • Be sure to pull straight backwards, or you risk damaging the wires.

  5. Samsung NP700Z5AH Fan Replacement: passo 5, immagine 1 di 1
    • Remove the two 4.4mm Phillips#00 screws from the battery case.

  6. Samsung NP700Z5AH Fan Replacement: passo 6, immagine 1 di 2 Samsung NP700Z5AH Fan Replacement: passo 6, immagine 2 di 2
    • Place your fingers on the corner sections of the battery.

    • Lift to remove the battery.

    • If you choose to use tools to remove the battery be careful not to damage it. A damaged lithium-ion battery may leak dangerous chemicals and/or catch fire. Use only plastic pry tools.

  7. Samsung NP700Z5AH Fan Replacement, Fan: passo 7, immagine 1 di 2 Samsung NP700Z5AH Fan Replacement, Fan: passo 7, immagine 2 di 2
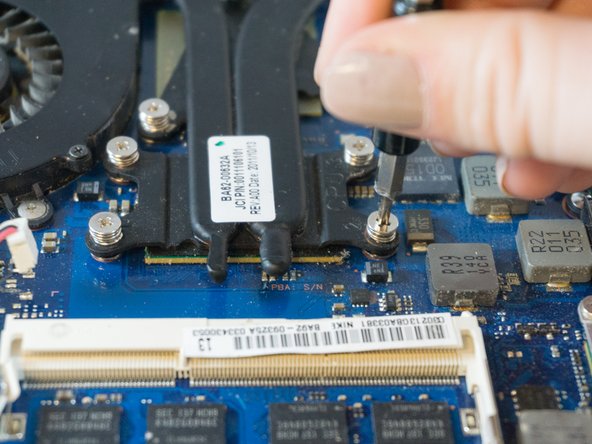
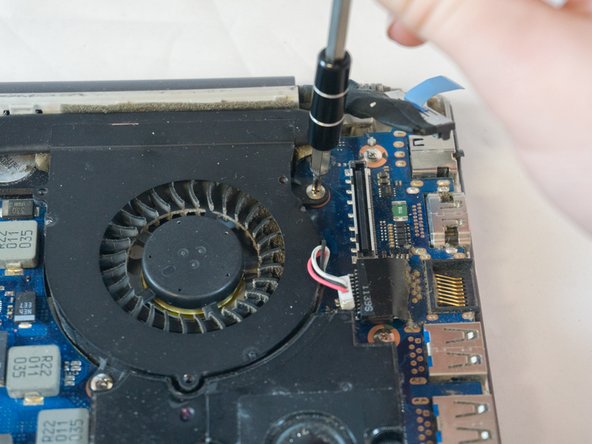
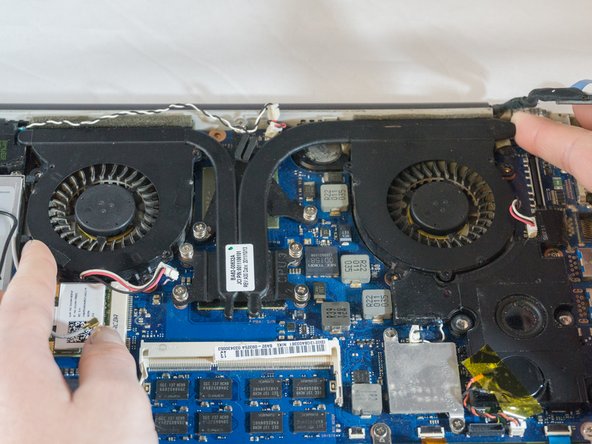
    • Loosen but don't remove the 7 silver Phillips #00 3.5mm screws securing the fan to the motherboard. They should detach from the motherboard and remain attached to the fan assembly.

  8. Samsung NP700Z5AH Fan Replacement: passo 8, immagine 1 di 2 Samsung NP700Z5AH Fan Replacement: passo 8, immagine 2 di 2
    • Using your fingers, grasp the blue ribbon on the fan connector and pull straight up to disconnect it from the motherboard.

    • To reinstall the cable, hold it near the end and push it straight into the connector, being careful not to kink the cable.

  9. Samsung NP700Z5AH Fan Replacement: passo 9, immagine 1 di 2 Samsung NP700Z5AH Fan Replacement: passo 9, immagine 2 di 2
    • Using the Phillips#00 remove the four 3.5mm screws securing the fan to the motherboard.

  10. Samsung NP700Z5AH Fan Replacement: passo 10, immagine 1 di 2 Samsung NP700Z5AH Fan Replacement: passo 10, immagine 2 di 2
    • Using tweezers, carefully pull up on the four power cable connectors to disconnect them from the motherboard.

    • These connections were originally soldered and will need a small drop of solder to be re-attached. Use this guide to learn Come saldare e dissaldare componenti elettrici

  11. Samsung NP700Z5AH Fan Replacement: passo 11, immagine 1 di 3 Samsung NP700Z5AH Fan Replacement: passo 11, immagine 2 di 3 Samsung NP700Z5AH Fan Replacement: passo 11, immagine 3 di 3
    • Place the tip of the spudger under the metal caps of the black and grey coaxial connectors and pry upwards to disconnect them.

    • After they are disconnected, un-thread them from around the fan.

    • To reinstall, hold the connectors in place and gently press them straight down. The connectors “snap” into their sockets much like the metal snaps on a jacket.

  12. Samsung NP700Z5AH Fan Replacement: passo 12, immagine 1 di 3 Samsung NP700Z5AH Fan Replacement: passo 12, immagine 2 di 3 Samsung NP700Z5AH Fan Replacement: passo 12, immagine 3 di 3
    • Wedge your fingers under opposite corners of the fan and lift to remove it.

Conclusione

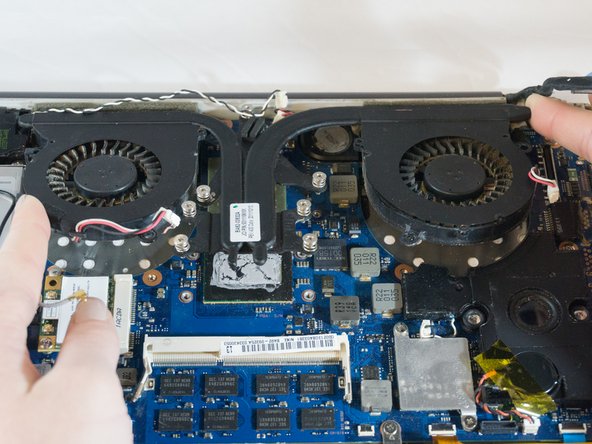
To reassemble your device, follow these instructions in reverse order.

Un'altra persona ha completato questa guida.

0 Commenti

Aggiungi Commento

Visualizza Statistiche:

Ultime 24 Ore: 1

Ultimi 7 Giorni: 4

Ultimi 30 Giorni: 9

Tutti i Tempi: 885