Questa versione può contenere modifiche errate. Passa all'ultima istantanea verificata.
Cosa ti serve
-
Questo passaggio è privo di traduzione. Aiuta a tradurlo
-
Lay laptop down so that the bottom is facing the sky.
-
-
Questo passaggio è privo di traduzione. Aiuta a tradurlo
-
Push both tabs away from the center of the device.
-
While both are in the fully unlocked position, slide the battery out.
-
-
-
Questo passaggio è privo di traduzione. Aiuta a tradurlo
-
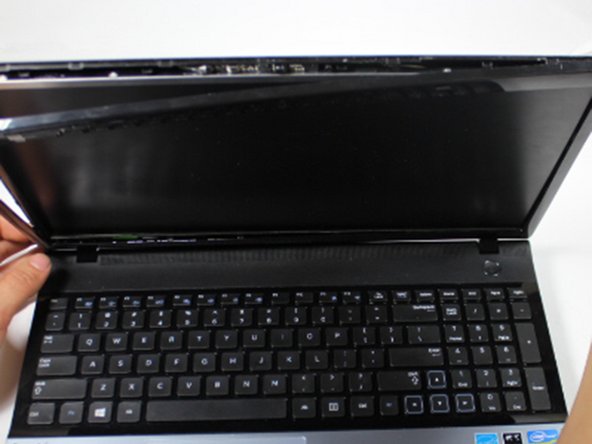
Turn the laptop over and open it so that you can see the keyboard and screen.
-
Using a Phillips #000 screwdriver, remove the two 4 mm Phillips #8 screws that are under the black covers on the front of your screen.
-
-
Questo passaggio è privo di traduzione. Aiuta a tradurlo
-
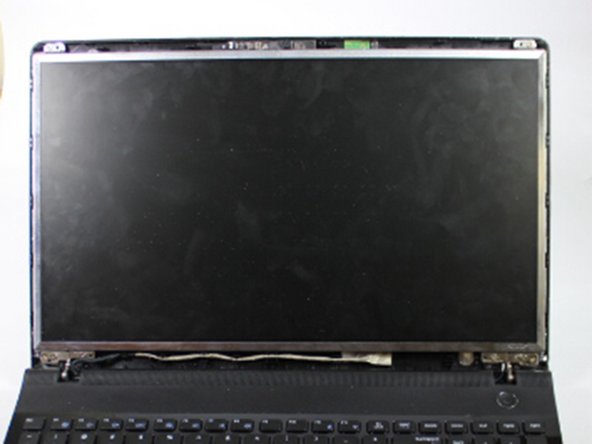
Insert the plastic opening tool into the seam on the top of the screen.
-
Use the plastic opening tool to pop open the clasps that keep the casing on the screen.
-
Follow this seam around the laptop's screen with the plastic opening tool until the plastic cover comes off.
-
-
Questo passaggio è privo di traduzione. Aiuta a tradurlo
-
Using a Phillips #000 screwdriver, remove the top two 4 mm Phillips #8 screws that join the LCD screen to the plastic casing.
-
Using the same screwdriver, remove the bottom four 4 mm Phillips #8 screws that mount the screen onto the base of the laptop.
-
-
Questo passaggio è privo di traduzione. Aiuta a tradurlo
-
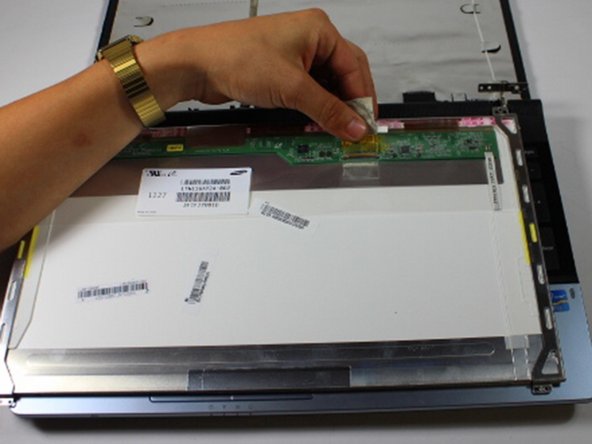
Gently lay the LCD on the keyboard, and lay down the back panel of the screen as well. They are not attached and will separate easily.
-
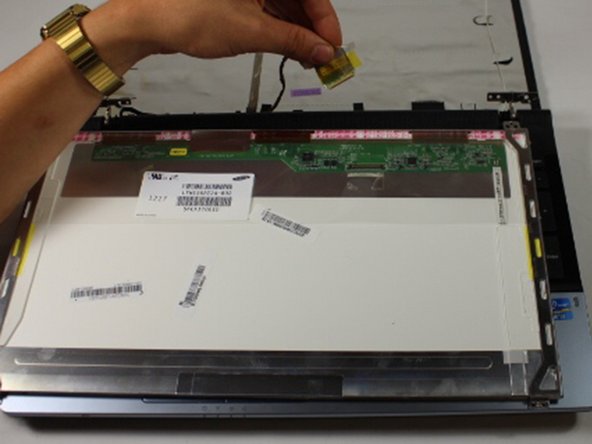
Remove the tape that secures the video connector to the LCD.
-
While maintaining a firm grip on the LCD, grasp the video connector at its base, and pull it away from you.
-


Annulla: non ho completato questa guida.
Altre 10 persone hanno completato questa guida.
Team

Baylor, Team 10-13, Williams Fall 2015 Membro di Baylor, Team 10-13, Williams Fall 2015
BU-WILLIAMS-F15S10G13
3 Membri
4 Guide realizzate