Salta al contenuto principale

Samsung NP-NC10-KA02US WLAN Card Replacement

Cosa ti serve

  1. Samsung NP-NC10-KA02US WLAN Card Replacement, Battery: passo 1, immagine 1 di 2 Samsung NP-NC10-KA02US WLAN Card Replacement, Battery: passo 1, immagine 2 di 2
    • Locate the external battery on the bottom side of the device.

    • Locate the tab on the right side of the battery.

    • Shift the tab to the left.

  2. Samsung NP-NC10-KA02US WLAN Card Replacement: passo 2, immagine 1 di 1
    • Locate the tab on the left side of the device's battery.

    • Push the left tab to the right.

  3. Samsung NP-NC10-KA02US WLAN Card Replacement: passo 3, immagine 1 di 1
    • Pull the battery up from the device.

  4. Samsung NP-NC10-KA02US WLAN Card Replacement, Back Plate: passo 4, immagine 1 di 1
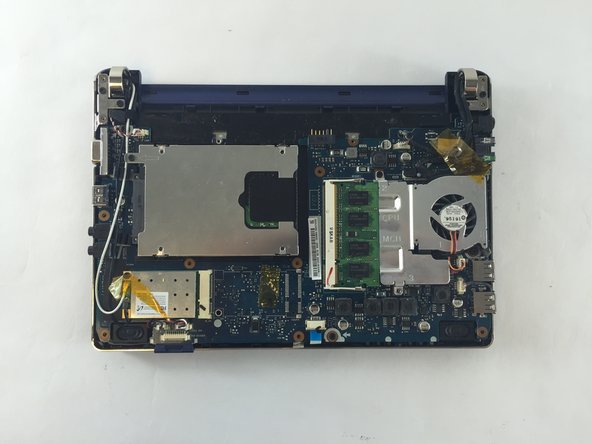
    • Locate the 14, 3.93 mm, screws that need to be removed on the base of the computer.

  5. Samsung NP-NC10-KA02US WLAN Card Replacement: passo 5, immagine 1 di 1
    • Remove all 14 of the 3.93 mm screws using a PH1 screw bit.

  6. Samsung NP-NC10-KA02US WLAN Card Replacement: passo 6, immagine 1 di 2 Samsung NP-NC10-KA02US WLAN Card Replacement: passo 6, immagine 2 di 2
    • Using two plastic opening tools remove the back plate.

    • These plastic opening tools have a flat-head that extends as a wedge which are utilized to separate pressure fit plastic components without causing any damage to them.

    • The back plate is now removed exposing all of the hardware components.

  7. Samsung NP-NC10-KA02US WLAN Card Replacement, WLAN Card: passo 7, immagine 1 di 1
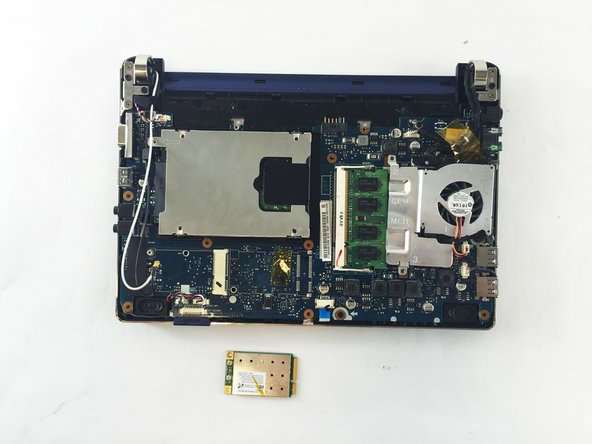
    • Using a 3.93mm Phillips screwdriver remove the screw attaching the WLAN card.

  8. Samsung NP-NC10-KA02US WLAN Card Replacement: passo 8, immagine 1 di 1
    • Gently lift the WLAN card.

  9. Samsung NP-NC10-KA02US WLAN Card Replacement: passo 9, immagine 1 di 2 Samsung NP-NC10-KA02US WLAN Card Replacement: passo 9, immagine 2 di 2
    • Gently using a plastic opening tool, remove the two latches attached to the WLAN card in the netbook.

    • Your WLAN card is now removed.

Conclusione

To reassemble your device, follow these instructions in reverse order.

Altre 2 persone hanno completato questa guida.

Team

USF Tampa, Team 1-1, Sullivan Fall 2016 Membro di USF Tampa, Team 1-1, Sullivan Fall 2016

USFT-SULLIVAN-F16S1G1

3 Membri

6 Guide realizzate

0 Commenti

Aggiungi Commento

Visualizza Statistiche:

Ultime 24 Ore: 0

Ultimi 7 Giorni: 1

Ultimi 30 Giorni: 1

Tutti i Tempi: 469