Questa guida ha delle modifiche più recenti. Passa all'ultima versione non verificata.
Introduzione
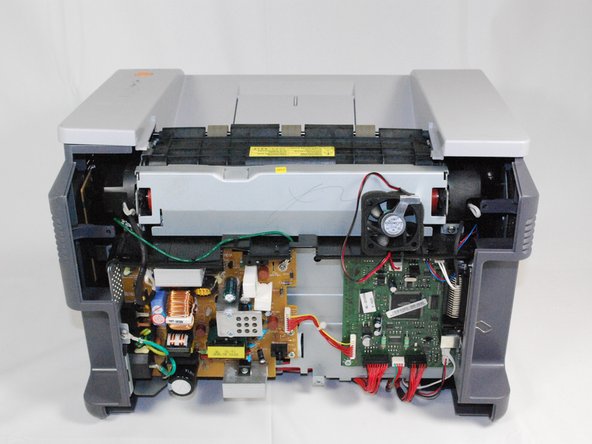
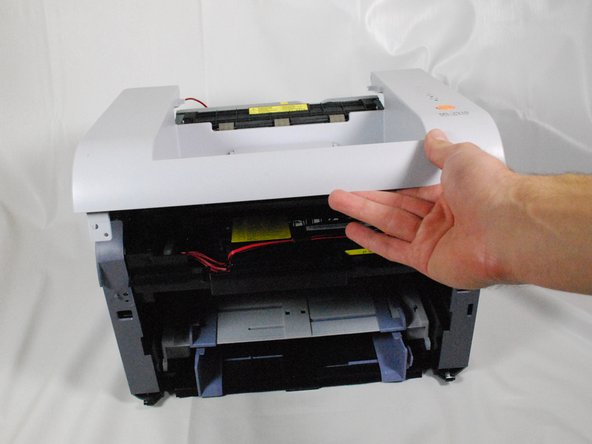
This guide will require you to disassemble the back and side panel of the printer. You will need to refer to the Removing Samsung ML2510 Back Panel guide in order to complete the task.
Cosa ti serve
-
-
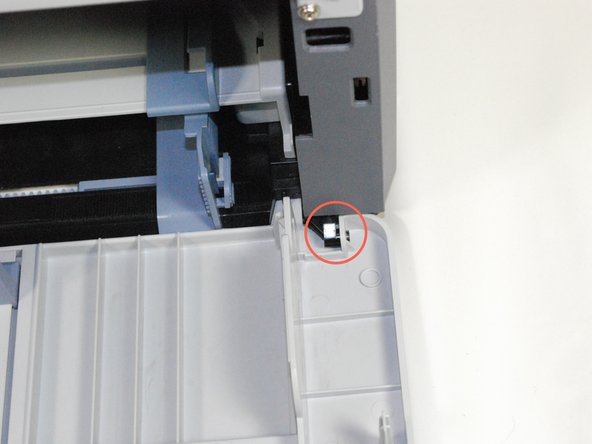
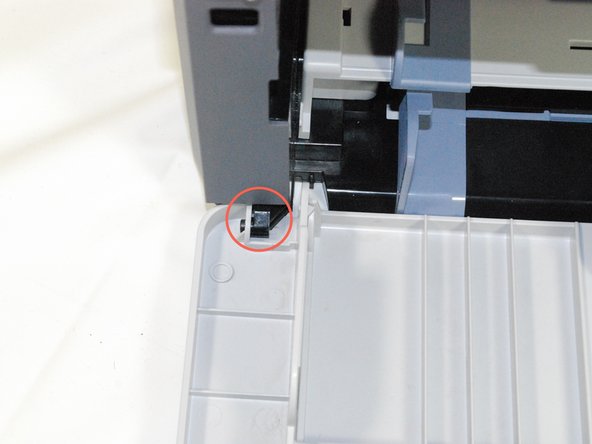
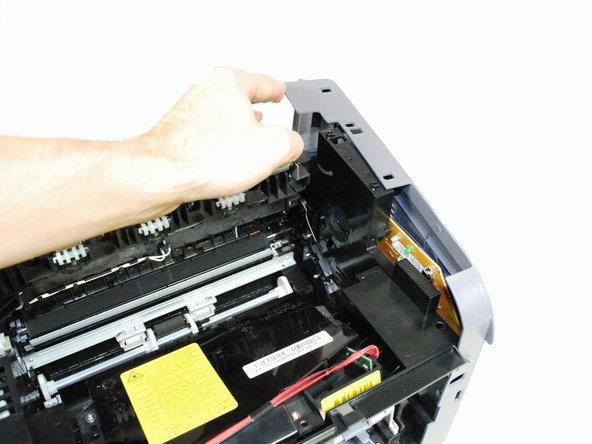
Remove the top hinged panel by taking out the pins at the bottom of this panel.
-
-
-
-
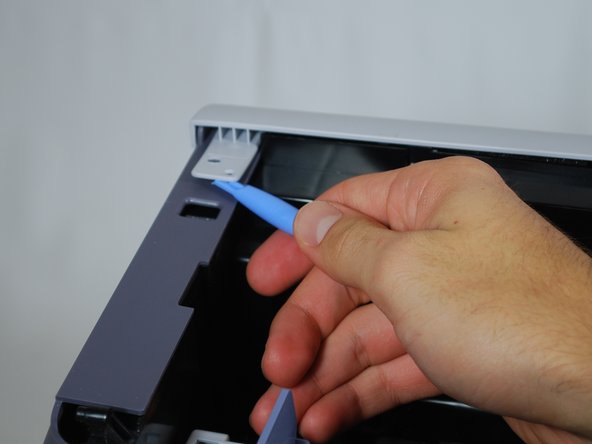
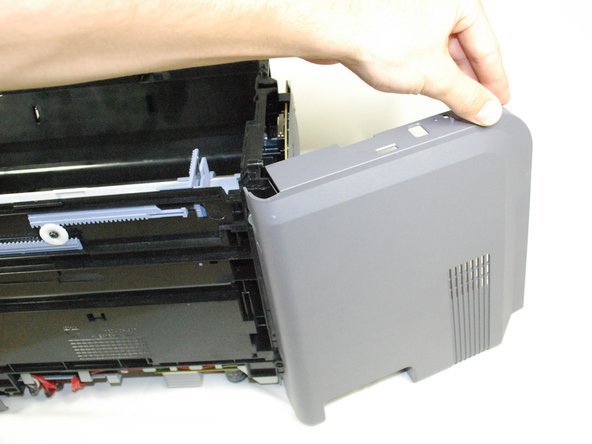
Remove front panel by gently moving the holes on the panel from the pegs attached to the main printer body, one at a time.
-


To reassemble your device, follow these instructions in reverse order.
To reassemble your device, follow these instructions in reverse order.
Annulla: non ho completato questa guida.
Altre 2 persone hanno completato questa guida.

Team

Cal Poly, Team 17-18, Regan Fall 2011 Membro di Cal Poly, Team 17-18, Regan Fall 2011
CPSU-REGAN-F11S17G18
4 Membri
12 Guide realizzate