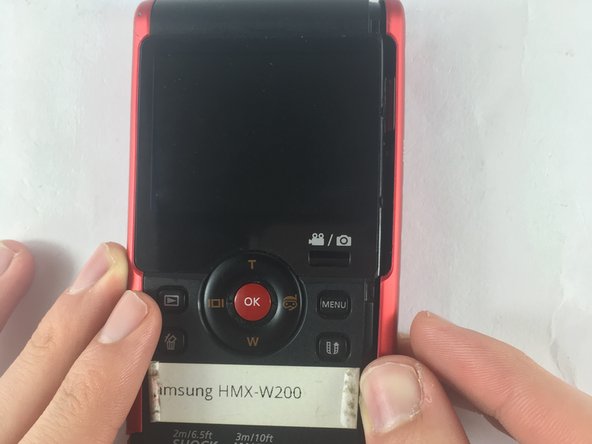
Salta al contenuto principale

Samsung HMX-W200 Outer Case Replacement

Solo Prerequisita
Questa guida è destinata a essere usata solo come prerequisito per altre guide. Da sola è incompleta.

Cosa ti serve

  1. Samsung HMX-W200 Outer Case Replacement, Outer Case: passo 1, immagine 1 di 1
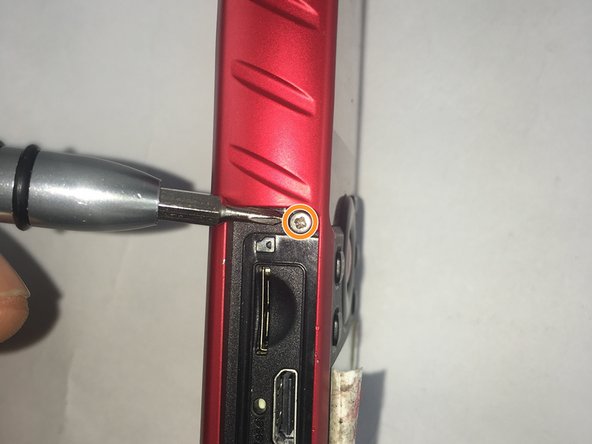
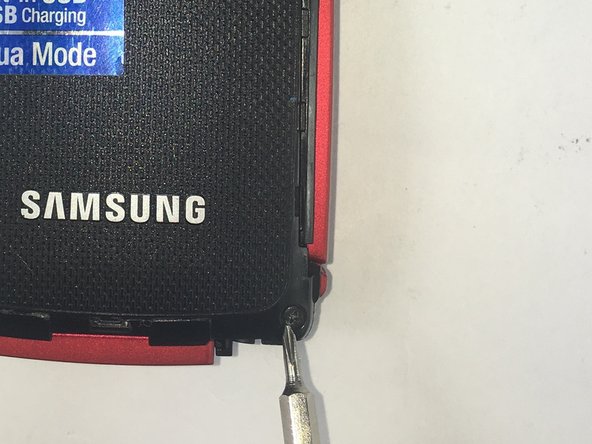
    • Remove the 5.00mm screw on the right of the LCD display towards the bottom of the device by using a Phillips #00 screwdriver.

  2. Samsung HMX-W200 Outer Case Replacement: passo 2, immagine 1 di 3 Samsung HMX-W200 Outer Case Replacement: passo 2, immagine 2 di 3 Samsung HMX-W200 Outer Case Replacement: passo 2, immagine 3 di 3
    • Use the plastic opening tool to separate and remove the bottom red casing. Do this by, pushing the tool into the seam and prying up the red casing as you move along the edges.

    • Make sure to separate all the corners before removing the red casing.

  3. Samsung HMX-W200 Outer Case Replacement: passo 3, immagine 1 di 2 Samsung HMX-W200 Outer Case Replacement: passo 3, immagine 2 di 2
    • Using the plastic opening tool, separate and pull away the red casing on the right of the LCD screen.

    • Make sure to separate all the corners before removing the red casing.

  4. Samsung HMX-W200 Outer Case Replacement: passo 4, immagine 1 di 2 Samsung HMX-W200 Outer Case Replacement: passo 4, immagine 2 di 2
    • To access the HDMI slot, move slider towards the bottom of the casing on the other side of the camcorder. The lid casing will lift up upon doing so.

    • After accessing the HDMI slot you will find a 5.00mm screw. Using a Phillips #00 screwdriver, remove the screw.

  5. Samsung HMX-W200 Outer Case Replacement: passo 5, immagine 1 di 2 Samsung HMX-W200 Outer Case Replacement: passo 5, immagine 2 di 2
    • Using the plastic opening tool, separate and pull away the red casing to the left of the LCD screen.

    • Make sure to separate all the corners before removing the red casing.

  6. Samsung HMX-W200 Outer Case Replacement: passo 6, immagine 1 di 2 Samsung HMX-W200 Outer Case Replacement: passo 6, immagine 2 di 2
    • Remove the six 5.00mm screws by using a Phillips #00 screwdriver.

  7. Samsung HMX-W200 Outer Case Replacement: passo 7, immagine 1 di 3 Samsung HMX-W200 Outer Case Replacement: passo 7, immagine 2 di 3 Samsung HMX-W200 Outer Case Replacement: passo 7, immagine 3 di 3
    • Lift the two plastic tabs on the left side of the LCD screen and the single one on the right side on the black casing to open the device.

  8. Samsung HMX-W200 Outer Case Replacement: passo 8, immagine 1 di 1
    • Separate the front and back casing.

Conclusione

To reassemble your device, follow these instructions in reverse order.

Team

USF Tampa, Team 3-6, Sullivan Fall 2016 Membro di USF Tampa, Team 3-6, Sullivan Fall 2016

USFT-SULLIVAN-F16S3G6

4 Membri

13 Guide realizzate

0 Commenti

Aggiungi Commento

Visualizza Statistiche:

Ultime 24 Ore: 0

Ultimi 7 Giorni: 0

Ultimi 30 Giorni: 0

Tutti i Tempi: 67