Questa versione può contenere modifiche errate. Passa all'ultima istantanea verificata.
Cosa ti serve
-
Questo passaggio è privo di traduzione. Aiuta a tradurlo
-
To soften the adhesive holding the tablet together, heat up the edges of the glass panel using a heated iOpener on the edge of the device. Alternatively you can use a heat gun to loosen the adhesive.
-
Leave the iOpener on edge for two minutes.
-
-
Questo passaggio è privo di traduzione. Aiuta a tradurlo
-
Place a suction cup near edge that you heated up with the iOpener.
-
Press down on the suction cup to create a seal, and pull up with force to create a separation between the display and the midframe.
-
Use an opening tool to split apart the glass panel from the midframe.
-
-
Questo passaggio è privo di traduzione. Aiuta a tradurlo
-
As you continue along the edge using the opening tool, use a plastic card to keep the glass separate from the midframe.
-
-
Questo passaggio è privo di traduzione. Aiuta a tradurlo
-
Pull off the glass panel using the suction cup.
-
Carefully disconnect the ribbon cable connecting the display assembly to the motherboard. You can disconnect this ribbon from either end.
-
-
Questo passaggio è privo di traduzione. Aiuta a tradurlo
-
Repeat steps 3 through 7 to remove the rear glass panel on the opposite side of the device.
-
-
-
Questo passaggio è privo di traduzione. Aiuta a tradurlo
-
Use a Phillips #000 screwdriver to unscrew the five screws securing the battery, and the twenty-two screws surrounding the midframe.
-
-
Questo passaggio è privo di traduzione. Aiuta a tradurlo
-
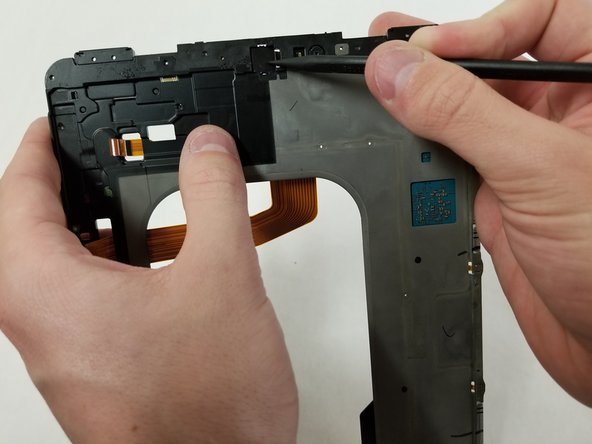
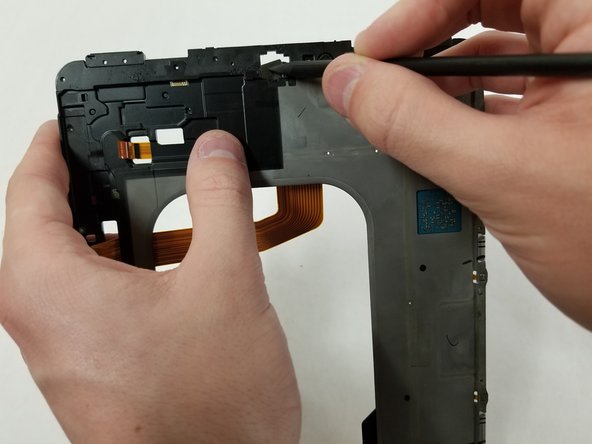
The midframe should snap off from the device’s motherboard.
-
-
Questo passaggio è privo di traduzione. Aiuta a tradurlo
-
Locate the ribbon running from the midframe and disconnect it from the motherboard with the flat end of a spudger.
-
-
Questo passaggio è privo di traduzione. Aiuta a tradurlo
-
Use the flat end of the spudger to pop off the connector between the battery and the motherboard.
-
-
Questo passaggio è privo di traduzione. Aiuta a tradurlo
-
Flip the midframe over and pop the battery out, making sure to slide it out from underneath the ribbon cables.
-
-
Questo passaggio è privo di traduzione. Aiuta a tradurlo
-
The battery should now be removed and detached from the device.
-
-
Questo passaggio è privo di traduzione. Aiuta a tradurlo
-
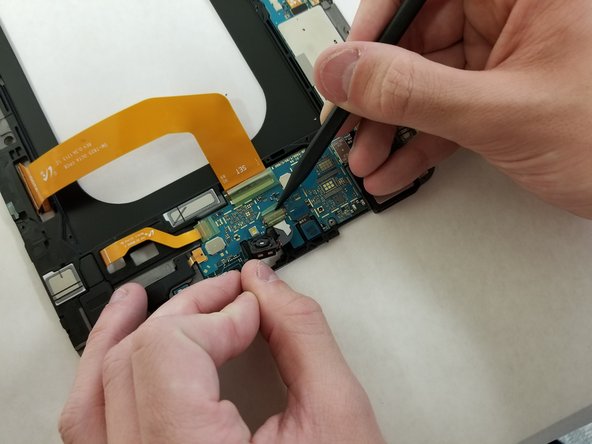
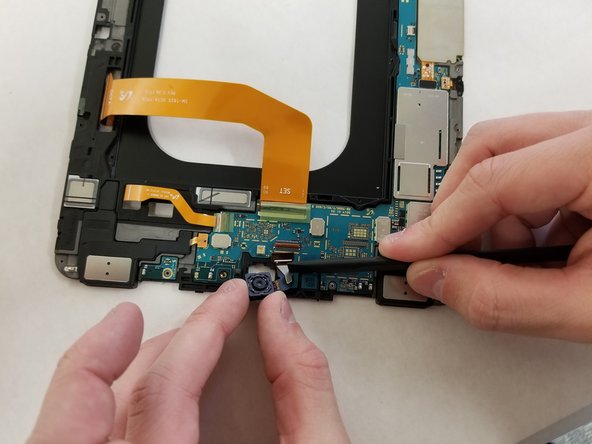
Flip over the device, and carefully push the Rear Camera out of its framing using the spudger.
-
-
Questo passaggio è privo di traduzione. Aiuta a tradurlo
-
Flip the motherboard over and locate the ribbon attaching the Rear Camera to the motherboard. Carefully pop off the ribbon from the logic board with the flat end of the spudger.
-


Annulla: non ho completato questa guida.
Altre 2 persone hanno completato questa guida.
Team

Cal Poly, Team S22-G4, Maness Spring 2018 Membro di Cal Poly, Team S22-G4, Maness Spring 2018
CPSU-MANESS-S18S22G4
5 Membri
15 Guide realizzate