Salta al contenuto principale

Samsung Galaxy Tab S2 9.7 AT&T Headphone Jack Replacement

Cosa ti serve

  1. Samsung Galaxy Tab S2 9.7 AT&T Headphone Jack Replacement, Screen: passo 1, immagine 1 di 2 Samsung Galaxy Tab S2 9.7 AT&T Headphone Jack Replacement, Screen: passo 1, immagine 2 di 2
    • Apply the heat gun around the edges of the tablet to melt the adhesive glue.

    • Do not allow the gun to remain still for more than two seconds, so that you do not melt the plastic around the screen.

    • If you do not have access to a heat gun, you may also use an iOpener or a hair dryer. Refer to the iOpener guide for extra help.

  2. Samsung Galaxy Tab S2 9.7 AT&T Headphone Jack Replacement: passo 2, immagine 1 di 2 Samsung Galaxy Tab S2 9.7 AT&T Headphone Jack Replacement: passo 2, immagine 2 di 2
    • Apply the suction to the bottom or top right corner.

    • Use the plastic opening tool at several points around the screen while the suction is being applied to pop the screen out.

  3. Samsung Galaxy Tab S2 9.7 AT&T Headphone Jack Replacement: passo 3, immagine 1 di 1
    • Once the screen is detached, open the tablet like a book.

    • Gently open the tablet, and do not pull the pieces apart since you can risk damaging the orange ribbon cable.

  4. Samsung Galaxy Tab S2 9.7 AT&T Headphone Jack Replacement: passo 4, immagine 1 di 1
    • Using the precision tweezers, remove the silver tape that is holding the orange ribbon cable connecting the two pieces.

  5. Samsung Galaxy Tab S2 9.7 AT&T Headphone Jack Replacement: passo 5, immagine 1 di 1
    • Using the precision tweezers, remove the small press-fit connector from the body of the tablet.

  6. Samsung Galaxy Tab S2 9.7 AT&T Headphone Jack Replacement, Screws: passo 6, immagine 1 di 2 Samsung Galaxy Tab S2 9.7 AT&T Headphone Jack Replacement, Screws: passo 6, immagine 2 di 2
    • Using the Philips #000 screwdriver, remove the seventeen 2.74 mm screws around the edges.

    • Remove the two 2.74 mm black screws in the middle of the tablet with the Philips #000 screwdriver.

    • Put the screws on a magnetic project mat or in a container so that you do not lose them.

  7. Samsung Galaxy Tab S2 9.7 AT&T Headphone Jack Replacement: passo 7, immagine 1 di 3 Samsung Galaxy Tab S2 9.7 AT&T Headphone Jack Replacement: passo 7, immagine 2 di 3 Samsung Galaxy Tab S2 9.7 AT&T Headphone Jack Replacement: passo 7, immagine 3 di 3
    • Take the plastic opening tool around the tablet to remove the motherboard from the device.

  8. Samsung Galaxy Tab S2 9.7 AT&T Headphone Jack Replacement, Headphone Jack: passo 8, immagine 1 di 2 Samsung Galaxy Tab S2 9.7 AT&T Headphone Jack Replacement, Headphone Jack: passo 8, immagine 2 di 2
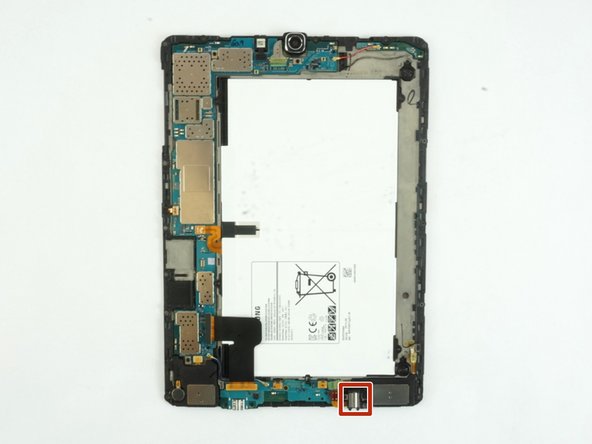
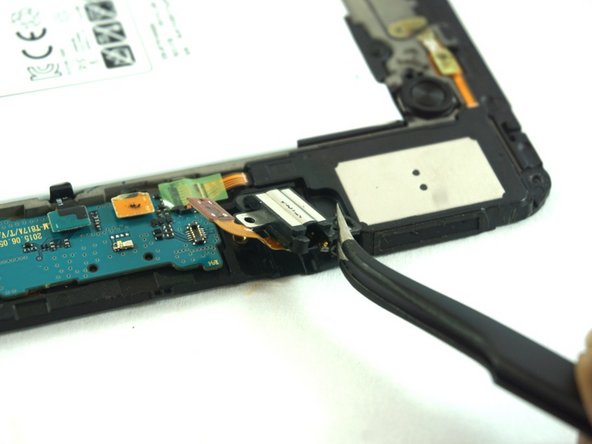
    • Locate the headphone jack towards the bottom right-hand side.

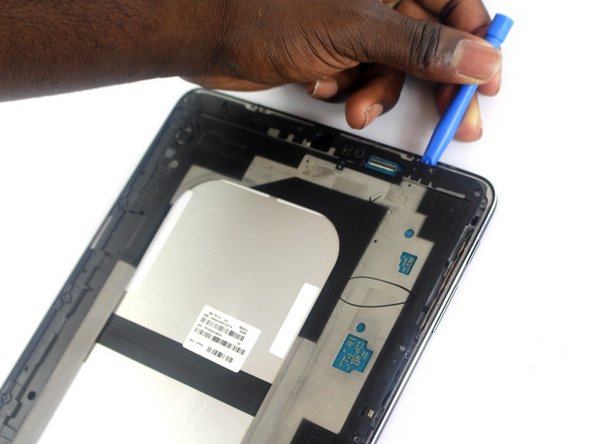
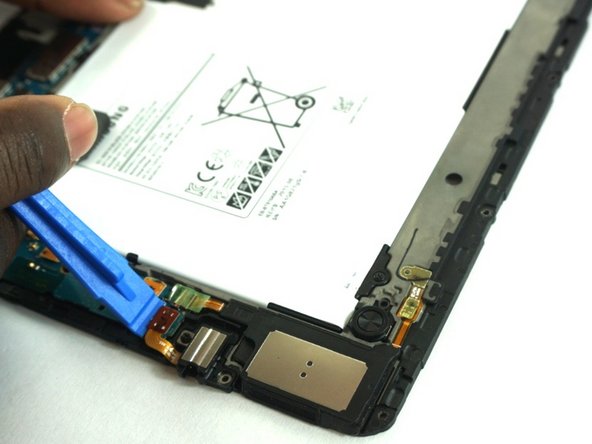
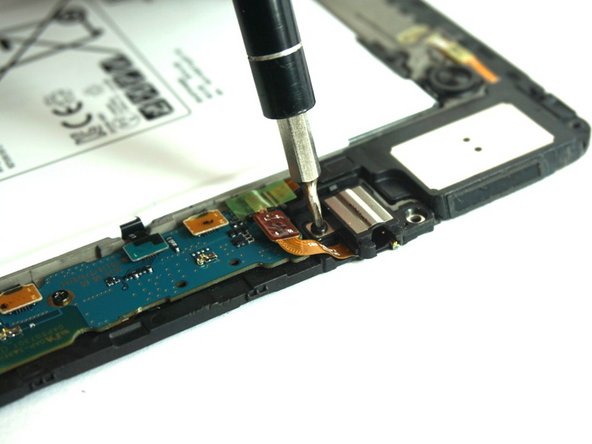
    • Using the plastic opening tool, lift up the press-fit connector.

  9. Samsung Galaxy Tab S2 9.7 AT&T Headphone Jack Replacement: passo 9, immagine 1 di 1
    • Using the Phillips #000 Screwdriver, remove the 2.74 mm black screw next to the headphone jack.

  10. Samsung Galaxy Tab S2 9.7 AT&T Headphone Jack Replacement: passo 10, immagine 1 di 1
    • Using the precision tweezers, remove the headphone jack.

Conclusione

To reassemble your device, follow these instructions in reverse order.

Altre 2 persone hanno completato questa guida.

Joy Harris

Membro da: 02/15/17

814 Reputazione

7 Guide realizzate

Team

USF Tampa, Team S3-G4, Sullivan Spring 2017 Membro di USF Tampa, Team S3-G4, Sullivan Spring 2017

USFT-SULLIVAN-S17S3G4

3 Membri

14 Guide realizzate

0 Commenti

Aggiungi Commento

Visualizza Statistiche:

Ultime 24 Ore: 0

Ultimi 7 Giorni: 3

Ultimi 30 Giorni: 5

Tutti i Tempi: 765