Introduzione
If your battery does not charge consistently, or will not charge at all, your charging port may be faulty. If you are experiencing charging difficulties, the charging port may need to be replaced. This guide will show you how to do so.
Cosa ti serve
-
-
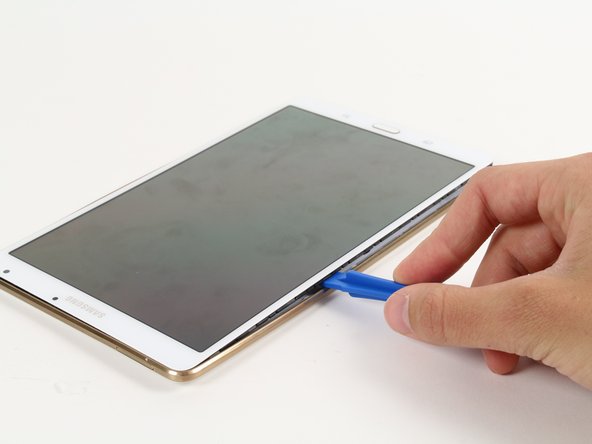
Place the plastic opening tool between the face of the display and rim of the back cover of the device.
-
Move the plastic opening tool in a downward motion until you see separation between the tablet and back cover.
-
-
-
-
Remove the back cover after the entire rim is disconnected.
I did some diy fixing because my tab-s came having issues. All battery connection related. Easy fix about 10 minutes but now the back cover won't sit flush and there's a large gap…idk what to do now it's infuriating there no broken tabs or connections
-
-
-
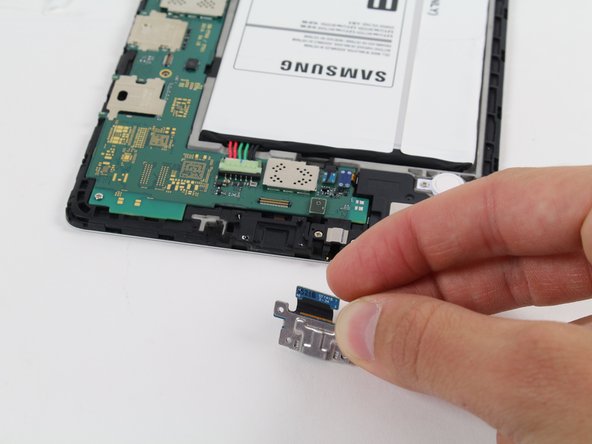
Remove the two 4 mm Phillips #000 screws securing the micro USB port.
-


To reassemble your device, follow these instructions in reverse order.
To reassemble your device, follow these instructions in reverse order.
Annulla: non ho completato questa guida.
Altre 32 persone hanno completato questa guida.
Team

Cal Poly, Team 12-15, Maness Fall 2015 Membro di Cal Poly, Team 12-15, Maness Fall 2015
CPSU-MANESS-F15S12G15
4 Membri
12 Guide realizzate
6 Commenti
What model number is this device specifically? It says WiFi, but I have the same one from a network carrier. Would this charging port work for that? Model sm-707v is the one that I have.
With these instructions I ordered part from Amazon and replaced charging port and tablet charges again. Thanks!
hi,
we followed your instructions. and the tablet now charges. but we can no longer unlock the screen or do anything on the screen.
help?
Will a butter knife work?
Team Diamond (DrDiamond53) - Replica
You could try a credit card, avoid metal tools.
Isaac Pettis -
The battery is still connected at this stage so, yes, avoid metal tools.
Once the outer frame was mostly unclipped with the opening tool, I found the ifixit triangle plastic picks useful. As well as clips around the 4 edges there are maybe 4 more clips in the centre of the back cover that are a challenge.
Make sure the display screen and logic boards and battery all come out in one bundle, just leaving a bare plastic back shell. Others have reported that if you separate the screen from the boards you’ll invariably break a ribbon cable and lose touch sensitivity.
Michael Morjanoff - Replica