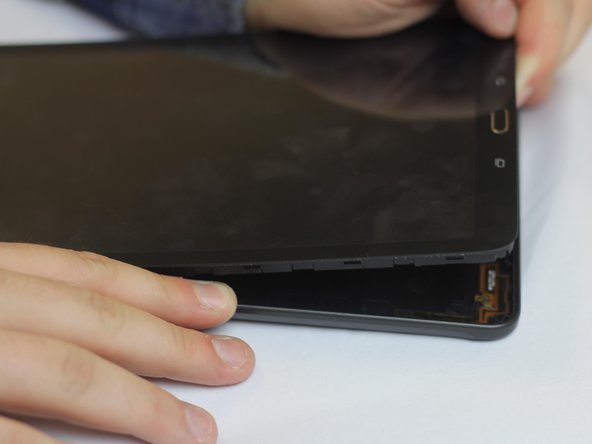
Salta al contenuto principale

Samsung Galaxy Tab E 9.6 Verizon Speaker Replacement

Cosa ti serve

  1. Samsung Galaxy Tab E 9.6 Verizon Speaker Replacement, Back Casing: passo 1, immagine 1 di 1
    • Remove any micro-SD or SIM cards before continuing.

    • Verify your device is turned OFF.

    • Disconnect all external devices from your tablet.

  2. Samsung Galaxy Tab E 9.6 Verizon Speaker Replacement: passo 2, immagine 1 di 3 Samsung Galaxy Tab E 9.6 Verizon Speaker Replacement: passo 2, immagine 2 di 3 Samsung Galaxy Tab E 9.6 Verizon Speaker Replacement: passo 2, immagine 3 di 3
    • Insert the plastic opening tool by wedging it between the device's screen and back cover.

    • Move the plastic tool around the edges of the device to undo the plastic lips holding the casing together.

    • This step may require more force than expected. If difficult, try using a suction cup on the screen.

  3. Samsung Galaxy Tab E 9.6 Verizon Speaker Replacement: passo 3, immagine 1 di 3 Samsung Galaxy Tab E 9.6 Verizon Speaker Replacement: passo 3, immagine 2 di 3 Samsung Galaxy Tab E 9.6 Verizon Speaker Replacement: passo 3, immagine 3 di 3
    • This process will become easier as more clips are separated.

    • Use your hands to gently pull the back cover off the device after about half of the clips are separated.

    • A suction cup can be used in this step as well to assist in pulling the device apart.

  4. Samsung Galaxy Tab E 9.6 Verizon Speaker Replacement, Speaker: passo 4, immagine 1 di 2 Samsung Galaxy Tab E 9.6 Verizon Speaker Replacement, Speaker: passo 4, immagine 2 di 2
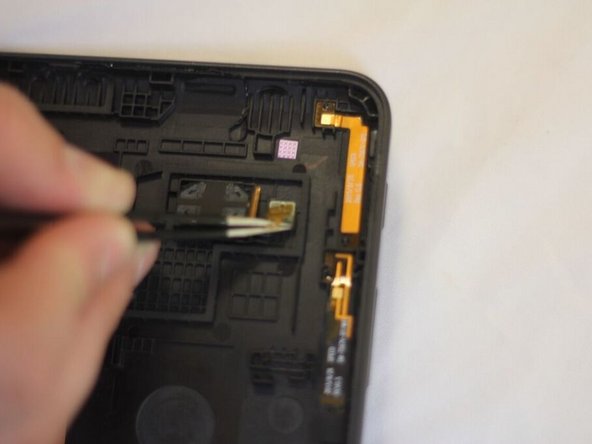
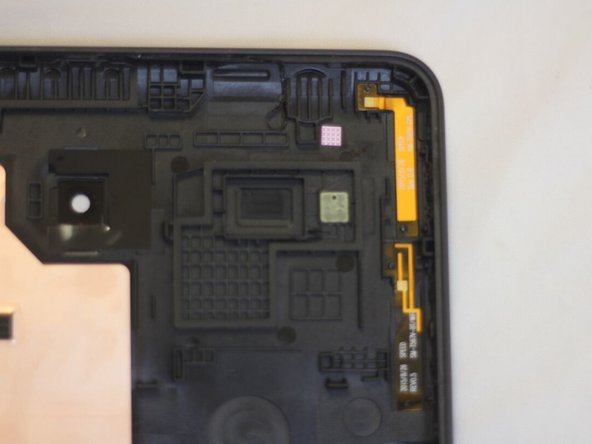
    • Locate the speaker in the top right corner of the back casing. Use a pair of tweezers to pull peel up the film connecting the speaker to the case.

  5. Samsung Galaxy Tab E 9.6 Verizon Speaker Replacement: passo 5, immagine 1 di 2 Samsung Galaxy Tab E 9.6 Verizon Speaker Replacement: passo 5, immagine 2 di 2
    • Once you've detached the film connecting the speaker to the case, use the tweezers to remove the speaker completely.

Conclusione

To reassemble your device, follow these instructions in reverse order.

Team

USF Tampa, Team 1-4, Cagle Fall 2016 Membro di USF Tampa, Team 1-4, Cagle Fall 2016

USFT-CAGLE-F16S1G4

3 Membri

14 Guide realizzate

2 Commenti

Then what? How does this fix the problem? Can I tweek the speaker? Do I buy a new, more powerful speaker? What is your point in this post?

Janet - Replica

@Janet Sorry I know you probably wont even see this, but its to help those who wish to replace a broken speaker, its not about implanting a 9” subwoofer. Sorry but sometimes the simplest of explanations will often answer your questions.

sannas30 -

Aggiungi Commento

Visualizza Statistiche:

Ultime 24 Ore: 0

Ultimi 7 Giorni: 0

Ultimi 30 Giorni: 3

Tutti i Tempi: 1,327