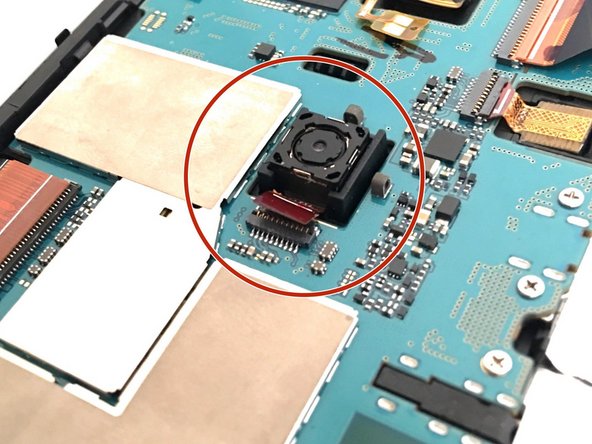
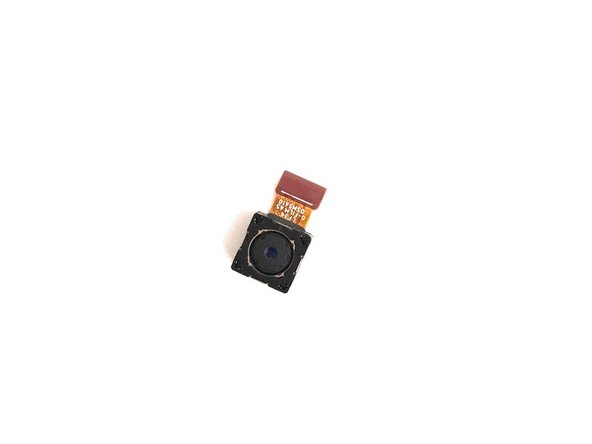
Salta al contenuto principale

Samsung Galaxy Tab E 9.6 Verizon Back Camera Replacement

Cosa ti serve

  1. Samsung Galaxy Tab E 9.6 Verizon Back Camera Replacement, Back Camera: passo 1, immagine 1 di 1
    • Make sure the device is turned off.

    • Using the plastic opening tool, start in the center and wedge the angled tip between the plastic back and the scree.

    • Try to pressure it, wedge it back and forth.

    • Do not wedge the plastic opening tool directly on top of the power buttons and headphone buttons.

  2. Samsung Galaxy Tab E 9.6 Verizon Back Camera Replacement: passo 2, immagine 1 di 2 Samsung Galaxy Tab E 9.6 Verizon Back Camera Replacement: passo 2, immagine 2 di 2
    • Once the bottom edge has been loosened, use the suction tool to pull it.

    • The second picture shows the internal portion of the tablet once the back cover is removed.

  3. Samsung Galaxy Tab E 9.6 Verizon Back Camera Replacement: passo 3, immagine 1 di 2 Samsung Galaxy Tab E 9.6 Verizon Back Camera Replacement: passo 3, immagine 2 di 2
    • The first picture shows the location of back camera.

    • Disconnect the rectangular connection from the back camera to the motherboard.

  4. Samsung Galaxy Tab E 9.6 Verizon Back Camera Replacement: passo 4, immagine 1 di 2 Samsung Galaxy Tab E 9.6 Verizon Back Camera Replacement: passo 4, immagine 2 di 2
    • The picture illustrates what the device should look like once the back camera is removed.

Conclusione

To reassemble your device, follow these instructions in reverse order.

Tingting Liu

Membro da: 09/28/16

25 Reputazione

1 Guida realizzata

Team

USF Tampa, Team 1-4, Cagle Fall 2016 Membro di USF Tampa, Team 1-4, Cagle Fall 2016

USFT-CAGLE-F16S1G4

3 Membri

14 Guide realizzate

0 Commenti

Aggiungi Commento

Visualizza Statistiche:

Ultime 24 Ore: 0

Ultimi 7 Giorni: 1

Ultimi 30 Giorni: 9

Tutti i Tempi: 1,229