Introduzione
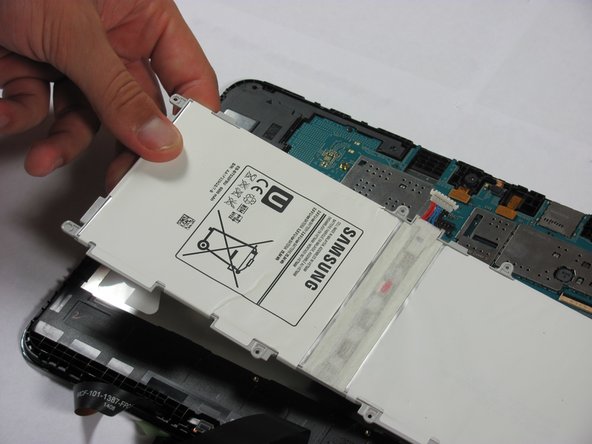
Before taking apart the tablet, be sure to buy the replacement battery. You can find batteries online by searching, “Samsung Galaxy Tablet 4 10.1 battery.” The battery used in this guide is the 6800 mAh 3.7V.
Below is a link to purchase the recommended battery:
Cosa ti serve
-
-
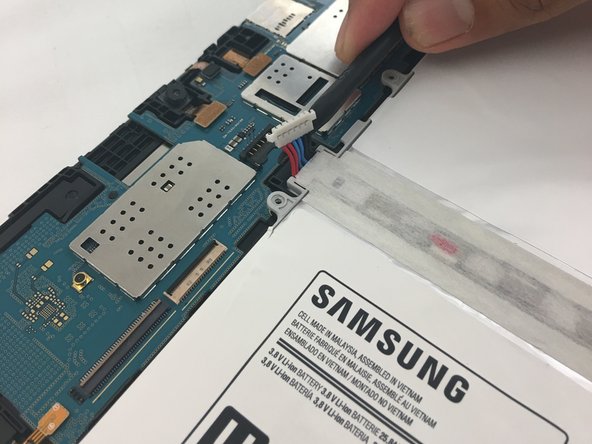
Insert the wedge of the nylon spudger and slide it between the front and back panels until the back comes off.
-
-


To reassemble your device, follow these instructions in reverse order.
To reassemble your device, follow these instructions in reverse order.
Annulla: non ho completato questa guida.
Altre 52 persone hanno completato questa guida.
Team

Cal Poly, Team 18-1, Forte Fall 2016 Membro di Cal Poly, Team 18-1, Forte Fall 2016
CPSU-FORTE-F16S18G1
5 Membri
4 Guide realizzate
5 Commenti
Well, I know what I did wrong. I thought I was super careful, but I damaged the black connector. (Please pay extra attention to the red warning area in Gunzl’s instructions.) It separates from the board extremely easy. My husband was worried about my taking on this task. I know what I did wrong, but that doesn’t help the fact that I will be purchasing another tablet for him. I’m not sure I will purchase another Samsung, but perhaps all the tablets has such fragile inner workings.
Don’t worry, you’re not the only one! :(
Regarding Step 4, Take note of the red warning comment! Very easy to pull up the connector off the board!!!
Unfortunately I just that because I didn’t hold down the connectors with tweezers (or something) and then botched an attempted reflow of the solder, costing even more time and money! :(