Introduzione
This guide shows how to open your tablet to replace the back case. Please be careful in following all instructions provided. You don't want to damage anything.
Cosa ti serve
-
-
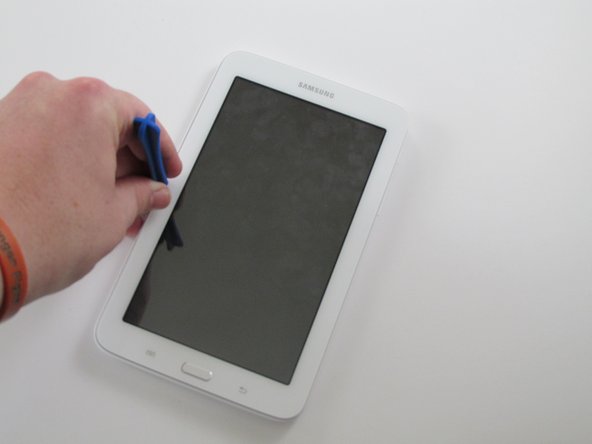
Using a plastic opening tool, wedge in the seam between the screen and the case.
-
Rock the tool by moving it towards and away from the middle of the screen, trying to separate the tape holding the screen and case together.
-
This is a long process, so don't try and rush it. Also, be careful about applying pressure.
-
-


To reassemble your device, snap the screen into the case.
To reassemble your device, snap the screen into the case.
Annulla: non ho completato questa guida.
Altre 12 persone hanno completato questa guida.
Team

USF Tampa, Team 11-1, Cheng Spring 2016 Membro di USF Tampa, Team 11-1, Cheng Spring 2016
USFT-CHENG-S16S11G1
4 Membri
12 Guide realizzate