Questa versione può contenere modifiche errate. Passa all'ultima istantanea verificata.
Cosa ti serve
-
Questo passaggio è privo di traduzione. Aiuta a tradurlo
-
Pry with a plastic opening tool, or your fingernail, in the divot to the left of the rear-facing camera, near the power button.
-
Lift the rear case by the corner nearest the divot and remove it from the phone.
-
-
Questo passaggio è privo di traduzione. Aiuta a tradurlo
-
Insert a plastic opening tool, or your finger, into the notch of the battery compartment and lift the battery upward to remove it.
-
-
Questo passaggio è privo di traduzione. Aiuta a tradurlo
-
Use a plastic opening tool, or your fingernail, to press the microSD card slightly deeper into its slot until you hear a click.
-
After the click, release the card and it will pop out of its slot.
-
Remove the microSD card.
-
-
-
Questo passaggio è privo di traduzione. Aiuta a tradurlo
-
Use a plastic opening tool, or your fingernail, to press the SIM card slightly deeper into its slot until you hear a click.
-
After the click, release the card and it will pop out of its slot.
-
Remove the SIM card.
-
-
Questo passaggio è privo di traduzione. Aiuta a tradurlo
-
Use the tip of a spudger to remove the four metallic pads located in each corner of the device.
-
Using a Phillips #00 screwdriver, remove the 12 screws connecting the midframe to the device.
-
-
Questo passaggio è privo di traduzione. Aiuta a tradurlo
-
Use the plastic opening tool to pry around the entire edge of the midframe now to release it from the front case.
-
-
Questo passaggio è privo di traduzione. Aiuta a tradurlo
-
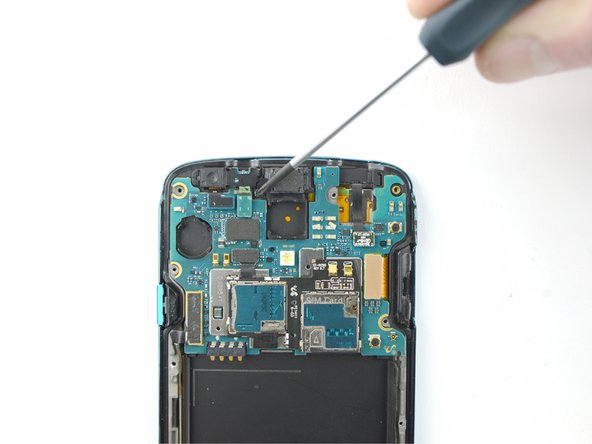
Using the Phillips #00 screwdriver, remove the single 0.3mm screw securing the black cover over the camera sensor.
-
-
Questo passaggio è privo di traduzione. Aiuta a tradurlo
-
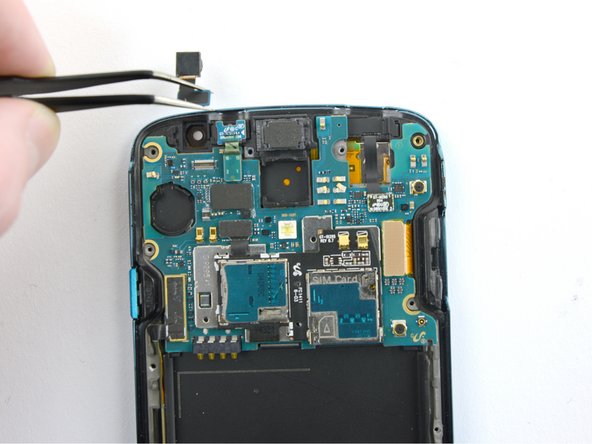
Using a pair of precision tweezers, remove the black camera backing.
-
-
Questo passaggio è privo di traduzione. Aiuta a tradurlo
-
Using a spudger, disconnect the blue press-fit connector by pulling up gently.
-
Lift the front-facing camera out of the device.
-