Introduzione
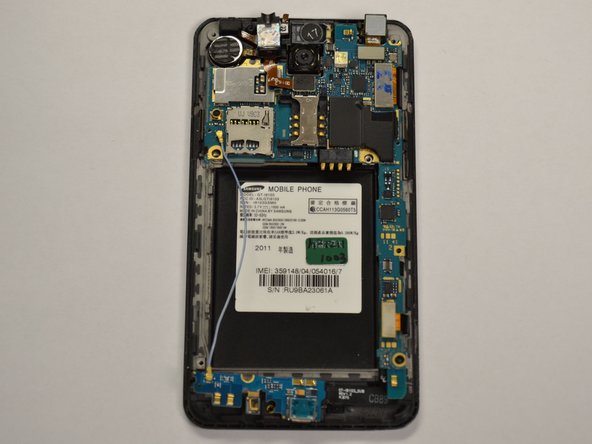
The motherboard is the main computer of the phone responsible for all the computing power. Motherboards will not need to be replaced unless the phone is having serious issues with receiving or transmitting signal, data, or other essential functions. The motherboard contains all the other smaller parts used in more specific functions. In order to access the speaker and rear-facing camera, the motherboard will need to be lifted. To lift the motherboard, small screws will need to be removed before using the fingers to carefully pull up the multiple pieces of the board.
Cosa ti serve
-
-
Insert your fingernail or a plastic tool into the opening near the headphone jack on top of the phone.
-
Gently pry apart the rear case from the midframe and remove.
-
-
-
Insert your fingernail, or a plastic tool, into the crevice on the lower left side of the back side.
-
Gently pry the battery from the back of the phone.
-
-
-
-
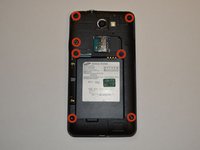
With the Phillips head screwdriver, remove all seven 4.0 mm screws, highlighted in red, from the rear case.
-
Insert your finger or an opening tool underneath the midframe and gently pry apart from the phone.
-
-
-
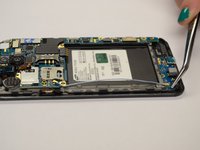
Insert an opening tool underneath the bottom panel near the bottom left side of the back of the phone.
-
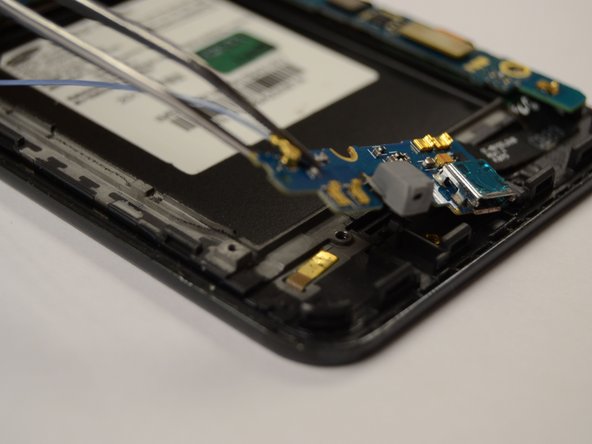
Gently pry the part of the motherboard that is pointed out in the picture to the left from underneath the part of the phone that it is latched under.
-
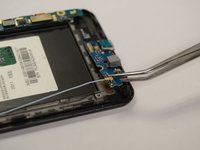
Lift the bottom panel off the back of the phone.
-
-
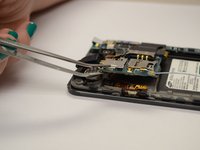
Attrezzo utilizzato in questo passaggio:Tweezers$4.99
-
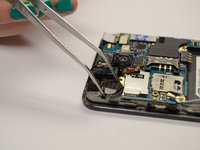
Use tweezers to grasp the circular silver metal piece firmly and pull it away from the top panel with enough force to break the glue bond.
-
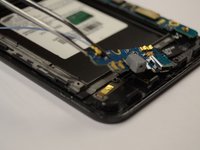
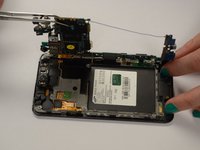
Insert an opening tool underneath the top panel near the top left side of the back of the phone.
-
Gently lift the panel from the back of the phone.
-
-
-
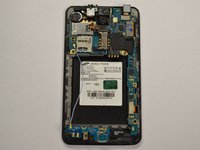
If you want to replace motherboard, gently pull motherboard from the back of the phone.
-


To reassemble your device, follow these instructions in reverse order.
Annulla: non ho completato questa guida.
Altre 3 persone hanno completato questa guida.
Team

Clemson, Team 3-3, Benson Fall 2014 Membro di Clemson, Team 3-3, Benson Fall 2014
CLEM-BENSON-F14S3G3
5 Membri
8 Guide realizzate