Salta al contenuto principale

Samsung Galaxy J3V Motherboard Replacement

Cosa ti serve

  1. Samsung Galaxy J3V Motherboard Replacement, Front Camera: passo 1, immagine 1 di 3 Samsung Galaxy J3V Motherboard Replacement, Front Camera: passo 1, immagine 2 di 3 Samsung Galaxy J3V Motherboard Replacement, Front Camera: passo 1, immagine 3 di 3
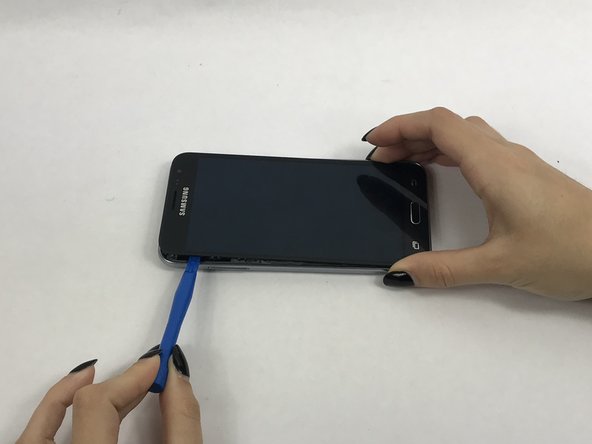
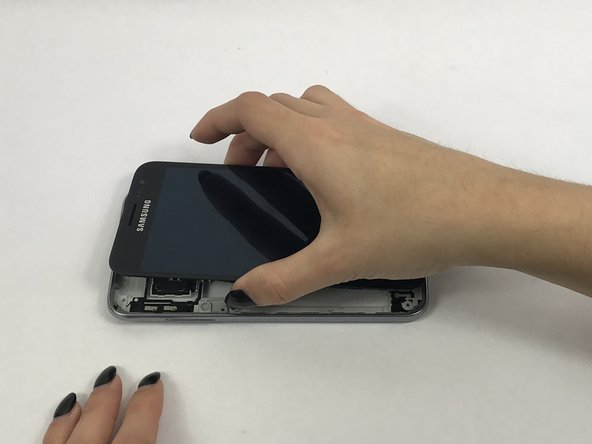
    • Place your thumb on the top left corner and pry the tab open and lift off the back cover.

  2. Samsung Galaxy J3V Motherboard Replacement: passo 2, immagine 1 di 3 Samsung Galaxy J3V Motherboard Replacement: passo 2, immagine 2 di 3 Samsung Galaxy J3V Motherboard Replacement: passo 2, immagine 3 di 3
    • Remove the ten 2.0 mm screws with the Phillips #J000 screwdriver.

  3. Samsung Galaxy J3V Motherboard Replacement: passo 3, immagine 1 di 3 Samsung Galaxy J3V Motherboard Replacement: passo 3, immagine 2 di 3 Samsung Galaxy J3V Motherboard Replacement: passo 3, immagine 3 di 3
    • Use a small suction cup to pull the screen up. Then slip a small plastic opening tool under the screen to pry it upwards.

    • If this is the first time the screen is being removed then there will be adhesive around the edges of the screen. It may be difficult to remove the screen because of this adhesive seal and it is going to take a few tries and some force to pry the entire screen off.

  4. Samsung Galaxy J3V Motherboard Replacement: passo 4, immagine 1 di 3 Samsung Galaxy J3V Motherboard Replacement: passo 4, immagine 2 di 3 Samsung Galaxy J3V Motherboard Replacement: passo 4, immagine 3 di 3
    • Use tweezers to flip tab of the front camera to remove it.

  5. Samsung Galaxy J3V Motherboard Replacement, Motherboard: passo 5, immagine 1 di 3 Samsung Galaxy J3V Motherboard Replacement, Motherboard: passo 5, immagine 2 di 3 Samsung Galaxy J3V Motherboard Replacement, Motherboard: passo 5, immagine 3 di 3
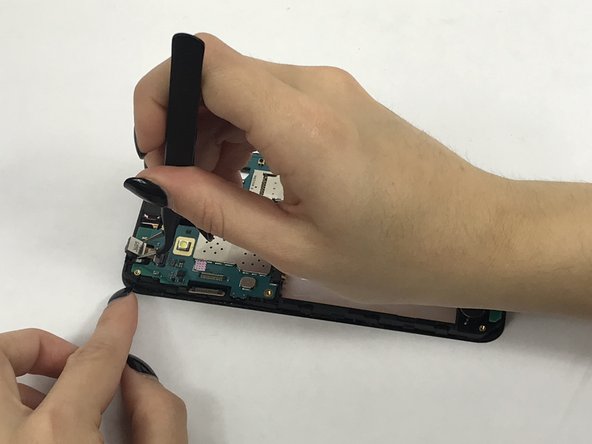
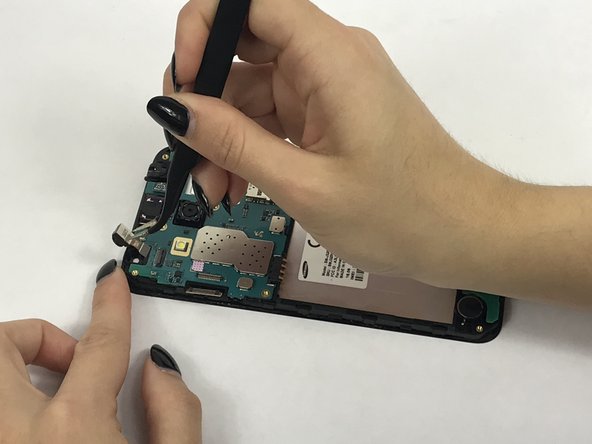
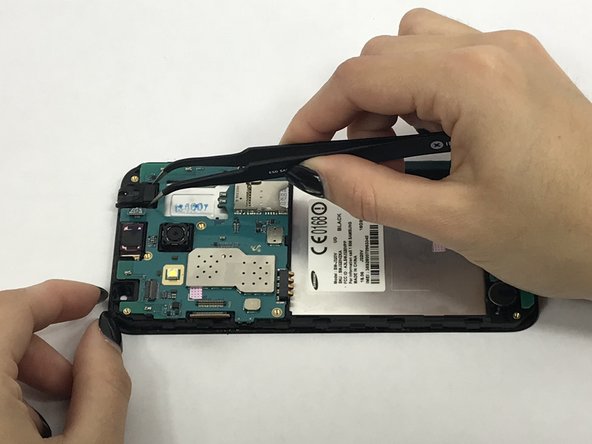
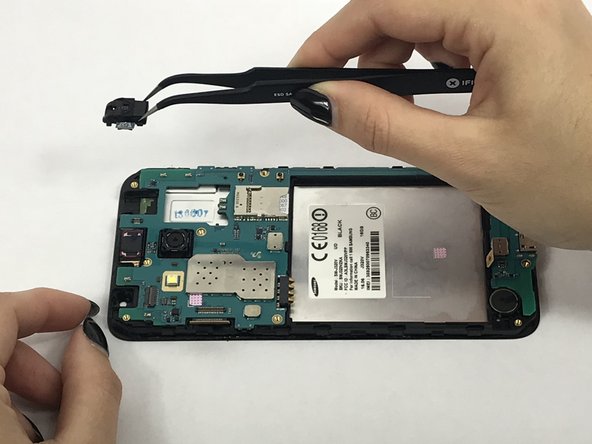
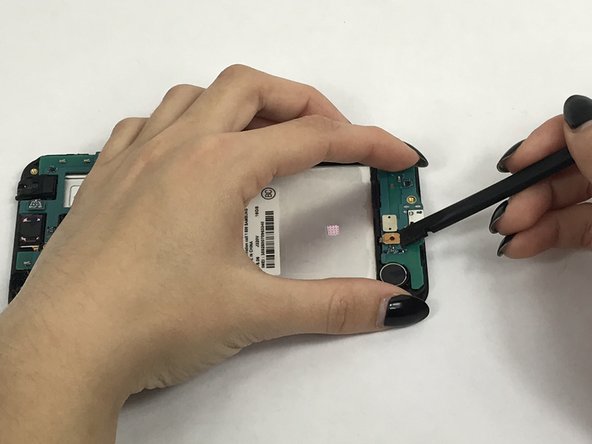
    • Remove connector tab with spudger then carefully remove headphone jack with tweezers.

  6. Samsung Galaxy J3V Motherboard Replacement: passo 6, immagine 1 di 2 Samsung Galaxy J3V Motherboard Replacement: passo 6, immagine 2 di 2
    • Remove these connectors from the motherboard with spudger.

  7. Samsung Galaxy J3V Motherboard Replacement: passo 7, immagine 1 di 2 Samsung Galaxy J3V Motherboard Replacement: passo 7, immagine 2 di 2
    • Carefully use the spudger to pry the motherboard out of the plastic tabs.

Conclusione

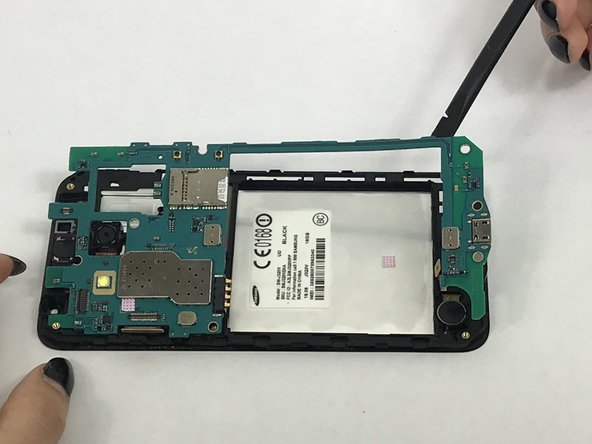
To reassemble your device, follow these instructions in reverse order.

Altre 6 persone hanno completato questa guida.

Team

USF Tampa, Team S3-G3, Nance Fall 2017 Membro di USF Tampa, Team S3-G3, Nance Fall 2017

USFT-NANCE-F17S3G3

4 Membri

5 Guide realizzate

0 Commenti

Aggiungi Commento

Visualizza Statistiche:

Ultime 24 Ore: 0

Ultimi 7 Giorni: 0

Ultimi 30 Giorni: 3

Tutti i Tempi: 1,753