Cosa ti serve
-
-
Use a SIM tray pin or a safe needle to remove the SIM Tray. Insert the item into the small hole to pop the SIM Tray out and pull the rest out manually. Set it aside. Here is a video to help you with any problems: https://www.youtube.com/watch?v=KIzhfOcJ...
-
Power off the device before continuing to the next steps to avoid any electrical problems and damage to the device and yourself.
-
-
-
Take your prying tool. Pick any area of the phone. The best areas are below the volume buttons and above the camera and begin to make your way around the phone. This may be a bit difficult but it is the hardest part of the repair, it gets easier. Open the phone like a book once you loosen the screen completely.
-
-
-
Unscrew the top panel and take it off. Disconnect the battery wire (Black wire connecting to the battery, right of the screen wires.)
-
Disconnect screen wires. (Black and orange wires coming from the bottom of the device, right of the battery wire)
-
-
-
-
Unscrew the bottom panel.
-
Disconnect the long black and white wires at the upper part of the device and bottom part. You can pull them out of the casing and set them aside. When putting these back later, make sure they are nice and snug.
-
Disconnect the bottom LCD wire. It is orange and black and near the right.
-
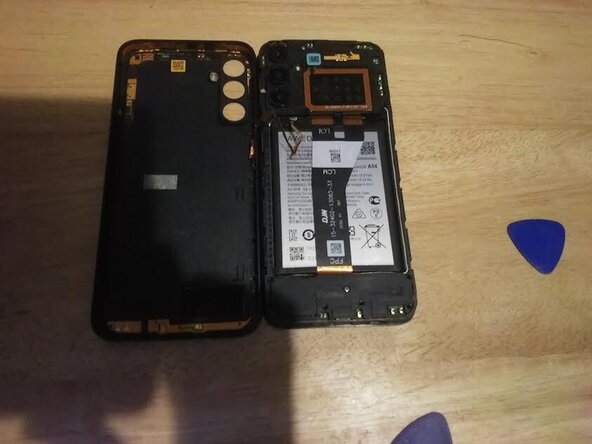
Remove the bottom board.
-
-
-
Remove the battery very very carefully. If you think the battery is damaged throw it out asap. A punctured battery can result in fire and/or explosion. The battery may be a bit difficult. Use alcohol if the adhesive is too strong. Ignore the bottom motherboard in the photo, it should be removed by now for you.
-
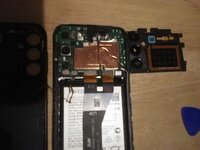
Remove the vibrate motor at the bottom right, where the charging port board was previously located. You may need some alcohol to break down the adhesive holding down the orange wire. Set it aside.
-
-
-
Move everything to the new casing. Reassemble the phone by following the instructions backward and carefully. After you put the phone together, you should be able to turn on the phone with a proper display this time. Your part should come with a new display wire, display, and screen, if it doesn't please double check you have the correct part.
-


To reassemble your device, follow these instructions in reverse order.
To reassemble your device, follow these instructions in reverse order.
Annulla: non ho completato questa guida.
Un'altra persona ha completato questa guida.
