Questa versione può contenere modifiche errate. Passa all'ultima istantanea verificata.
Cosa ti serve
-
Questo passaggio è privo di traduzione. Aiuta a tradurlo
-
Place the Chromebook face down so that the bottom case is exposed.
-
Using a Phillips #00 screwdriver, remove nine 4.6mm screws from the back casing.
-
-
Questo passaggio è privo di traduzione. Aiuta a tradurlo
-
Use a iFixit opening tool to gently pry the case up from the vent on the hinge side of the Chromebook.
-
-
Questo passaggio è privo di traduzione. Aiuta a tradurlo
-
Locate the battery and remove the four 4.6mm screws at the corners which attach it to case using a Phillips #00 screwdriver.
-
-
-
Questo passaggio è privo di traduzione. Aiuta a tradurlo
-
Use a spudger to gently pry the power cable cord upwards from the motherboard.
-
-
Questo passaggio è privo di traduzione. Aiuta a tradurlo
-
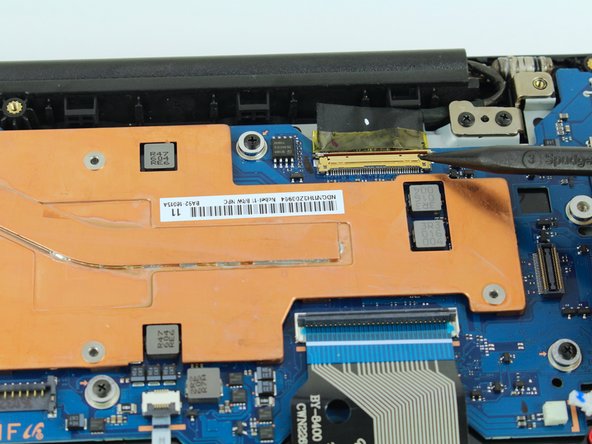
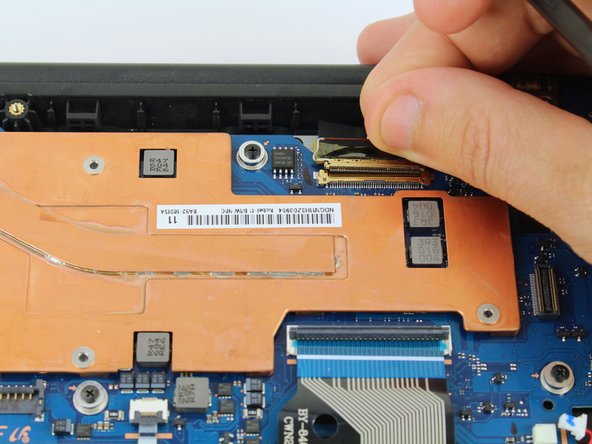
Disengage the gold connector joining the display and motherboard by flipping up the hinge with a spudger and gently disconnecting it with a spudger or your fingers.
-
-
Questo passaggio è privo di traduzione. Aiuta a tradurlo
-
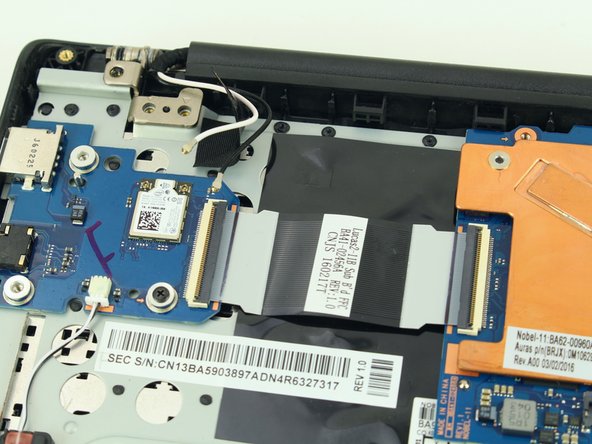
Next disconnect the small coaxial cables from the wireless chip on the daughterboard by prying upwards with a spudger.
-
-
Questo passaggio è privo di traduzione. Aiuta a tradurlo
-
Flip up at least one side of the adhesive tape holding the coaxial cables in place. When the display is removed, the cables are coming with it!
-
-
Questo passaggio è privo di traduzione. Aiuta a tradurlo
-
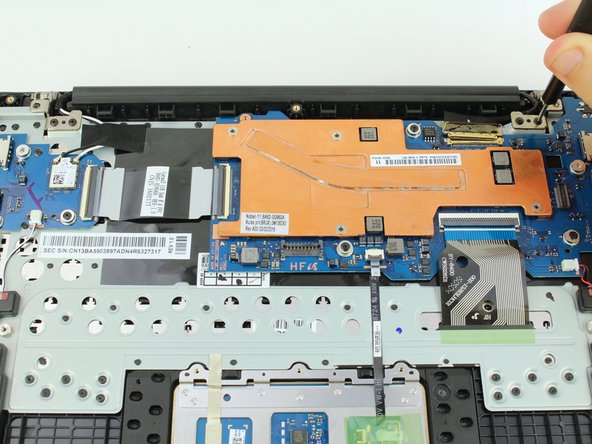
Finally, remove the four 4.6mm screws from the display mounts using a Phillips #00 screwdriver.
-


Annulla: non ho completato questa guida.
Altre 4 persone hanno completato questa guida.


3 Commenti
Any idea as to what kind of connector the display has to the motherboard? Or how many pins? Trying to tear down the display and see if I can use it as an extra monitor.
It looks like there are 40 pins on the display connector. I’m not sure what it would be called or if it’s any kind of standard. If you do manage to convert the display to an extra monitor, you should definitely let us know though!