Questa versione può contenere modifiche errate. Passa all'ultima istantanea verificata.
Cosa ti serve
-
Questo passaggio è privo di traduzione. Aiuta a tradurlo
-
Remove the back cover by pressing on the bottom section of the phone and sliding the bottom piece downward.
-
Lift up the back cover.
-
-
Questo passaggio è privo di traduzione. Aiuta a tradurlo
-
Place your finger on the bottom of the battery and lift to remove.
-
-
Questo passaggio è privo di traduzione. Aiuta a tradurlo
-
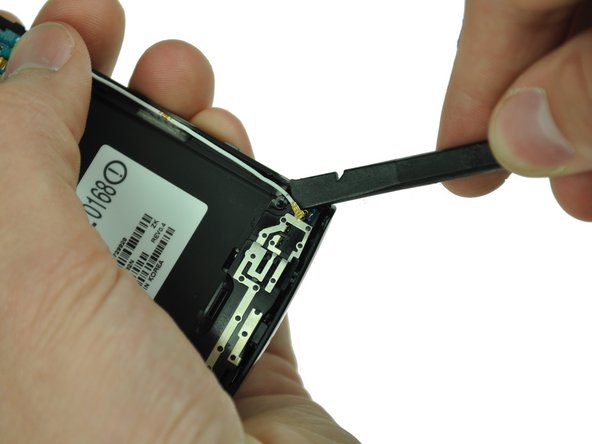
Insert the spudger underneath the bottom section of the phone.
-
Gently lift and push the spudger to slide the bottom section down to reveal two hidden screws.
-
-
-
Questo passaggio è privo di traduzione. Aiuta a tradurlo
-
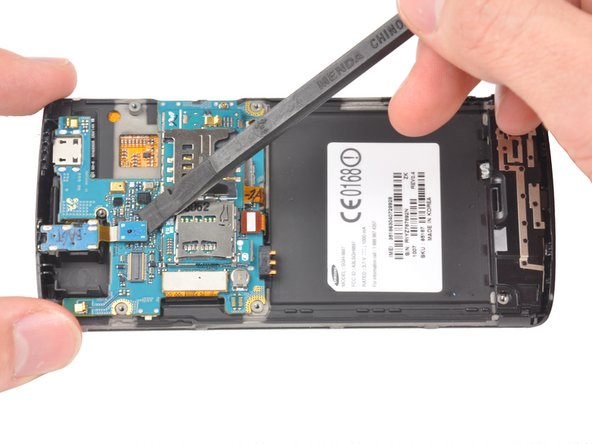
Starting at a bottom corner, use the spudger to separate the rear case from the front display.
-
Move the spudger towards the top on both sides. The plastic opening tool is easier to use for this step.
-
-
Questo passaggio è privo di traduzione. Aiuta a tradurlo
-
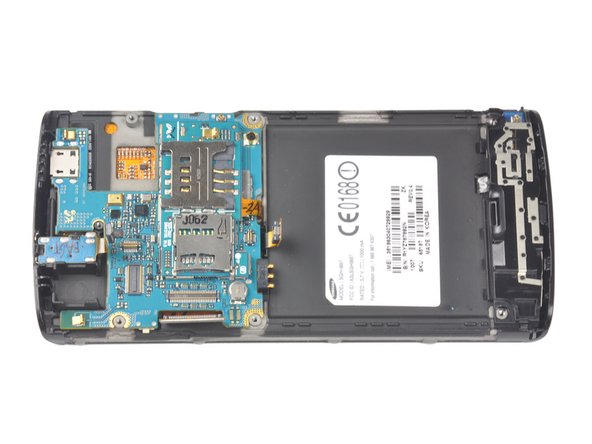
Use a spudger tool to pry up the antenna cable from the connector on the motherboard.
-
Pry up the other end of the cable from the connector on the antenna array.
-
-
Questo passaggio è privo di traduzione. Aiuta a tradurlo
-
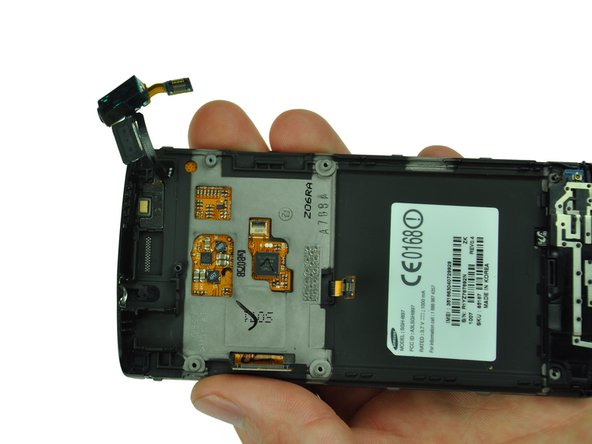
Using the spudger slide the tool under the three highlighted connectors to begin disconnection
-
Excluding the motherboard socket, pry straight from up under the connectors, Therefore ending disconnection.
-
-
Questo passaggio è privo di traduzione. Aiuta a tradurlo
-
Use your fingers to carefully lift up the Samsung Capivate's Motherboard from the assembly.
-
-
Questo passaggio è privo di traduzione. Aiuta a tradurlo
-
Gently pull up on the audio jack, taking the attached ribbon cable with it.
-


Annulla: non ho completato questa guida.
Altre 7 persone hanno completato questa guida.
Team

Cal Poly, Team 20-25, Maness Fall 2011 Membro di Cal Poly, Team 20-25, Maness Fall 2011
CPSU-MANESS-F11S20G25
3 Membri
9 Guide realizzate
Un commento
Between steps 7 and 8, there are a number of steps missing, including the removal of the camera, and the removal of the speaker assembly.
These can be found on the "Mother Board" repair manual, back on the device page.
~Desmond