Questa versione può contenere modifiche errate. Passa all'ultima istantanea verificata.
Cosa ti serve
-
Questo passaggio è privo di traduzione. Aiuta a tradurlo
-
Turn the printer off and wait a few minutes for it to cool.
-
Turn printer around so that you are looking at the rear panel.
-
-
Questo passaggio è privo di traduzione. Aiuta a tradurlo
-
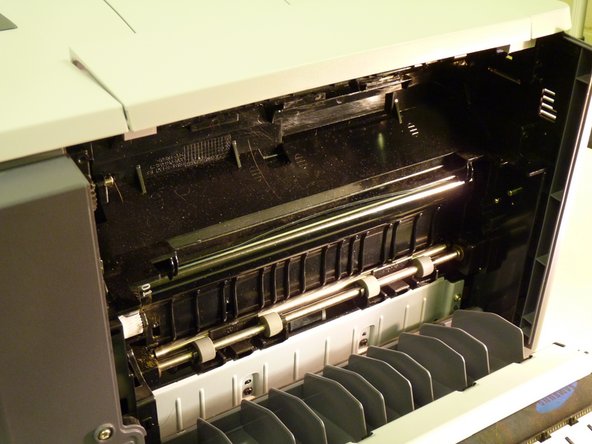
Open back of printer by pushing down handle.
-
-
-
Questo passaggio è privo di traduzione. Aiuta a tradurlo
-
Remove the four screws that attach the fuser unit to the printer.
-
-
Questo passaggio è privo di traduzione. Aiuta a tradurlo
-
Slide fuser unit out of the printer.
-
Remove packaging from new fuser unit.
-
Insert new fuser unit.
-


Annulla: non ho completato questa guida.
Altre 2 persone hanno completato questa guida.
Team

University of Maine, Team 1-1, Diaz Fall 2014 Membro di University of Maine, Team 1-1, Diaz Fall 2014
UMAINE-DIAZ-F14S1G1
3 Membri
8 Guide realizzate
2 Commenti
how do you unplug the old fuser unit and plug in the new fuser unit - you don’t show how to do that.
The plug in on the left side, no need to unplug it because it is part of the fuser unit.