Salta al contenuto principale

Questa guida ha delle modifiche più recenti. Passa all'ultima versione non verificata.

Samsung Brightside Speaker Module Replacement

Cosa ti serve

  1. Samsung Brightside Speaker Module Replacement, Speaker Module: passo 1, immagine 1 di 3 Samsung Brightside Speaker Module Replacement, Speaker Module: passo 1, immagine 2 di 3 Samsung Brightside Speaker Module Replacement, Speaker Module: passo 1, immagine 3 di 3
    • Here is the Samsung SCH-U380 Brightside

    • Turn it over to gain access to the battery.

    • Remove the backcover by simply pulling it off the phone from the top down

  2. Samsung Brightside Speaker Module Replacement: passo 2, immagine 1 di 3 Samsung Brightside Speaker Module Replacement: passo 2, immagine 2 di 3 Samsung Brightside Speaker Module Replacement: passo 2, immagine 3 di 3
    • Remove the battery

    • Remove the six Phillips screws from the back frame

    • All six screws are identical M1.5X3

  3. Samsung Brightside Speaker Module Replacement: passo 3, immagine 1 di 3 Samsung Brightside Speaker Module Replacement: passo 3, immagine 2 di 3 Samsung Brightside Speaker Module Replacement: passo 3, immagine 3 di 3
    • Use a plastic opening tool or similar tool to separate the top from the bottom frame. Applying slight pressure in a downwards direction will disengage the plastic clips

    • Continue to slide the tool along the slot until you feel the plastic locks disengage

    • Once all locks have released, the bottom frame can simply be removed.

  4. Samsung Brightside Speaker Module Replacement: passo 4, immagine 1 di 3 Samsung Brightside Speaker Module Replacement: passo 4, immagine 2 di 3 Samsung Brightside Speaker Module Replacement: passo 4, immagine 3 di 3
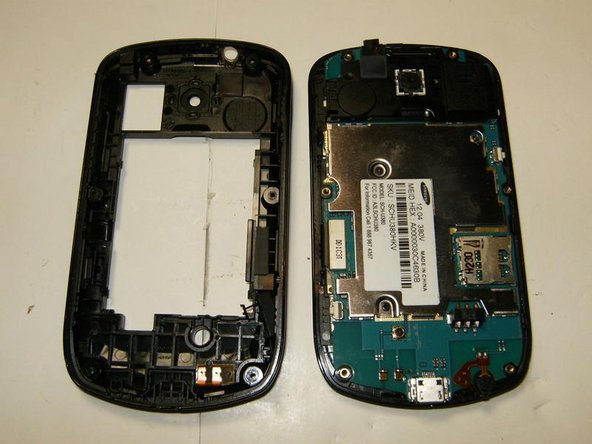
    • Remove the two Phillips screws from the EMI shield.

    • Both screws are identical M1.5X2

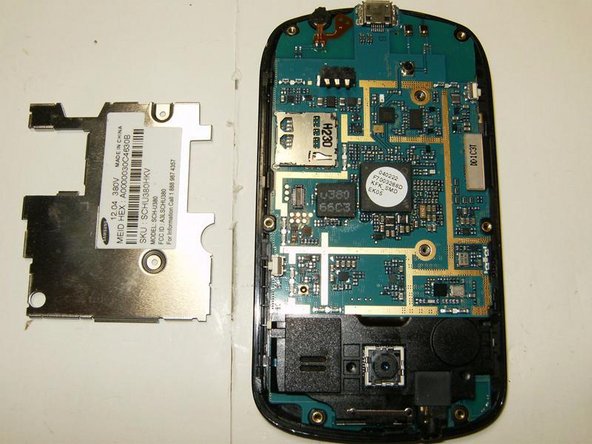
    • Remove the EMI shield

  5. Samsung Brightside Speaker Module Replacement: passo 5, immagine 1 di 3 Samsung Brightside Speaker Module Replacement: passo 5, immagine 2 di 3 Samsung Brightside Speaker Module Replacement: passo 5, immagine 3 di 3
    • Detach the LCD connector.

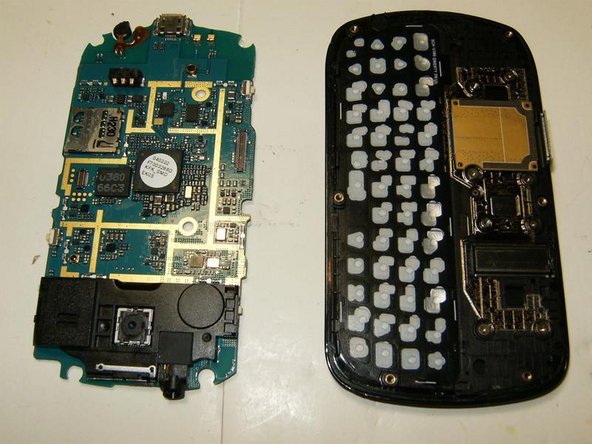
    • Remove the logic board

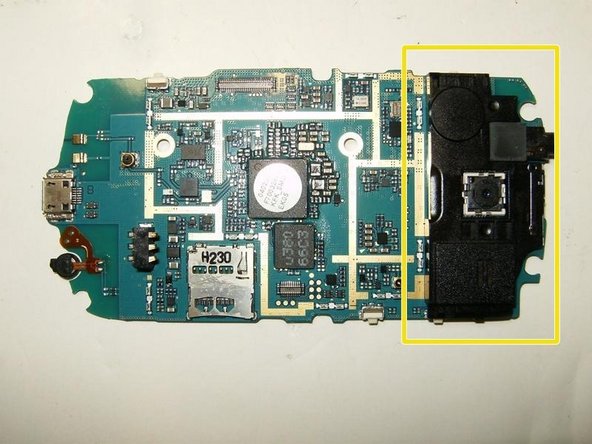
    • This is the speaker module. In the center is the camera, but it is not part of the module.

  6. Samsung Brightside Speaker Module Replacement: passo 6, immagine 1 di 3 Samsung Brightside Speaker Module Replacement: passo 6, immagine 2 di 3 Samsung Brightside Speaker Module Replacement: passo 6, immagine 3 di 3
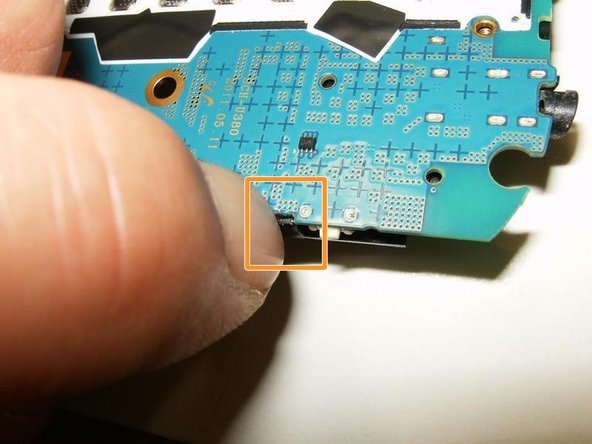
    • turn the logic board over. The speaker module is held in place

    • by one Phillips screw

    • and two clips

    • Remove the Phillips screw.

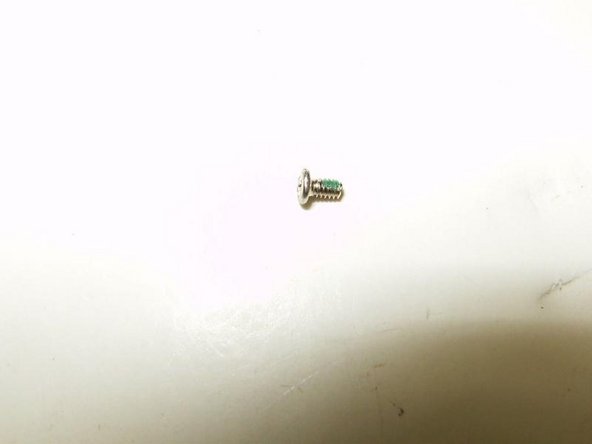
    • It is a M1X2 Phillips screw

    • Next disengage one of the clips by simply applying some sideways pressure with your fingernail. This will loosen the module.

  7. Samsung Brightside Speaker Module Replacement: passo 7, immagine 1 di 2 Samsung Brightside Speaker Module Replacement: passo 7, immagine 2 di 2
    • Turn the logic board around. With the speaker module loose, simply lift it off the board.

    • Speaker module removed.

    • Camera

    • and audio jack

    • are not part of this module and will remain on the board.

Conclusione

To reassemble your device, follow these instructions in reverse order.

oldturkey03

Membro da: 09/29/10

782.076 Reputazione

119 Guide realizzate

Team

Global Fixers Membro di Global Fixers

Community

33 Membri

537 Guide realizzate

0 Commenti

Aggiungi Commento

Visualizza Statistiche:

Ultime 24 Ore: 0

Ultimi 7 Giorni: 2

Ultimi 30 Giorni: 4

Tutti i Tempi: 963