Introduzione
Life happens, and sometimes you need a temporary go-phone to keep your power moves powerful. The Samsung Galaxy Express 3 is a perfect such phone for those who find themselves between cracked screens more than they'd care to admit.
Learn how to replace the SIM card to properly activate and use your new second-string, but smart nonetheless, phone.
Cosa ti serve
-
Passo 1 Battery
Attenzione: i passaggi 1-3 provengono da una guida contrassegnata come in corso.
-
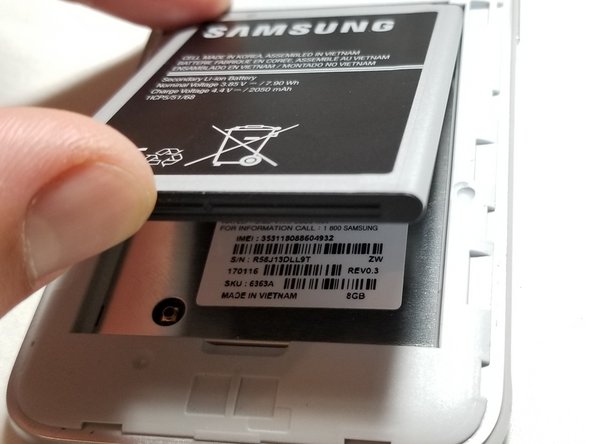
Place the phone face-down on the table.
-
Remove the back cover by lifting up on the groove in the upper-left corner of the phone.
-
-
-
Run your fingers along the perimeter of the phone to pop up a corner of the back cover.
-
Peel slowly to fully remove the back cover.
-
-
-
-
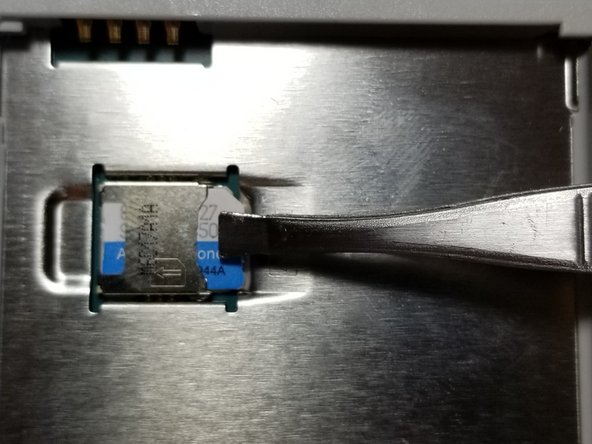
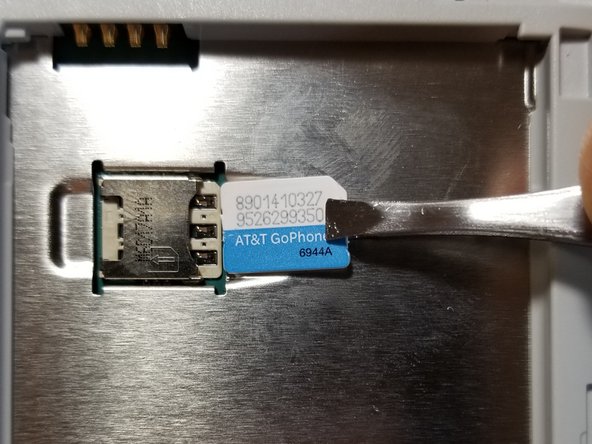
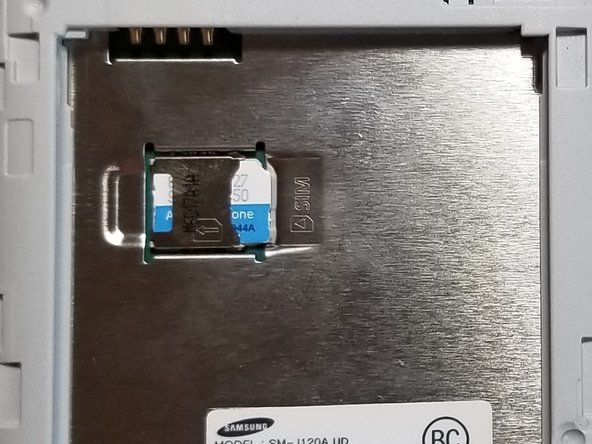
Locate the sim card in the upper left corner of the battery bracket.
-
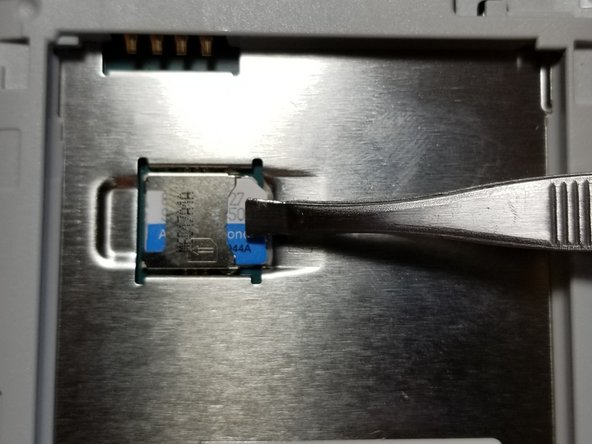
Slide the SIM card out to the right by pinching it with either fingers or tweezers.
-


To reassemble your device, follow these instructions in reverse order.
To reassemble your device, follow these instructions in reverse order.
Annulla: non ho completato questa guida.
Un'altra persona ha completato questa guida.
Team

Cal Poly, Team 70-2, Forte Winter 2015 Membro di Cal Poly, Team 70-2, Forte Winter 2015
CPSU-FORTE-W15S70G2
4 Membri
10 Guide realizzate