Introduzione
This guide will show you how to replace the Laser Distance Sensor (LDS or LiDAR) of Roborock's robotic vacuum Q5 Pro.
You may want to do so if your robot reports "Error 1: Laser Distance Sensor blocked."
Within the guide I will also outline how to replace just the motor that spins the LDS, as well as how to clean it properly.
I recommend reading the entire guide before starting the disassembly, then following steps as needed during.
If you already know how to disassemble it or have followed my teardown guide, skip to step 11.
Cosa ti serve
-
-
Remove the side brush using a PH2 screwdriver.
-
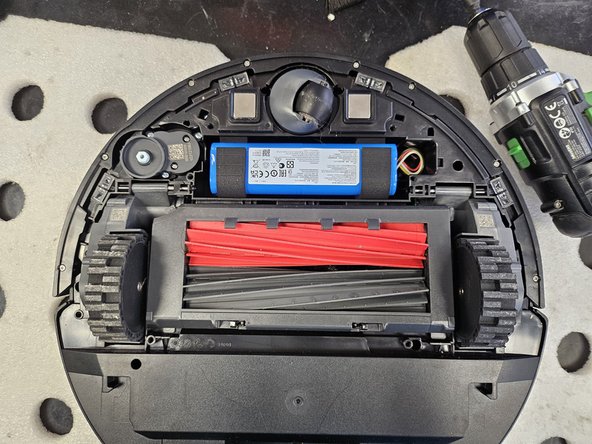
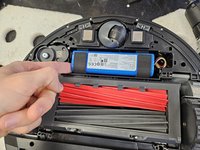
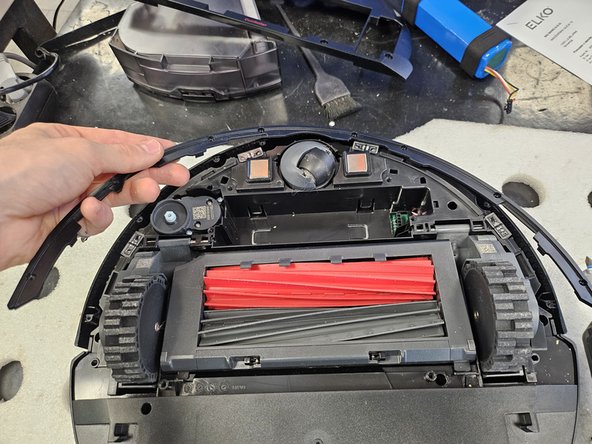
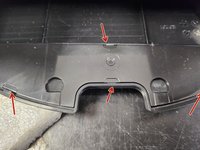
Remove the screws using a PH2 screwdriver.
-
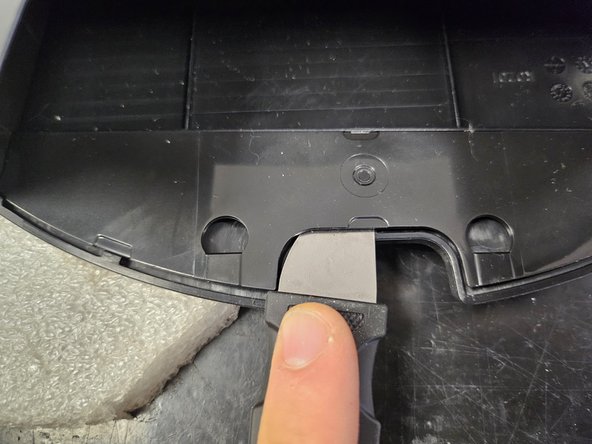
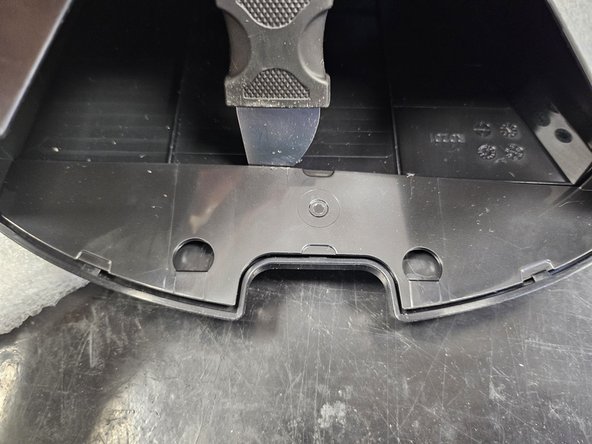
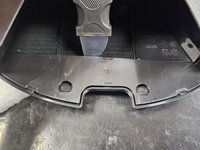
Then, pull the bottom cover off.
-
-
-
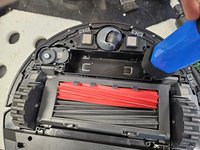
Lift it up on the left.
-
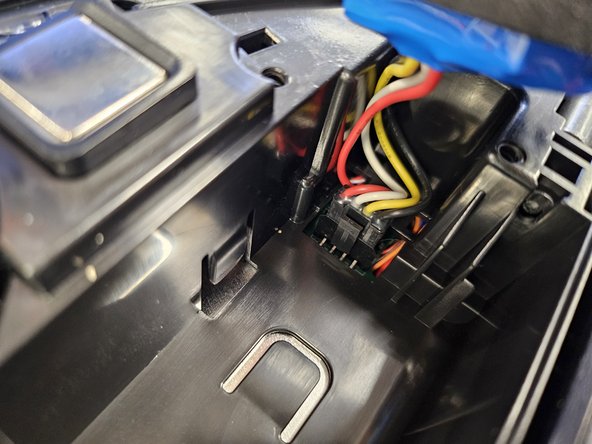
Detach the connector by squeezing the release tab, then pull it out.
-
-
-
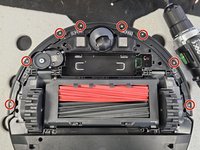
Remove the marked screws using a PH1 screwdriver.
-
Then simply lift the lid off.
-
-
-
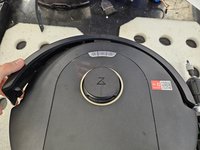
Flip the robot over.
-
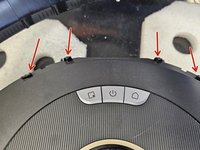
Tilt the bumper forwards and move it upwards to remove it.
-
-
-
-
Flip it back over.
-
Remove the screws using a PH2 screwdriver.
-
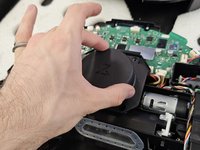
Simply lift it out.
-
-
-
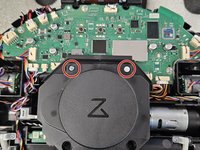
Remove the marked screws using a PH2 screwdriver.
-
Then, remove it.
-
-
-
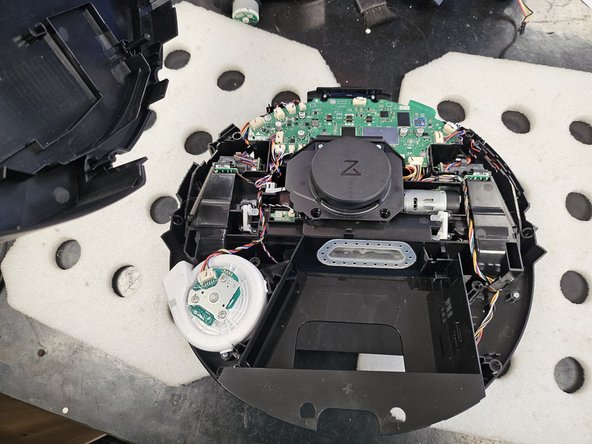
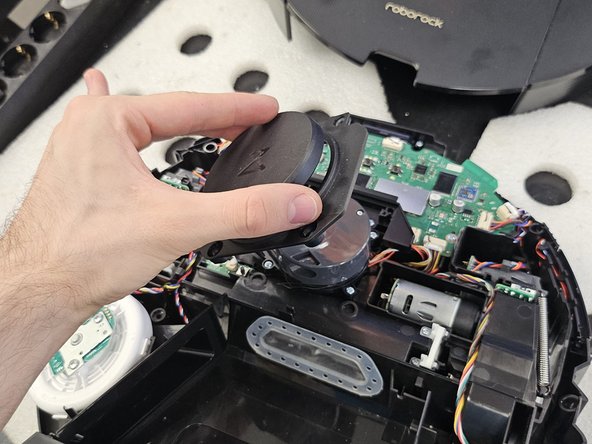
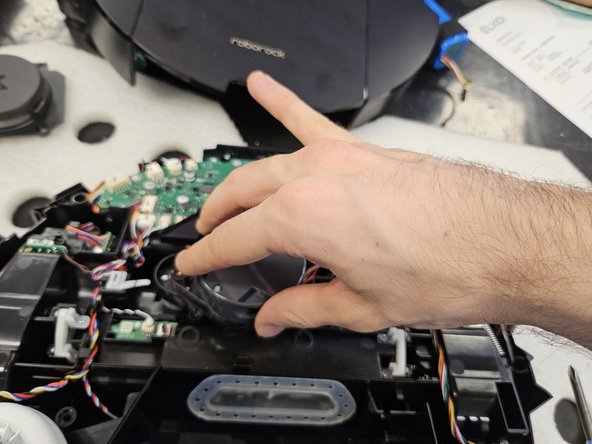
Remove the marked screws using a PH2 screwdriver.
-
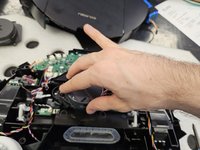
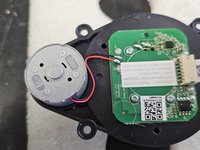
Lift the LDS towards the right, then disconnect the connector.
-
-
-
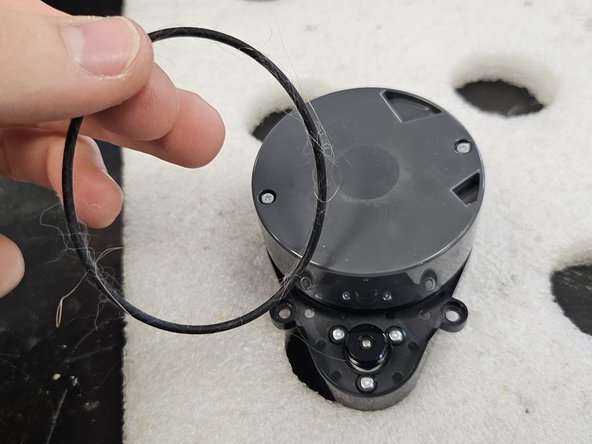
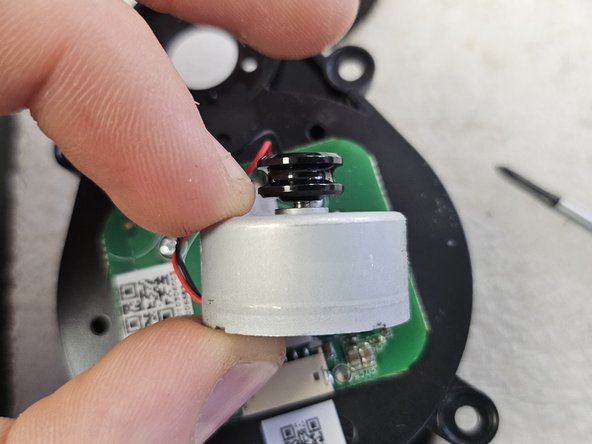
Remove the rubber band using some tweezers, forceps or your fingers.
-
-
-
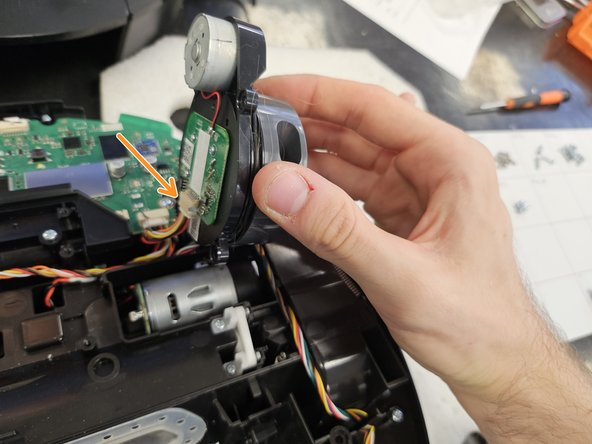
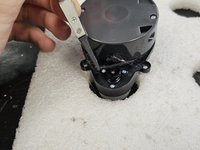
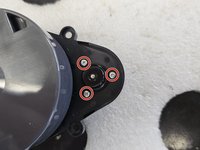
Before removing the motor, flip it over and check whether it has a connector or is soldered directly onto the PCBA.
-
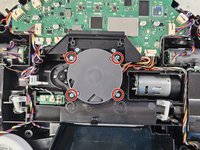
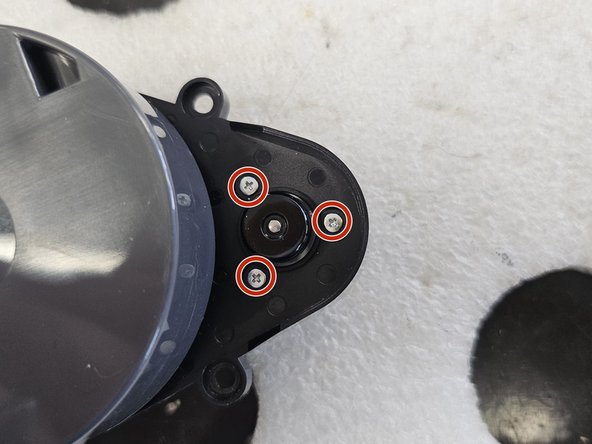
Remove the screws.
-
Now you can remove and replace the motor.
-


To reassemble your device, follow these instructions in reverse order.
Annulla: non ho completato questa guida.
Un'altra persona ha completato questa guida.
