Salta al contenuto principale

Ridgid Angle Grinder R10202 Power Trigger Replacement

Cosa ti serve

  1. Ridgid Angle Grinder R10202 Power Trigger Replacement, Ridgid Angle Grinder R10202 Handle Disassembly: passo 1, immagine 1 di 3 Ridgid Angle Grinder R10202 Power Trigger Replacement, Ridgid Angle Grinder R10202 Handle Disassembly: passo 1, immagine 2 di 3 Ridgid Angle Grinder R10202 Power Trigger Replacement, Ridgid Angle Grinder R10202 Handle Disassembly: passo 1, immagine 3 di 3
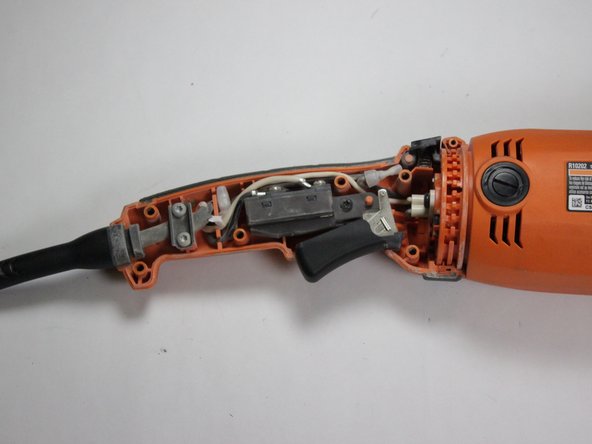
    • Using a Torx T20 screwdriver, unscrew the five M5 x 16 mm screws.

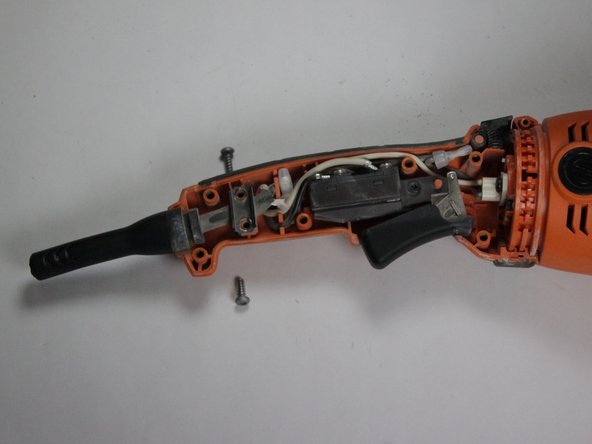
    • Using the T20 screwdriver, remove the M5 x 28 mm screw.

  2. Ridgid Angle Grinder R10202 Power Trigger Replacement: passo 2, immagine 1 di 1
    • Using a Torx T10 screwdriver, remove the M3 x 10mm screw.

  3. Ridgid Angle Grinder R10202 Power Trigger Replacement: passo 3, immagine 1 di 2 Ridgid Angle Grinder R10202 Power Trigger Replacement: passo 3, immagine 2 di 2
    • Gently pull off the right side handle.

  4. Ridgid Angle Grinder R10202 Power Trigger Replacement: passo 4, immagine 1 di 3 Ridgid Angle Grinder R10202 Power Trigger Replacement: passo 4, immagine 2 di 3 Ridgid Angle Grinder R10202 Power Trigger Replacement: passo 4, immagine 3 di 3
    • Using a hex head screwdriver, remove the two 8-16 x 1/2in screws.

  5. Ridgid Angle Grinder R10202 Power Trigger Replacement: passo 5, immagine 1 di 1
    • Gently pull away the bend relief.

  6. Ridgid Angle Grinder R10202 Power Trigger Replacement: passo 6, immagine 1 di 2 Ridgid Angle Grinder R10202 Power Trigger Replacement: passo 6, immagine 2 di 2
    • Remove the one M4 x 14 mm screw using a Phillips screwdriver.

  7. Ridgid Angle Grinder R10202 Power Trigger Replacement: passo 7, immagine 1 di 1
    • Gently lift away the switch and wires.

  8. Ridgid Angle Grinder R10202 Power Trigger Replacement: passo 8, immagine 1 di 2 Ridgid Angle Grinder R10202 Power Trigger Replacement: passo 8, immagine 2 di 2
    • Press down the handle lock button.

    • Force-ably twist and pull away the left side handle assembly.

  9. Ridgid Angle Grinder R10202 Power Trigger Replacement, Power Trigger: passo 9, immagine 1 di 3 Ridgid Angle Grinder R10202 Power Trigger Replacement, Power Trigger: passo 9, immagine 2 di 3 Ridgid Angle Grinder R10202 Power Trigger Replacement, Power Trigger: passo 9, immagine 3 di 3
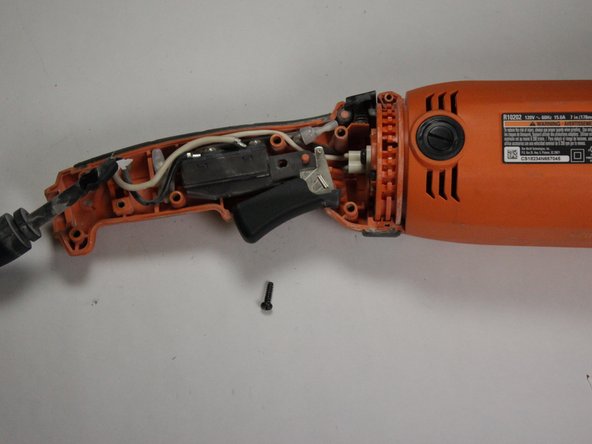
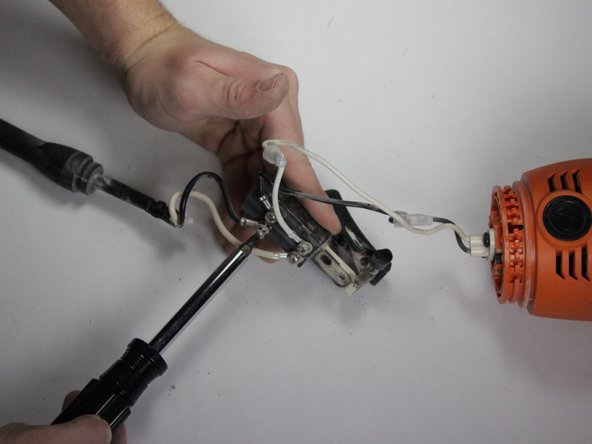
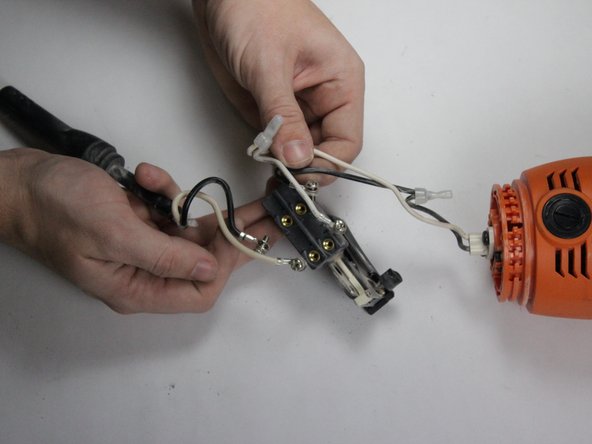
    • Using a bit driver, carefully remove the 4 M3.5 X 7mm holding the wires on.

    • Remember the order and position of each wire.

  10. Ridgid Angle Grinder R10202 Power Trigger Replacement: passo 10, immagine 1 di 1
    • The Switch is now free of the Grinder. Dispose of the broken Switch and install your new Switch.

Conclusione

To reassemble your device, follow these instructions in reverse order.

0 Commenti

Aggiungi Commento

Visualizza Statistiche:

Ultime 24 Ore: 0

Ultimi 7 Giorni: 1

Ultimi 30 Giorni: 5

Tutti i Tempi: 435