Salta al contenuto principale
Unisciti alla Community delle riparazioni - Crea un account

Ricoh Theta Z1 Battery Replacement

Cosa ti serve

  1. Ricoh Theta Z1 Battery Replacement, Bottom: passo 1, immagine 1 di 3 Ricoh Theta Z1 Battery Replacement, Bottom: passo 1, immagine 2 di 3 Ricoh Theta Z1 Battery Replacement, Bottom: passo 1, immagine 3 di 3
    • Use a Spudger to remove the sticker, starting from the reset hole.

    • The using 00-Torx remove the 3 screws at the bottom.

    Chiedi a FixBot
  2. Ricoh Theta Z1 Battery Replacement, Button side: passo 2, immagine 1 di 2 Ricoh Theta Z1 Battery Replacement, Button side: passo 2, immagine 2 di 2
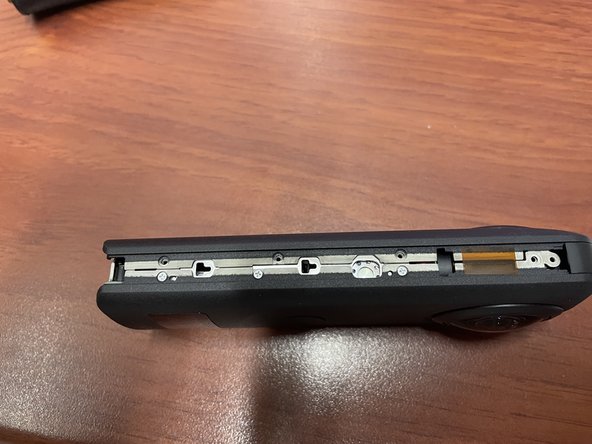
    • Now remove the screw at the side with the 00-Torx screwdriver.

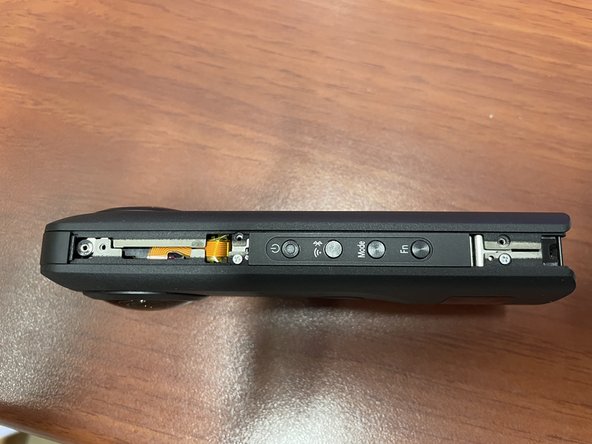
    • Gently remove the side pieces.

    Chiedi a FixBot
  3. Ricoh Theta Z1 Battery Replacement, Long side: passo 3, immagine 1 di 2 Ricoh Theta Z1 Battery Replacement, Long side: passo 3, immagine 2 di 2
    • Remove the 00-Torx screw and gently slide the side piece off.

    Chiedi a FixBot
  4. Ricoh Theta Z1 Battery Replacement, Long Side: passo 4, immagine 1 di 2 Ricoh Theta Z1 Battery Replacement, Long Side: passo 4, immagine 2 di 2
    • Remove the 4 00-Phillips screws from the long side

    Chiedi a FixBot
  5. Ricoh Theta Z1 Battery Replacement, Button Side: passo 5, immagine 1 di 2 Ricoh Theta Z1 Battery Replacement, Button Side: passo 5, immagine 2 di 2
    • Remove the 3 00-Phillips screws from the button side

    Chiedi a FixBot
  6. Ricoh Theta Z1 Battery Replacement, Opening the Case: passo 6, immagine 1 di 2 Ricoh Theta Z1 Battery Replacement, Opening the Case: passo 6, immagine 2 di 2
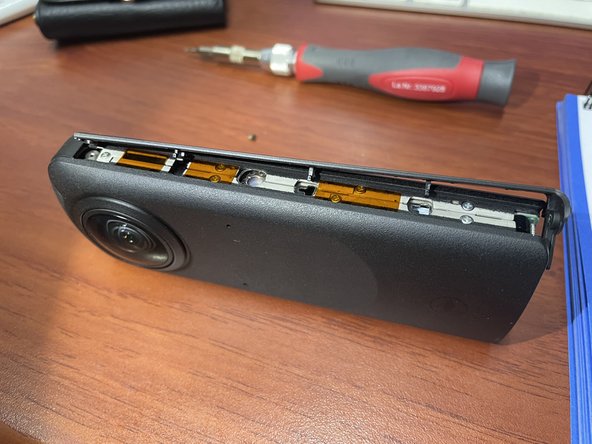
    • Now one part of the case can be pulled away, carefully observing the pin for the strap holder.

    Chiedi a FixBot
  7. Ricoh Theta Z1 Battery Replacement, Replacing the Battery: passo 7, immagine 1 di 3 Ricoh Theta Z1 Battery Replacement, Replacing the Battery: passo 7, immagine 2 di 3 Ricoh Theta Z1 Battery Replacement, Replacing the Battery: passo 7, immagine 3 di 3
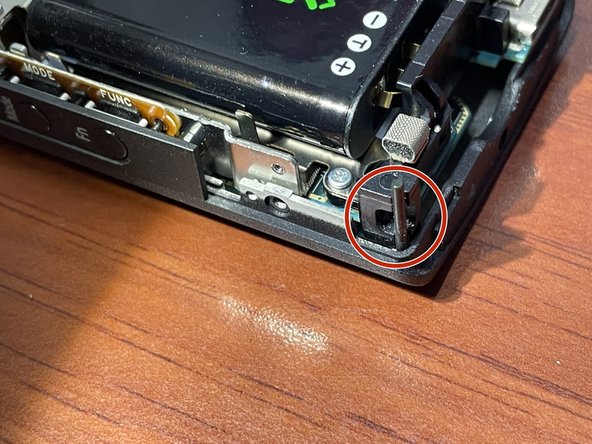
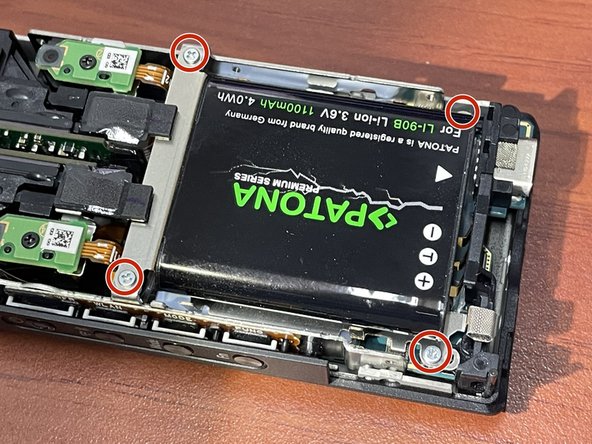
    • The battery is glued with tape to a holder, that has to be unscrewed.

    Chiedi a FixBot
Conclusione

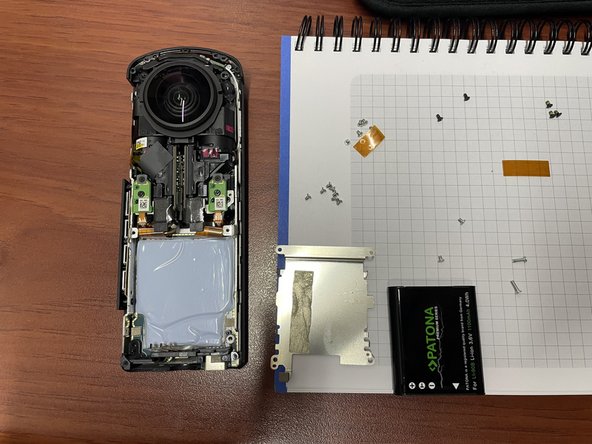
To reassemble your device, follow these instructions in reverse order.

Altre 2 persone hanno completato questa guida.

JJAY

Membro da: 02/18/23

230 Reputazione

Una guida realizzata

6Commenti sulla guida

Great guide, thanks. May i know the battery detail that you use for the replacement.

Hanifah Mazlan - Rispondi Condividi

Hi Hanifah!
The battery is called "DB-110" by Ricoh, but there are similar models with other names. If you click on the link "LI‑92B" in the parts list you get all the details.

JJAY - Rispondi Condividi

πŸ‘ This was so helpful and easy to do ! Thank you πŸ˜€ * Bought DB 110 (same as for Ricoh Theta X) on Amazon for 49 €

Maximilian Paech - Rispondi Condividi

Thank you for your post. I just called Ricoh for assistance and was referred to www.precisioncamera.com/ricoh, where I was quoted $833 to replace the battery.

I have just ordered a replacement battery on Amazon and will be doing it myself. Ricoh and PrecisionCamera can go FYT!

Mtherofdragons - Rispondi Condividi

Where can I find the specific 00 torx screwdriver?

512SRH - Rispondi Condividi

Aggiungi Commento

Visualizza statistiche:

Ultime 24 ore: 0

Ultimi 7 giorni: 22

Ultimi 30 giorni: 84

Tutti i Tempi: 2,478